How To Make Handmade Mini AC Project For School
Introduction
Ever wanted to beat the heat and impress your science teacher at the same time? Well, making a handmade mini AC (air conditioner) for a school project might just be the coolest idea—literally and figuratively. Not only does it make for an exciting and practical science project, but it’s also a hands-on way to learn basic concepts of thermodynamics and electronics.
Benefits of Making a DIY Mini AC
Educational Value
Making a mini AC helps you understand scientific principles like heat transfer, air flow, and energy conversion. It’s a real-world application of classroom theories!
Cost-Effectiveness
Instead of buying expensive kits, you can build this project using low-cost or recycled items lying around the house.
Creativity and Innovation
Design it your way. This is your chance to think outside the box—literally. Customize the design, enhance its features, and show off your engineering flair.
Materials Required
To get started, gather these basic materials:
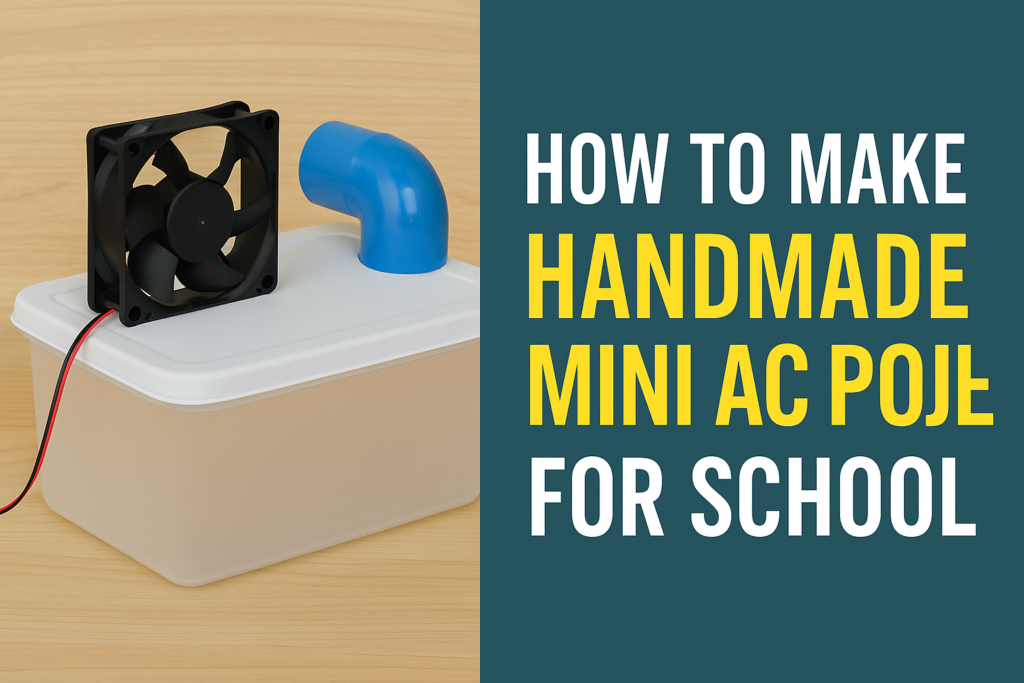
- 1 small plastic container or foam box with a lid
- 1 small DC fan (from old computers or online)
- Ice cubes or frozen gel packs
- A small PVC pipe or elbow joint (optional)
- Power source (USB cable, battery pack, or power bank)
- Tape, glue gun, or adhesive
- Marker and cutter
- Sponge or cloth (optional for extra cooling)
Tools You’ll Need
- Screwdriver
- Cutter or scissors
- Glue gun
- Multimeter (optional for checking electrical connections)
Safety Tips
- Be cautious while using sharp tools.
- Never mix water and live electrical wires.
- Adult supervision is advised for younger students.
How Mini ACs Work (Simple Science Behind It)
So, how does this DIY contraption cool air?
There are two main principles:
- Evaporative Cooling – Air passes over water or ice and loses heat, making it cooler.
- Thermoelectric Cooling (in advanced models) – Using a Peltier device that pulls heat from one side and disperses it on another.
Step-by-Step Guide to Making a Basic Mini AC
Preparing the Container
- Take your plastic or foam box and make holes on one side for air intake and another side for air output.
- Make sure the lid is secure to avoid leaks.
Installing the Fan
- Fix the small fan on the intake hole using glue or screws.
- Make sure it’s facing the correct direction to pull air into the box.
Adding the Ice Chamber
- Place a bowl or compartment inside the box to hold the ice.
- You can even use a sponge soaked in ice-cold water for longer cooling.
Sealing and Powering Up
- Close the lid and seal any open gaps with tape or hot glue.
- Connect the fan to your power source and watch it blow out chilled air!
Advanced Mini AC Version (Using Peltier Module)
What Is a Peltier Module?
This is a special chip that transfers heat from one side to another when powered by electricity.
Wiring and Setup
- Mount the Peltier module between two heat sinks (one hot, one cold).
- Use a CPU fan to disperse heat.
- Place the cold side inside your box to cool the air before it blows out.
Performance
While this version is more complex, it offers better cooling and longer operation without constantly adding ice.
Alternative Designs for Mini AC Projects
Plastic Bottle Design
- Cut a plastic bottle in half and fit a small fan into the top.
- Place ice below and let the cool air escape through holes.
Foam Box Design
- Styrofoam boxes have better insulation, so ice lasts longer.
Eco-Friendly Model
- Use recycled containers, cardboard, and solar-powered fans for a sustainable touch.
Decoration and Presentation Tips
Want to score bonus points at your school project fair? Here’s how:
- Paint or wrap your AC box with fun colors.
- Label each part clearly: fan, ice chamber, exhaust, etc.
- Add a small chart explaining the science behind it.
Troubleshooting Common Issues
Fan Not Working?
- Check the power supply and wires.
- Test the fan separately before installing.
Not Cooling Enough?
- Add more ice or use a better-insulated box.
Water Leaks
- Always keep your ice in a sealed tray or bag.
- Use waterproof sealants if necessary.
Safety Tips While Making the Project
- Keep water far away from electrical components.
- Wear gloves when using sharp tools or a hot glue gun.
- Don’t overload your battery or power source.
Maintenance and Reusability
- Replace melted ice and clean the container after use.
- Recharge or change batteries if you’re using them.
- Store in a dry place between uses.
Explaining the Project to Teachers and Judges
Need to pitch your project?
“This handmade mini AC demonstrates how air can be cooled through basic scientific principles like evaporation and heat transfer. It’s energy-efficient, budget-friendly, and shows the practical application of physics and electronics.”
Conclusion
Creating your own handmade mini AC project for school is more than just a fun activity—it’s a gateway into understanding the science of cooling, airflow, and creativity. With just a few easy-to-find items, you can build a working model that’s sure to impress your classmates and judges alike.
Thank you very much visiting my website get more Contenthttp://Click Here