
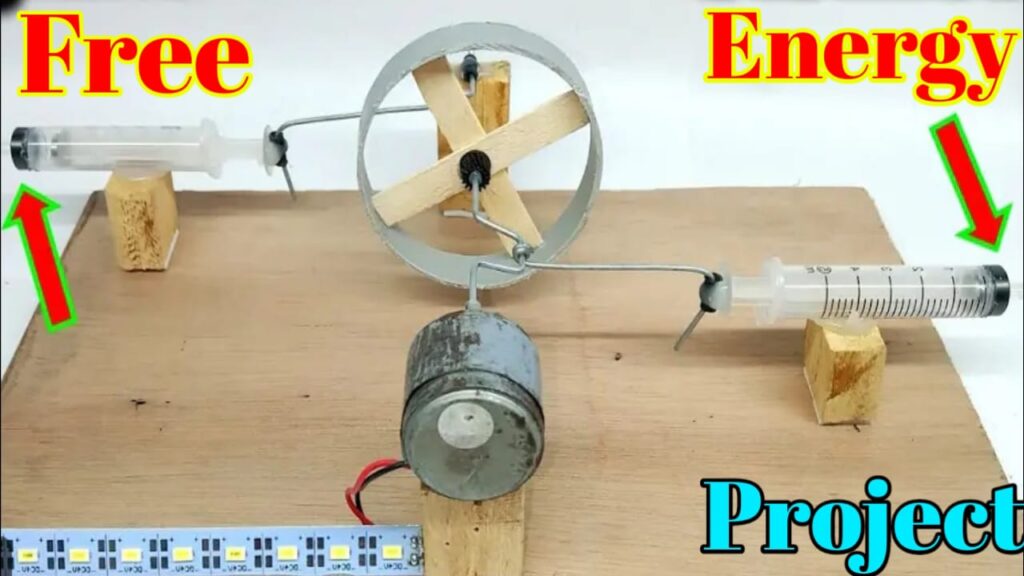
How to Make a DC Motor Using Free Energy Science School Project at Home
Introduction
A DC motor is a device that converts electrical energy into mechanical energy, a process that’s at the heart of many machines and electronic devices. Imagine being able to build one at home! Not only does it give you a hands-on understanding of basic physics, but it also allows you to experiment with energy conversion, which is a fantastic learning experience.
In this guide, we’ll show you how to build a simple DC motor from scratch using easy-to-find materials at home, and even demonstrate how you can power it using free energy sources, like solar power.
Understanding the Basics of a DC Motor
Before we dive into building your motor, let’s first understand how a DC motor works.
A DC (Direct Current) motor operates on the principle of electromagnetic induction. When current flows through a wire in a magnetic field, it creates a force that moves the wire. This force causes the wire (which is part of the motor) to rotate, thus creating mechanical motion.
Components of a DC Motor
The basic components of a simple DC motor include:
- Armature: The rotating part of the motor, usually a coil of wire.
- Commutator: A switch that reverses the direction of current flow in the coil.
- Brushes: Conductive materials that make contact with the commutator to supply power.
- Magnet: A stationary magnetic field that interacts with the armature to produce rotation.
- Power source: In this case, a battery or solar panel.
Materials and Tools Needed for free energy Project
Building a DC motor at home doesn’t require complex tools or expensive materials. Here’s a list of what you’ll need:
- Copper wire (preferably enamel-coated)
- Small magnet (neodymium magnets work well)
- Battery (1.5V AA battery works well)
- Battery holder (optional, but makes things easier)
- Paper clips (to make the motor’s stand and supports)
- Rubber band (to create a friction-free base)
- Electrical tape (for securing wires)
- Scissors or wire cutter (to cut wire)
- Sandpaper (for cleaning the wire ends)
- Cardboard or wooden base (to mount the motor)
- Safety glasses (for protection)
Make DC Motor Using Free Energy Science School Project
Safety Tips
- Wear safety glasses to protect your eyes from flying metal parts.
- Be careful when working with magnets, as they can be strong and might cause injury if mishandled.
Step-by-Step Guide to Building Your DC Motor
Create the Motor’s Base
Start by cutting a piece of cardboard or wood to serve as your base. You can also use a rubber band or paper clips to support the motor’s components. The base will hold the armature and magnet in place.
- Attach two paper clips to the edges of the base using tape. These will act as the supports for the armature.
Set Up the Armature
Now, take your copper wire and wrap it around a pencil or any round object to create a coil. Aim for around 15-20 loops of wire.
- Once you’ve coiled the wire, leave about 3-4 inches of wire on each end. These will be used for connecting to the power source later.
- Strip the ends of the wire with sandpaper to remove any enamel coating. This will allow the current to flow through the wire.
Build the Commutator
The commutator is necessary to reverse the direction of current flow in the armature, allowing it to keep spinning.
- Take a small piece of copper or aluminum tape and wrap it around the middle of the armature coil. This will create a simple commutator.
- Split the ends of the wire to allow contact with the brushes later.
Attach the Brushes and Connect Wires
Now, attach the brushes (made from paper clips or copper wire) to the base. These brushes will make contact with the commutator.
- Attach one end of a wire to each brush and place the other ends onto the battery’s terminals.
- Make sure the brush is firmly in contact with the commutator but can still move freely as the motor rotates.
Test Your DC Motor
Once everything is set up, connect the battery and see if the motor spins! If the motor doesn’t spin, check the connections and ensure the armature can rotate freely. You may need to adjust the brushes or ensure the wire ends are stripped correctly.
How to Power Your DC Motor Using Free Energy
If you want to go one step further and incorporate free energy into your project, you can power your motor using solar energy.
Using a Battery for Power
- To start simple, use a 1.5V AA battery to power the motor. Attach the wires from the brushes to the battery terminals. The current will flow through the motor and cause it to spin.
Solar Power Conversion
- Solar Panel: Connect a small solar panel (around 1.5V) to your motor’s brush system. The solar panel will convert sunlight into electricity, which will then power your motor.
- Testing: Place the solar panel in direct sunlight and observe if the motor starts spinning. It might work best on a bright, sunny day.
Testing Your DC Motor
Once you’ve completed your DC motor, testing it is a crucial step.
- How to Check if the Motor is Working: If your motor isn’t spinning, first check the battery. If you’re using a solar panel, make sure it’s in the sun. Also, ensure that the armature can rotate freely, and the wires are securely connected.
- Troubleshooting Tips: If your motor isn’t working, check the brushes to make sure they’re touching the commutator. Adjust the position of the brushes and make sure there’s no friction that could stop the motor from turning.
Improving the Efficiency of Your DC Motor
To improve the efficiency of your motor, consider the following:
- Use a Stronger Magnet: A stronger magnet will produce a more powerful magnetic field, making the motor more efficient.
- Optimize the Coil: Increase the number of coils on the armature for greater current flow.
- Minimize Friction: Ensure that the motor spins freely without excessive friction between moving parts.
Thank You for visiting my website Get more Content Click Here