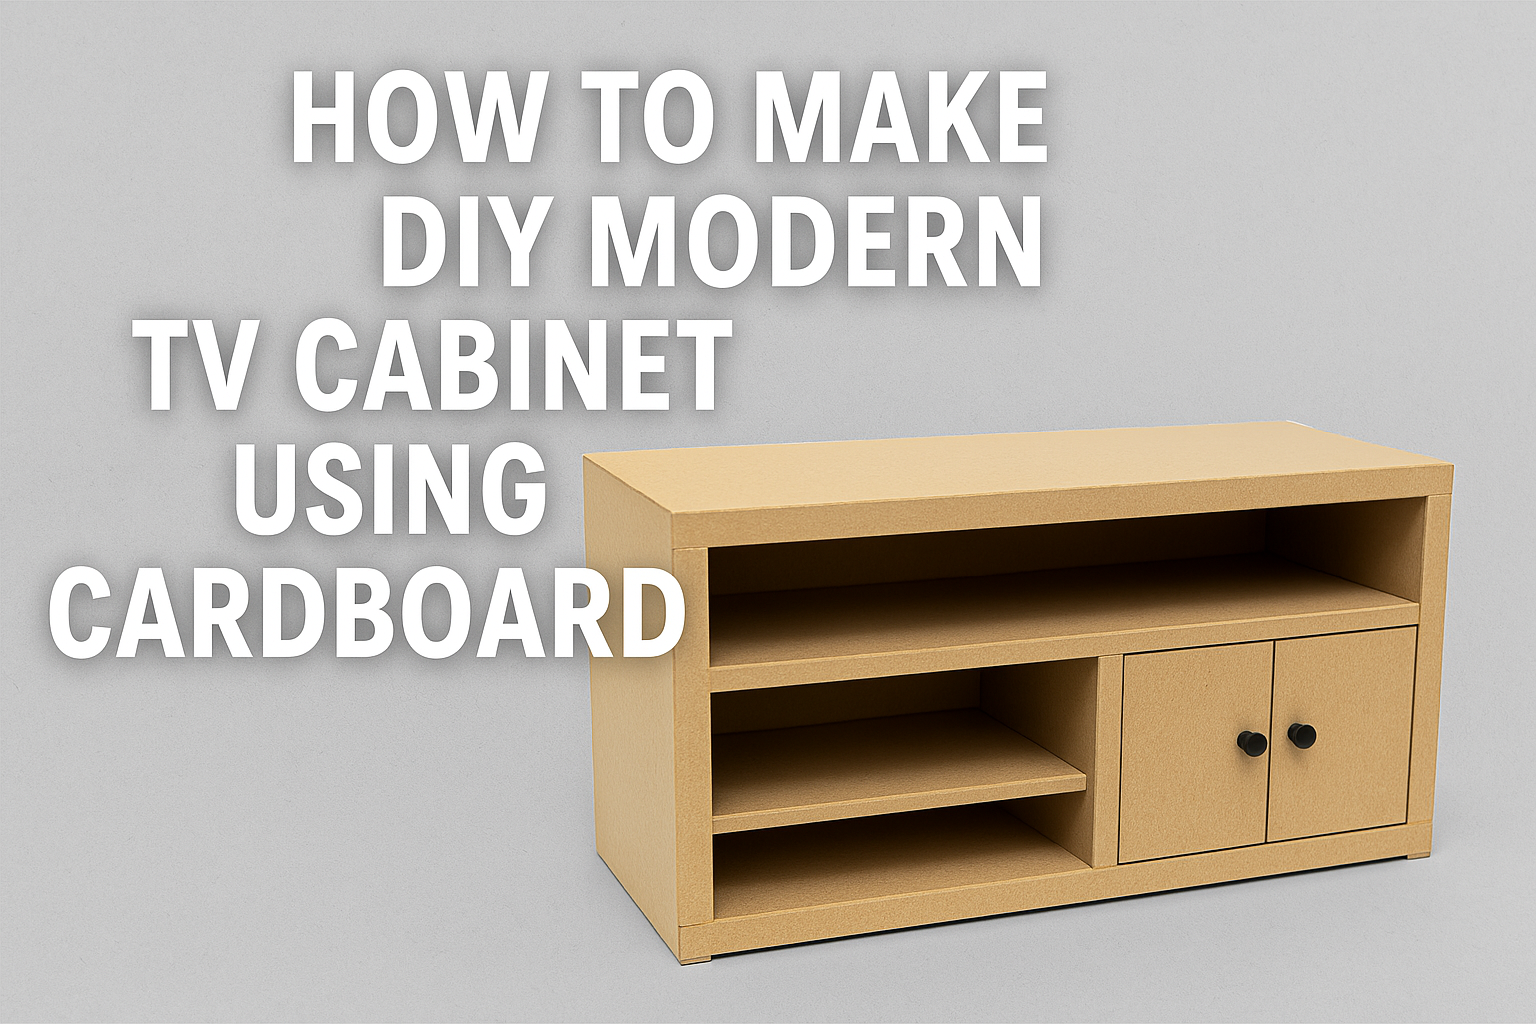
Creating furniture from cardboard is a fun, eco-friendly, and budget-conscious way to explore design and creativity. For a school project, building a DIY modern TV cabinet out of cardboard is not only impressive but also educational. It helps develop crafting, measuring, and problem-solving skills. In this guide, you’ll learn how to make a stylish modern TV cabinet step-by-step using easily available materials.

Materials Needed for Modern TV Cabinet
- Large cardboard sheets (recycled boxes work well)
- Pencil and ruler
- Craft knife or box cutter
- Hot glue gun and glue sticks
- Masking tape or paper tape
- White glue (PVA)
- Paint or colored paper for finishing
- Decorative handles (optional)
- Scissors
- Cutting mat or protective surface
Step-by-Step Instructions:
Planning and Measuring
Before cutting anything, sketch a basic design of your TV cabinet. A modern TV cabinet usually has clean lines, shelves, and sometimes side storage. For a school project, you can keep it simple but stylish. Decide the dimensions based on where it will be displayed or based on your model TV size (if it’s a scaled-down version). A good mini size would be 50 cm (length) x 20 cm (height) x 15 cm (depth).
Cutting the Base Pieces
Using your ruler and pencil, draw outlines on the cardboard for the base, top, sides, back, and front frame. You’ll need:
- 2 pieces for the top and bottom
- 2 side pieces
- 1 back panel
- Optional: 1 or 2 shelves for the inside
- Optional: Drawer fronts or cabinet doors
Carefully cut each piece with a craft knife on a cutting mat.
Assembling the Frame
Start by attaching the side panels to the base using hot glue. Then glue the top panel over the structure. Add the back panel to create a box shape. Reinforce all the joints using masking tape inside and out for extra strength.
Adding Shelves or Dividers
Measure and cut shelves to fit inside the cabinet. Glue them into position. You can add one in the center or create small cubbies for a modern, functional look. If making cabinet doors or drawers, cut out front panels and attach them using tape (for a flip-open design) or make them slide in and out.
Strengthening the Structure
To ensure durability, add extra strips of cardboard along the corners or inside the panels. Doubling the thickness makes it stronger, especially if you plan to place a model TV or other items on top.
Finishing Touches
Now the fun part—decorating! Paint the cabinet in a modern color like white, black, or wood tones. You can also cover it with colored paper or patterned wrapping paper for texture. For a wood-like finish, use brown paper and lightly paint with darker streaks. Add small handles made from beads or folded cardboard for a realistic look.
Tips for Success:
- Use a sharp blade for clean cuts.
- Always measure twice before cutting.
- Keep the design simple for easy assembly.
- Let glue dry completely before moving to the next step.
Conclusion
Making a DIY modern TV cabinet using cardboard is a fantastic school project that combines creativity with practical skills. It allows students to understand basic design principles while reusing materials in a sustainable way. With just a few tools and some imagination, you can create a functional, modern-looking piece that’s sure to impress teachers and classmates alike.
Thank you very much visiting my website get more content http://Click Here
