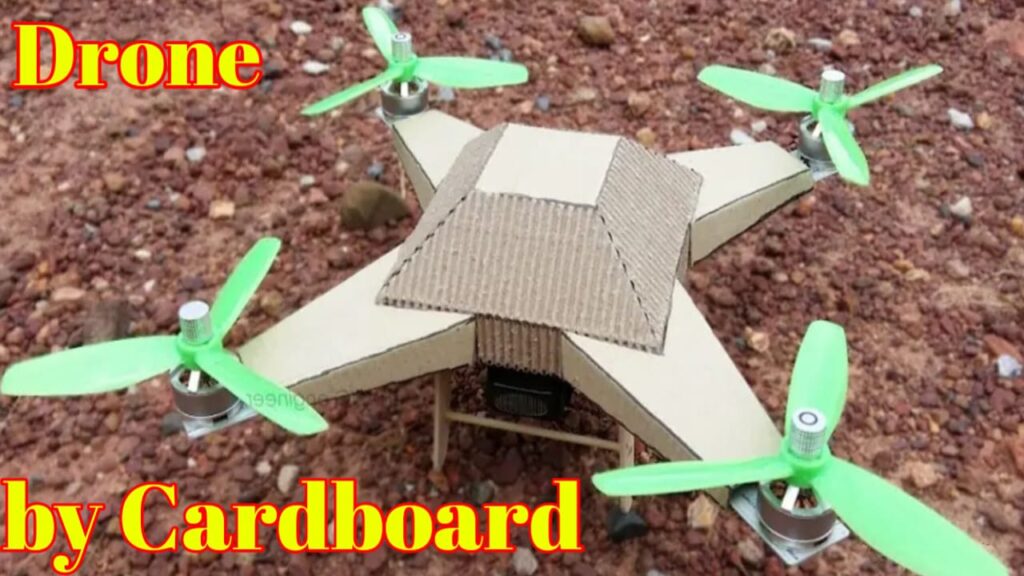
Making a remote control cardboard drone at home is a fun and educational project. While it won’t be as advanced as commercial drones, you can create a simple, functional drone using basic materials. Here’s a step-by-step guide.
Materials Needed For Remote Control Drone
- Cardboard (for the frame)
- DC Motors (4 small motors, typically used in DIY drones or toys)
- Propellers (4, matching the size of the motors)
- Battery (LiPo or small rechargeable battery, e.g., 3.7V)
- Remote Control System (e.g., a simple RC transmitter and receiver)
- Electronic Speed Controllers (ESCs) (4, to control motor speed)
- Flight Controller (optional, for stability; can use a simple Arduino-based board)
- Wires (for connections)
- Hot Glue Gun or strong adhesive
- Scissors/Cutter (for cutting cardboard)
- Soldering Iron (for connecting wires)
- Tape (for reinforcement)
- Zip Ties (to secure components)
Steps to Build the Drone:
1. Design the Frame
- Cut the cardboard into a symmetrical “X” or “H” shape. This will be the base of your drone.
- Ensure the arms are long enough to hold the motors and propellers without interfering with each other.
- Reinforce the frame with additional layers of cardboard or tape to make it sturdy.
2. Attach the Motors
- Mount the 4 motors at the ends of each arm.
- Use hot glue or zip ties to secure them firmly.
- Ensure the motors are aligned properly and face the correct direction (two clockwise, two counterclockwise for stability).
Make Remote Control Cardboard Drone at home
3. Connect the ESCs
- Solder the ESCs to each motor. These will control the speed of the motors.
- Connect the ESCs to the flight controller (if using one) or directly to the receiver.
4. Install the Flight Controller (Optional)
- If you’re using a flight controller, mount it in the center of the frame.
- Connect the ESCs and receiver to the flight controller.
- This will help stabilize the drone during flight.
5. Add the Battery
- Secure the battery in the center of the frame using tape or zip ties.
- Connect the battery to the ESCs and flight controller (if used).
6. Set Up the Remote Control
- Connect the receiver to the flight controller or directly to the ESCs.
- Pair the receiver with your remote control transmitter.
- Test the controls to ensure each motor responds correctly.
Make Remote Control Cardboard Drone at home
7. Attach the Propellers
- Install the propellers on the motors, ensuring they are securely fastened.
- Double-check the direction of rotation for each propeller (clockwise or counterclockwise).
8. Test and Balance
- Before flying, test the drone by powering it up and checking if all motors spin correctly.
- Ensure the drone is balanced. Adjust the position of components if necessary.
9. Fly Your Drone
- Start with short, low-altitude flights to test stability.
- Gradually increase the altitude as you gain confidence in controlling the drone.
Tips:
- Keep the drone lightweight to ensure better flight performance.
- Use a simple remote control system if you’re a beginner.
- If the drone is unstable, consider adding a gyroscope or flight controller for better balance.
- Always fly in an open, safe area away from people and obstacles.
This project is a great way to learn about aerodynamics, electronics, and remote control systems. Have fun building and flying your homemade cardboard drone.
Thank you very much visiting my website Get more Content Click Here