How To Make Toy Battery TOTO Car Using Cardboard for School Project
Introduction
Have you ever wanted to build your own toy car using nothing but cardboard? Sounds fun, right? Well, making a TOTO car out of cardboard is not just fun—it’s a fantastic school project that’s hands-on, educational, and eco-friendly. Plus, you get to show off your creativity!

Importance of DIY Projects in Learning
DIY projects help kids learn problem-solving, teamwork, and practical skills. Instead of just reading about how cars work, you actually build one—mini style!
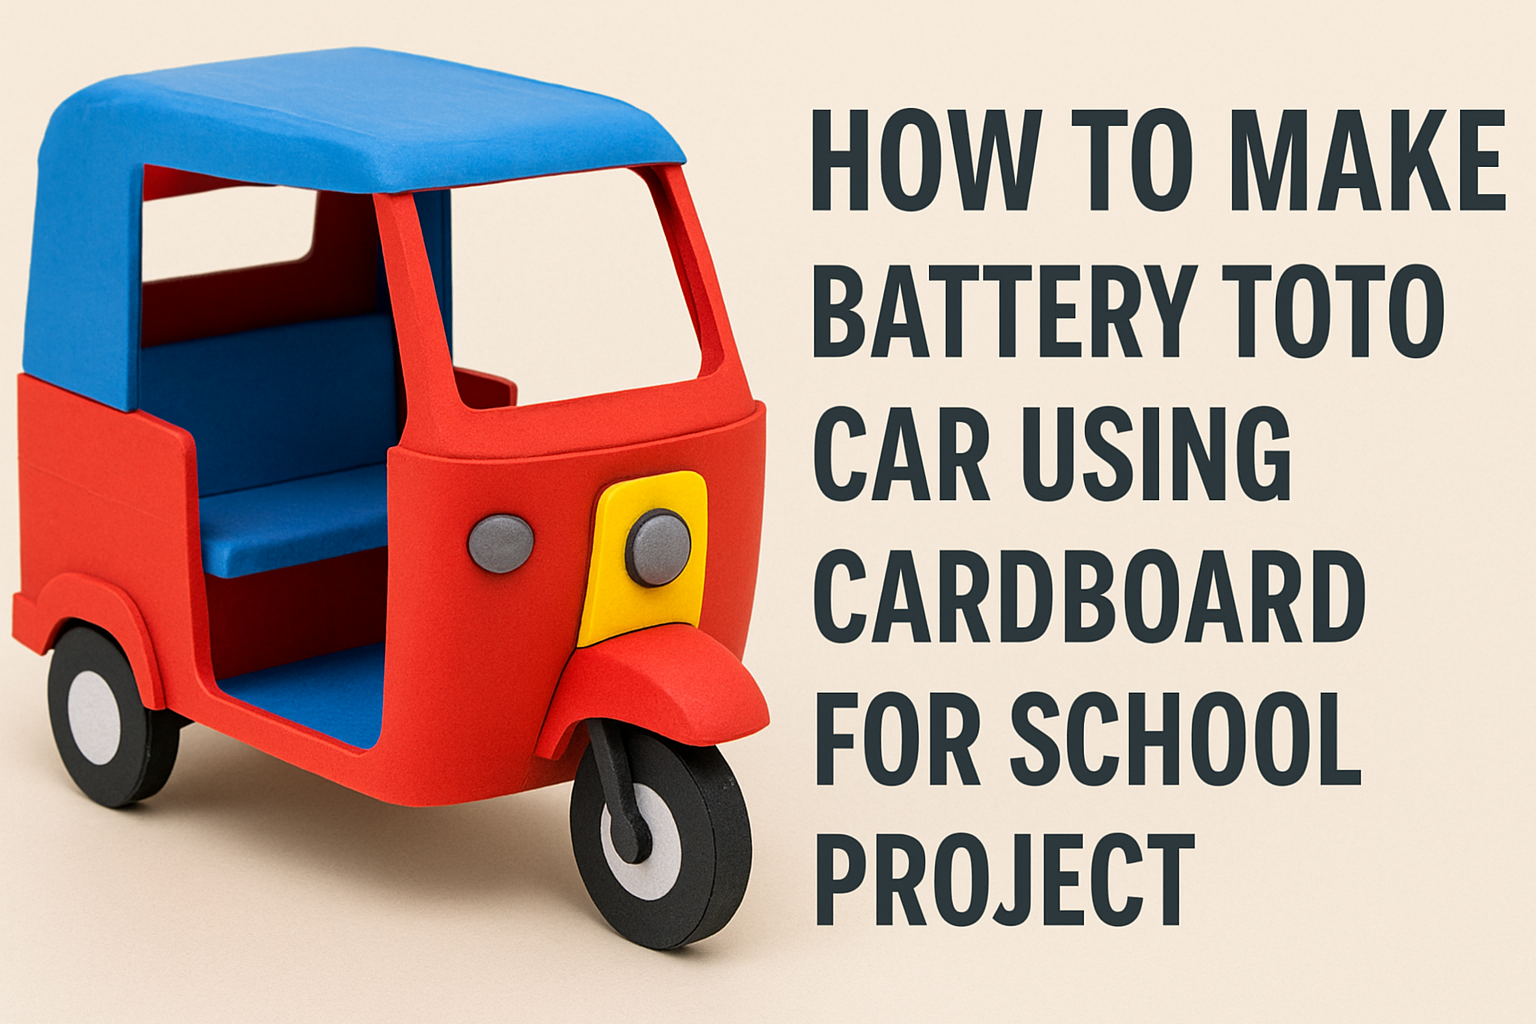
Why Choose a TOTO Car?
TOTO cars have a recognizable, boxy shape that’s simple to replicate and looks great as a model. Plus, it adds a cool touch to your project presentation.
Materials Required
To start, here’s what you’ll need:
- Cardboard sheets (thick, sturdy kind)
- Pencil and ruler
- Scissors or a cutter (with supervision)
- Hot glue gun or strong craft glue
- Skewers or sticks (for axles)
- Bottle caps or circular cardboard pieces (for wheels)
- Paints, markers, or colored paper (for design)
- Tape, paper clips, and safety pins (optional)
Designing the TOTO Car
First things first—get your sketch ready. Use a pencil and ruler to draw the sides, front, and back of your car. Keep it around 6–8 inches long for easy handling.
Make sure you also draw where the windows and doors will go. For the wheels, plan out small circles, about 1.5 inches in diameter.
Cutting the Cardboard
Now carefully cut out the car parts along your lines. Use scissors for curves and a cutter for straighter edges. Always ask an adult for help if needed.
Safety first: Keep your fingers away from blades and work on a stable surface.
Assembling the Car Body
Use glue to attach the sides and bottom part of the car together. Fold where needed and make strong joints. Reinforce inside edges with strips of cardboard if it feels weak.
Cut out window spaces and attach thin strips around them for a clean look.
Making the Wheels
Wheels are key! If you’re using cardboard, cut out four identical circles. If you want smoother rolling, use plastic bottle caps. Stick a toothpick or skewer through the center as an axle.
Make small holes in the base of the car to insert your axle and make sure it rotates freely.
Adding the TOTO Details
Now let’s make it scream “TOTO”! You can draw or print the TOTO logo and stick it on the sides. Paint the body red, white, or black—the classic TOTO colors.
Get creative! Add stripes, number plates, and headlights using colored markers or paper.
Testing the Car
Give it a roll on the floor. Does it move smoothly? If not, check if the wheels are rubbing against the body or if the axles are too tight.
Make small tweaks and test again until it moves nicely.
Presenting the Project
When presenting it at school, explain what inspired your design, the materials you used, and what you learned from making it. Bonus points if you bring sketches or take pictures during the process!
Benefits of Cardboard Projects
They’re cheap, accessible, and spark creativity. You’ll learn how to work with measurements, tools, and materials—all while having a blast
Conclusion
Making a toy TOTO car from cardboard is an awesome way to mix fun and learning. It’s simple, budget-friendly, and gives you the satisfaction of building something cool with your own hands. So grab that cardboard and get building
Thank you very much visiting my website get more contenthttp://Click Here