Introductionh
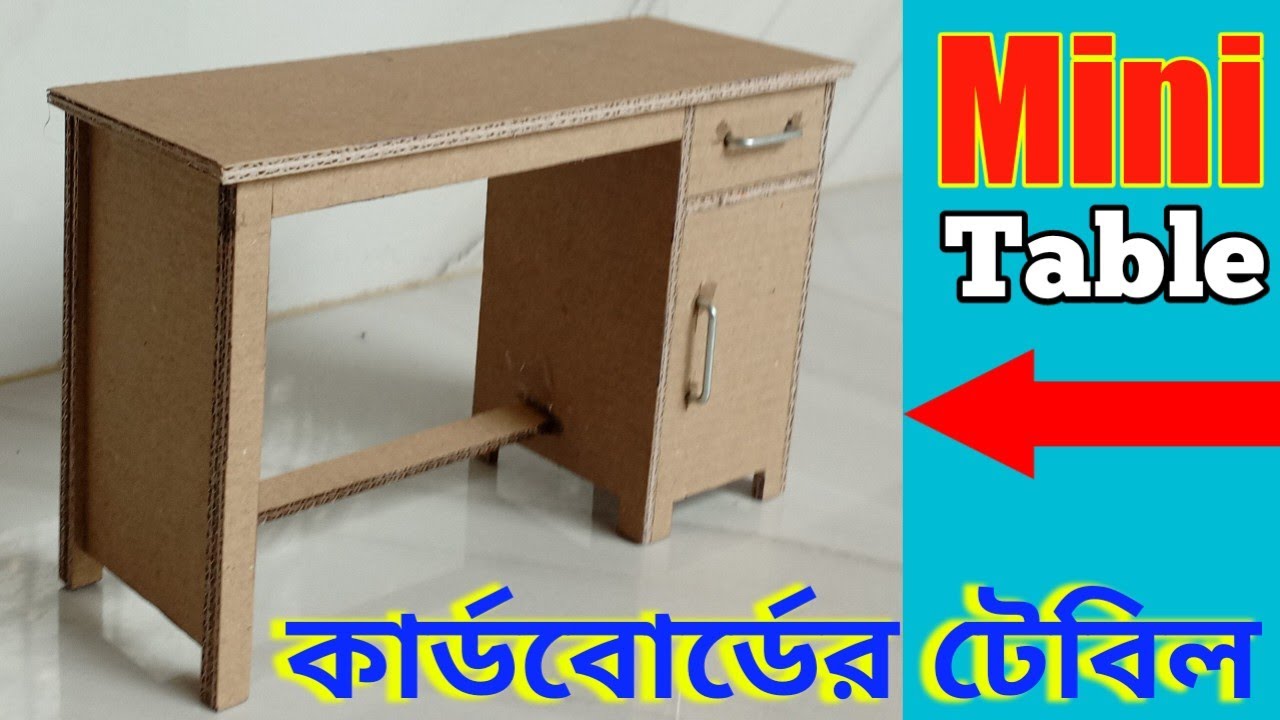
In this article, we will guide you on how to create a mini table for your school project using cardboard. It’s a fun and creative way to showcase your DIY skills while fulfilling the requirements of your assignment. Whether you’re a student or a parent helping out, this step-by-step guide will assist you in creating an impressive mini table that will surely stand out.
1. Supplies Needed
Before we dive into the process, let’s gather all the necessary supplies:
- Cardboard sheets
- Ruler
- Pencil
- Utility knife or scissors
- Glue or adhesive tape
- Acrylic paints
- Paintbrushes
- Decorative materials (optional)
- Clear varnish (optional)
2. Planning and Design
To ensure a successful project, it’s important to plan and design your mini table beforehand. Consider the size, shape, and functionality you desire. You can draw a rough sketch or use online design tools to visualize your ideas.
3. Measuring and Cutting the Cardboard
Using a ruler, measure and mark the dimensions of the table on the cardboard sheets. Carefully cut along the marked lines using a utility knife or scissors. Make sure to cut out the tabletop, table legs, and any additional components according to your design.
4. Assembling the Table Base
Take the cut-out table legs and position them vertically on a flat surface. Apply glue or adhesive tape to the connecting edges and press them firmly together. Allow the base to dry and strengthen before moving on to the next step.
5. Creating the Tabletop
Place the cardboard tabletop on a clean and stable surface. Apply glue or adhesive tape to the table legs and carefully attach them to the underside of the tabletop. Ensure they are aligned properly and hold them in place until the adhesive sets.
6. Painting and Decorating
Now comes the fun part! Use acrylic paints to add color and personality to your mini table. You can paint it in a single color or create intricate designs and patterns. Let your creativity flow! Once the paint is dry, you can further enhance the aesthetics by adding decorative materials like stickers, sequins, or washi tape.
7. Final Touches
To protect your artwork and add a glossy finish, consider applying a coat of clear varnish. This step is optional but can significantly enhance the durability and visual appeal of your mini table. Allow the varnish to dry completely before handling the table.
Conclusion
Congratulations! You have successfully created a mini table for your school project using cardboard. This DIY project not only showcases your creativity but also helps you develop essential skills in planning, designing, and executing ideas. Enjoy using your mini table for various purposes, such as displaying small items or as a study desk for your miniature figurines.
Thank you very much visiting For Website http://creativitytopper.com
- How To Make DIY Mini bus Project From Cardboard at home. - May 8, 2024
- How To Make Humidifier Spray Module / Mist Maker Project . - April 27, 2024
- How To Make a New Model Subwoofer Box Project by Cardboard - April 15, 2024