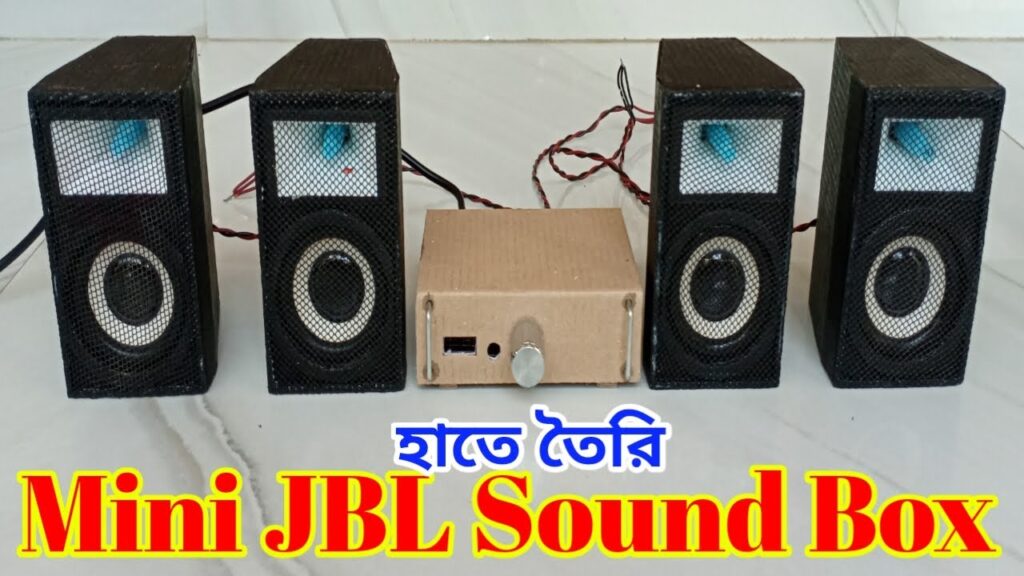
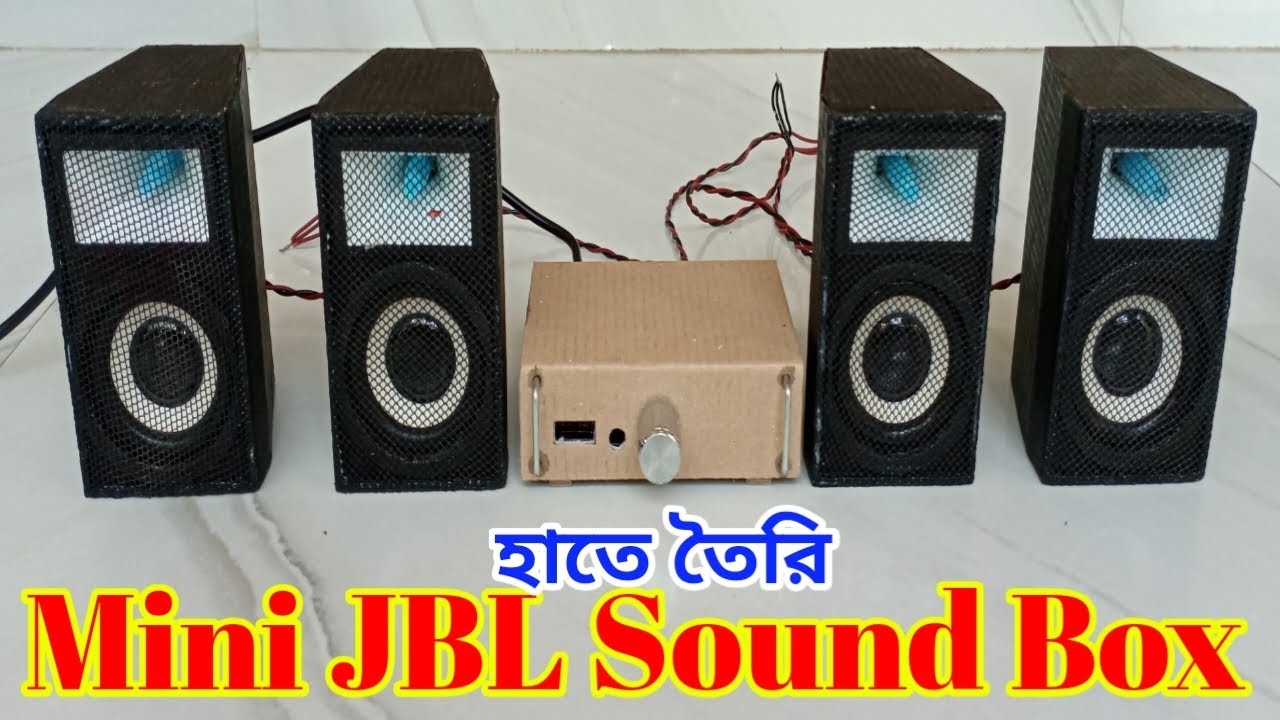
Are you looking for an affordable way to enjoy high-quality sound? In this article, we will guide you through the process of creating an amazing JBL sound box using cardboard. With a few simple steps, you can build your own portable speaker that produces impressive audio performance. So, let’s dive in and explore how to make this DIY project a reality.
Materials Needed
Before we begin, let’s gather the necessary materials:
- Cardboard sheets
- Ruler and pencil
- Craft knife or scissors
- Glue or adhesive tape
- JBL speaker components (driver, tweeter, crossover)
- Speaker wire
- Amplifier board
- Power source (battery or adapter)
- Audio input cable

Step 1: Preparing the Cardboard
The first step is to prepare the cardboard sheets. Measure and mark the dimensions for the speaker box on the cardboard using a ruler and pencil. You will need to cut out several pieces, including the front, back, sides, and top/bottom panels.
Step 2: Designing the Speaker Box
Once you have the cardboard pieces ready, it’s time to design the speaker box. Consider the size and shape of the JBL speaker components you will be using and create appropriate openings for them. Make sure to leave enough space for the wires and cables to connect the components.
Step 3: Cutting and Assembling the Box
Using a craft knife or scissors, carefully cut out the marked cardboard pieces. Take your time to ensure clean and precise cuts. Once all the pieces are cut, assemble the box by attaching the front, back, sides, and top/bottom panels together using glue or adhesive tape. Make sure the box is sturdy and well-constructed.
Step 4: Adding Speaker Components
Next, it’s time to add the JBL speaker components to the box. Install the driver, tweeter, and crossover in their designated openings. Follow the manufacturer’s instructions to properly secure and mount the components. Double-check their alignment and make any necessary adjustments.
Make Handmade Amazing Mini JBL Sound Box with Cardboard.
Step 5: Wiring the Sound System
Now comes the wiring part. Connect the amplifier board to the speaker components using speaker wire. Ensure proper polarity and secure connections. Additionally, wire the amplifier board to the power source and the audio input cable. Double-check all the connections to avoid any potential issues.
Step 6: Testing and Fine-Tuning
With everything wired up, it’s time to test your DIY JBL sound box. Connect your audio source to the input cable, power up the amplifier, and play some music. Listen carefully to the sound output and make any necessary adjustments to achieve the desired audio quality. Experiment with different settings and fine-tune the sound to your preference.
Conclusion
Congratulations! You have successfully created an amazing JBL sound box using cardboard. This DIY project allows you to enjoy high-quality sound without breaking the bank. Remember to be patient and meticulous throughout the process, ensuring proper construction and wiring. Now, you can impress your friends and family with your handmade speaker that delivers exceptional audio performance
