Creating a handmade steam engine system for a school science project is an engaging and educational activity. This project allows students to learn about the principles of steam power, mechanics, and simple machines. Follow these steps to make your own steam engine system:
Materials Needed:
- Tin can
- Copper tubing
- Small metal container (such as a metal bottle cap)
- Rubber stopper
- Drill
- Candle or small heat source
- Water
- Pliers
- Scissors
- Tape
- Optional: paint, stickers, or other decorative materials
Step 1: Prepare the Tin Can
Start by cleaning the tin can thoroughly and removing any labels. This will be the base of your steam engine system.
Step 2: Create the Steam Chamber
Drill a small hole near the bottom of the tin can. This is where the copper tubing will enter the can. Insert the copper tubing through the hole and secure it in place with a rubber stopper.
Step 3: Make the Piston
Cut a small piece of the copper tubing and bend it into a loop or circle to create the piston. This will move up and down inside the steam chamber.
Step 4: Construct the Valve System
Using the small metal container, create a valve system that allows steam to enter the steam chamber and then escape. This can be achieved by drilling a hole in the metal container and attaching it to the copper tubing with a rubber stopper.
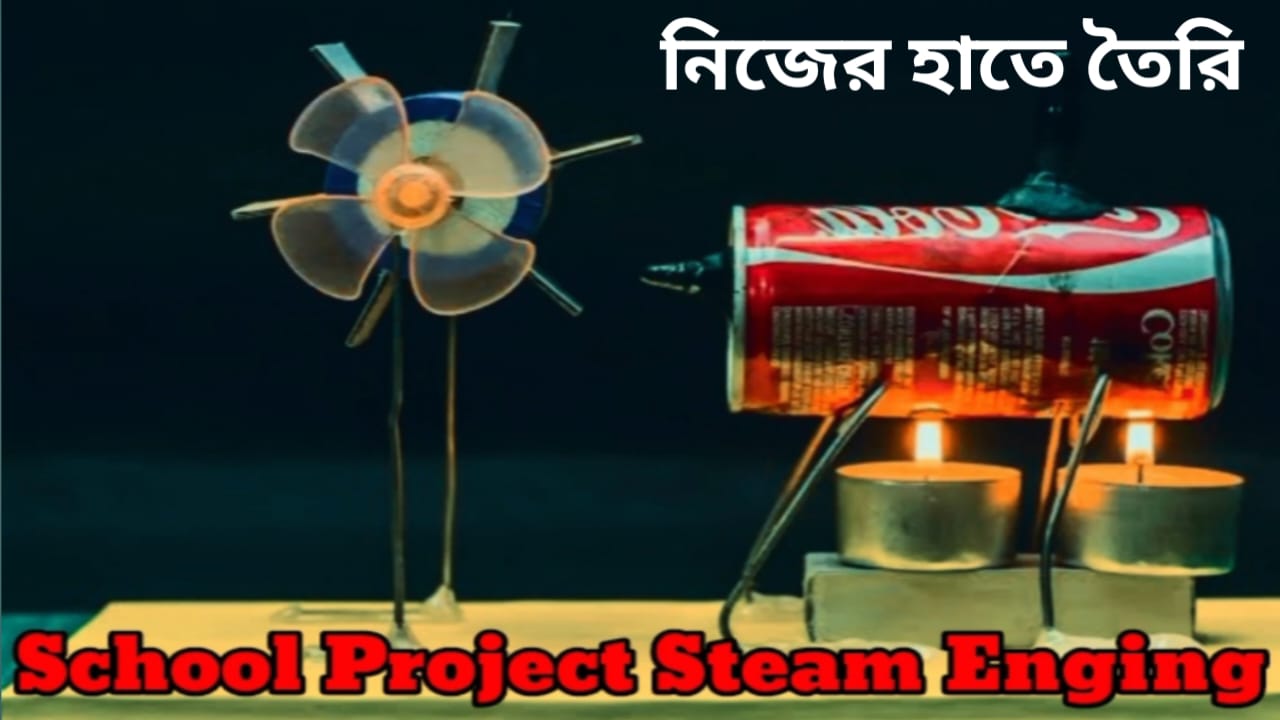
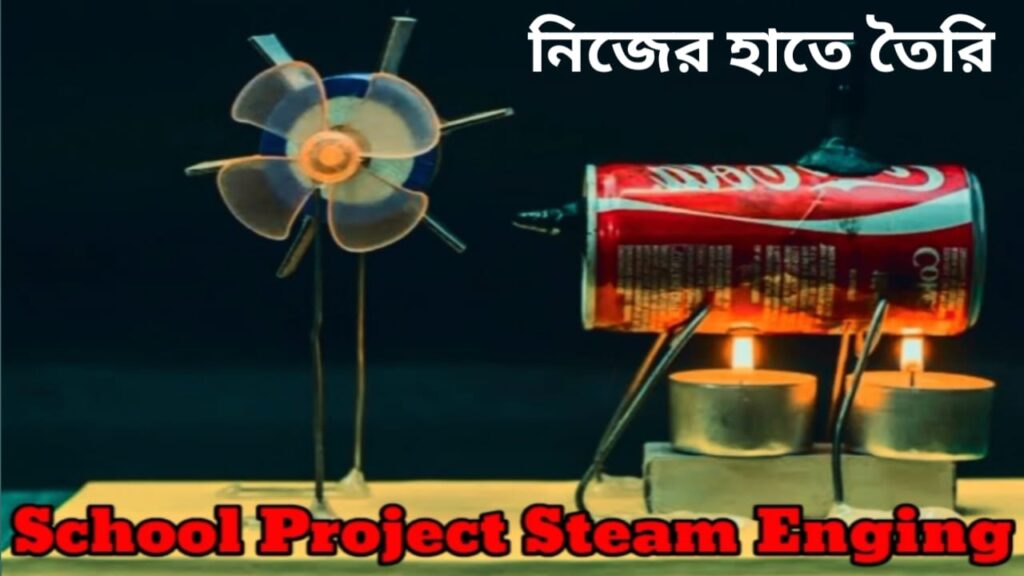
How To Make School Science Project Steam Engine System.
Step 5: Assemble the Steam Engine System
Attach the piston to the rubber stopper inside the steam chamber. Make sure it moves freely up and down. Seal any gaps with tape to prevent steam from escaping.
Step 6: Add Water
Fill the tin can with water, but make sure not to overfill it. The water will be heated to create steam, which will power the piston.
Step 7: Heat the System
Place the tin can over a candle or other small heat source. As the water heats up, steam will be generated, causing the piston to move up and down.
Step 8: Observe and Experiment
Watch as the steam engine system operates. You can experiment with different heat sources, amounts of water, and valve configurations to see how they affect the system’s performance.
Step 9: Decorate (Optional)
Once you have tested your steam engine system and ensured it works properly, you can decorate it with paint, stickers, or other decorative materials to make it more visually appealing.
Conclusion:
Making a handmade steam engine system for a school science project is a fun and educational way to learn about steam power and simple machines. By following these steps and experimenting with different configurations, you can create a working model that demonstrates the principles of steam power.
Thank you very much visiting for websitehttps://creativitytopper.com
- How To Make DIY Mini bus Project From Cardboard at home. - May 8, 2024
- How To Make Humidifier Spray Module / Mist Maker Project . - April 27, 2024
- How To Make a New Model Subwoofer Box Project by Cardboard - April 15, 2024