
Introduction
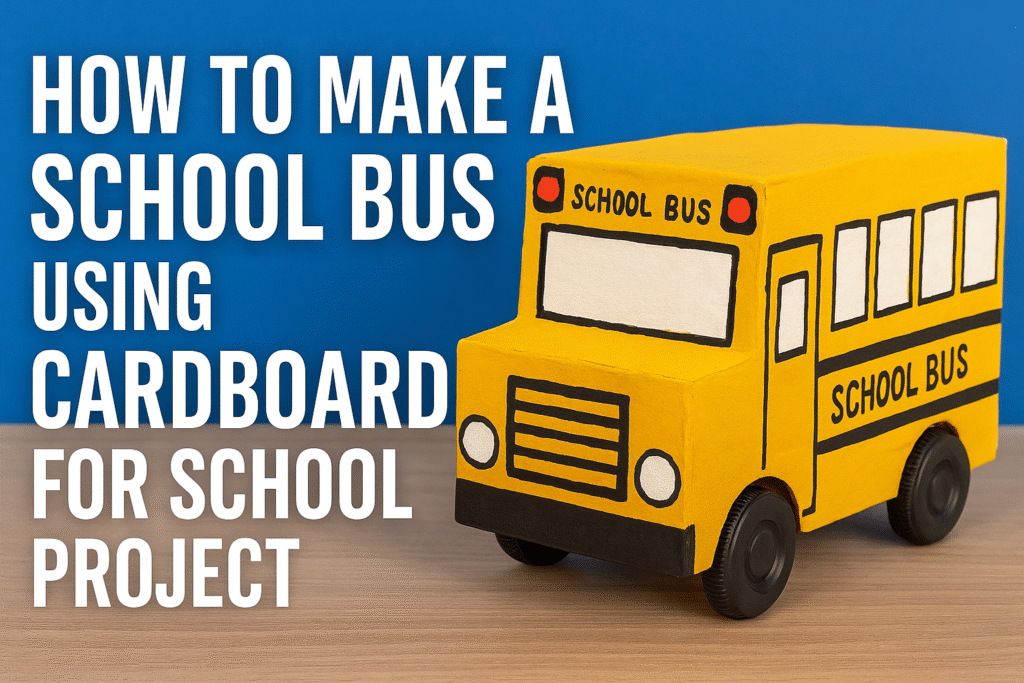
Ever wondered how to turn a simple piece of cardboard into something super cool? Well, today, we’re diving into making a school bus out of cardboard for a school project! Cardboard crafts aren’t just fun—they’re a brilliant way to get creative without needing a ton of fancy supplies.
Why Cardboard Crafts are Popular
Cardboard is easy to find, cheap, and surprisingly strong. Plus, it’s super forgiving if you make a mistake—you can just cut another piece!
Importance of School Projects in Learning
Projects like this teach patience, creativity, and hands-on problem-solving skills. Plus, it’s a great way to show off your awesome skills to your classmates and teachers.
Materials You Will Need
Before we dive into the fun part, let’s gather everything we’ll need.
Basic Materials List
- Cardboard sheets (medium thickness)
- Scissors or craft knife
- Ruler and pencil
- Hot glue gun or strong glue
- Acrylic paints (yellow, black, white)
- Paintbrushes
- Black marker
- Bottle caps (for wheels)
Optional Decorations and Add-Ons
- Glitter
- Colored paper
- Stickers
- Mini passengers (drawn or printed)
Step-by-Step Instructions
Alright, roll up your sleeves—let’s get crafty!
Planning Your Design
Sketch a simple school bus design on a piece of paper. Think about the windows, doors, and size of your bus.
Measuring and Cutting the Cardboard
Use your ruler and pencil to draw the different parts of the bus:
- Two large rectangles for the sides
- Two smaller rectangles for the front and back
- One rectangle for the roof
- One rectangle for the base
Cut everything out carefully.
Creating the Bus Shape
Lay out the cut pieces to make sure they all fit together like a box. Adjust if necessary before gluing.
Assembling the Bus Body
Using your glue gun (or strong glue), attach the sides, front, back, roof, and base together. Hold each part in place for a few seconds to dry properly.
Making the Wheels
Use bottle caps for wheels! Paint them black first, then glue four of them to the bottom of your bus.
Adding Details Like Windows and Doors
Draw windows and doors directly on the cardboard using a black marker. If you want, cut out window shapes and stick colored paper behind them.
Painting Your School Bus
Time for color! Paint your entire bus yellow. Let it dry completely before adding black lines and small details like lights and bumpers.
Final Touches and Decorations
Add any fun extras—maybe some glitter to make it shine, stickers, or tiny paper signs that say “SCHOOL BUS.”
Tips for a Professional-Looking School Bus
Want to impress your classmates and teachers? Here’s how:
How to Make Your Project Stand Out
- Use a ruler for straight lines.
- Layer your paint coats for a smooth finish.
- Add tiny touches like headlights and emergency doors!
Common Mistakes to Avoid
- Rushing the drying process—paint needs time!
- Cutting without measuring—uneven pieces make assembly tough.
Conclusion
Making a school bus out of cardboard is a super fun project that brings your creativity to life. Plus, it’s a cool way to recycle materials and make something amazing from scratch. So grab that cardboard, channel your inner artist, and roll out your masterpiece.
Thank you very much visiting my website get more content http://Click Here