Making an ice cream cart with a robot can be a fun and creative DIY project that combines art, engineering, and technology. With some basic materials such as cardboard, glue, scissors, and a few electronic components, you can build a unique ice cream cart that moves and dispenses ice cream with the help of a robotic arm. In this article, we will guide you through the steps to create your own ice cream cart with a robot.
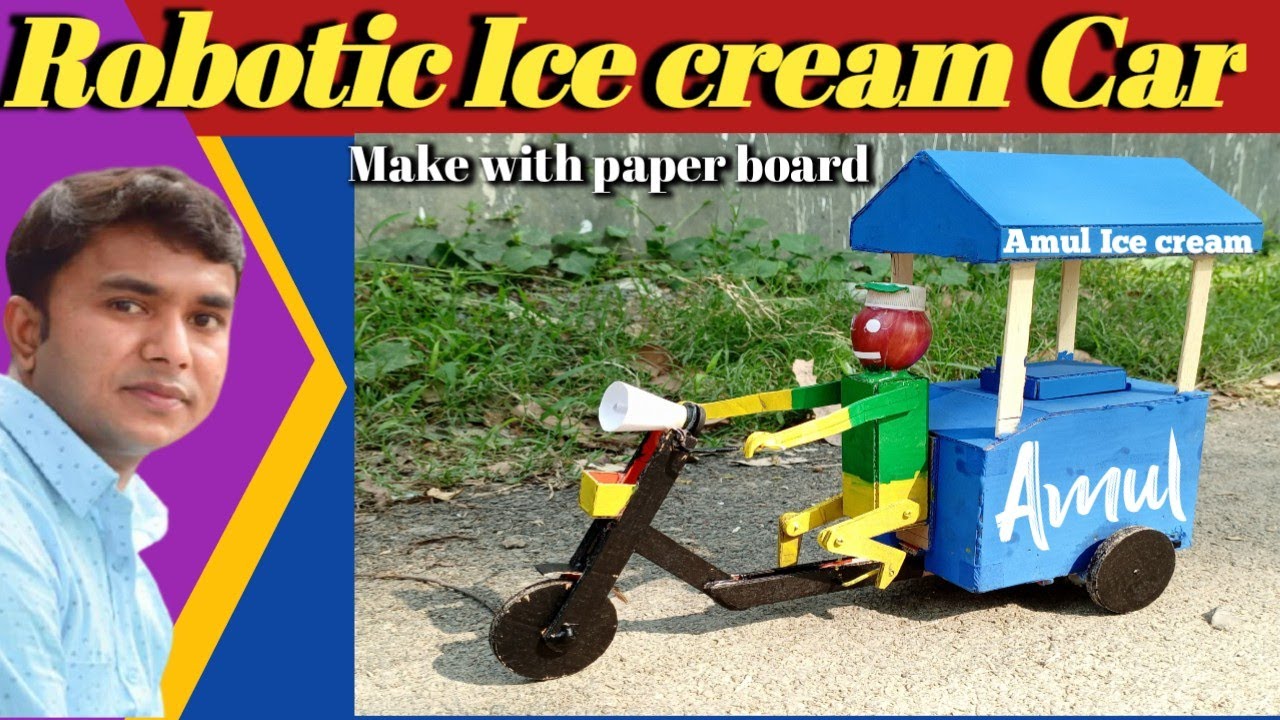
Make ICE Cream Car With Robot By Cardboard
Materials Needed:
- Cardboard sheets
- Glue gun
- Scissors
- Hobby knife
- Servo motors
- Arduino board
- Breadboard
- Jumper wires
- Battery pack
- Ice cream scoop
Make ICE Cream Car With Robot By Cardboard
Step 1: Design your ice cream cart Start by sketching your ice cream cart design on paper. You can make it as simple or complex as you like, but make sure to include a space for the robot arm to move and the ice cream to be dispensed. Once you have a rough idea of the design, transfer it onto cardboard sheets.
Step 2: Cut out the pieces Using scissors and a hobby knife, cut out the cardboard pieces according to your design. You will need a base, sides, front, back, and a roof for the cart. Cut a rectangular hole in the front for the robot arm to move, and a circular hole in the roof for the ice cream scoop.
Step 3: Assemble the cart Using a glue gun, glue the pieces together to form the cart. Be sure to reinforce the joints with extra cardboard strips for stability.
Step 4: Install the servo motors Attach the servo motors to the cart using screws or glue. You will need two servo motors – one to move the robot arm and the other to dispense the ice cream.
Make ICE Cream Car With Robot By Cardboard
Step 5: Connect the electronics Connect the servo motors to an Arduino board using jumper wires and a breadboard. Follow the instructions on the servo motor datasheet to ensure proper connections. Connect the battery pack to the Arduino board to power the motors.
Step 6: Program the robot Write a program in the Arduino IDE to control the robot arm and ice cream dispenser. Use the servo library to control the motors and set the angles for each movement. Test the program to ensure that the robot arm moves smoothly and the ice cream is dispensed accurately.
Step 7: Add finishing touches Decorate the ice cream cart with colorful paint, stickers, or other embellishments to give it a unique look. You can also add a sign or banner to advertise your ice cream flavors.
Congratulations! You have now created your own ice cream cart with a robot. With a little creativity and imagination, you can make your robot ice cream cart even more exciting and functional by adding features like a mobile app control, a speaker system, or a video display. The possibilities are endless.
Thank You Very much visiting For Websitehttp://creativitytopper.com
- How To Make DIY Mini bus Project From Cardboard at home. - May 8, 2024
- How To Make Humidifier Spray Module / Mist Maker Project . - April 27, 2024
- How To Make a New Model Subwoofer Box Project by Cardboard - April 15, 2024