Making a house model for a school project can be super fun and creative! Here’s a step-by-step guide, and you can adjust it depending on what materials you have and how detailed you want it to be.
Materials Needed for House model
- Cardboard or foam board (for walls and roof)
- Glue or hot glue gun
- Scissors or a craft knife
- Ruler and pencil
- Markers, paint, or colored paper (for decoration)
- Optional: popsicle sticks, matchsticks, clay, plastic sheets (for windows), or LED lights
Step-by-Step Instructions:
Plan Your Design
- Sketch your house on paper first: how many rooms, one or two floors, flat or sloped roof?
- Decide the size of your model.
Cut the Base
- Use cardboard or foam board for the base. Make sure it’s large enough to fit your whole house.
Build the Walls
- Cut out four pieces for the main walls (front, back, and two sides).
- Cut out windows and doors if you want.
- Glue the walls together and stick them on the base.
Add a Roof
- For a flat roof: Just cut a rectangle and glue it on top.
- For a sloped roof: Cut two identical rectangles or trapezoids, and join them at an angle.
Make Cardboard House model for school project
Decorate the House
- Paint the walls, or cover them with colored paper.
- Use transparent plastic for windows.
- Use small sticks for window panes or fences.
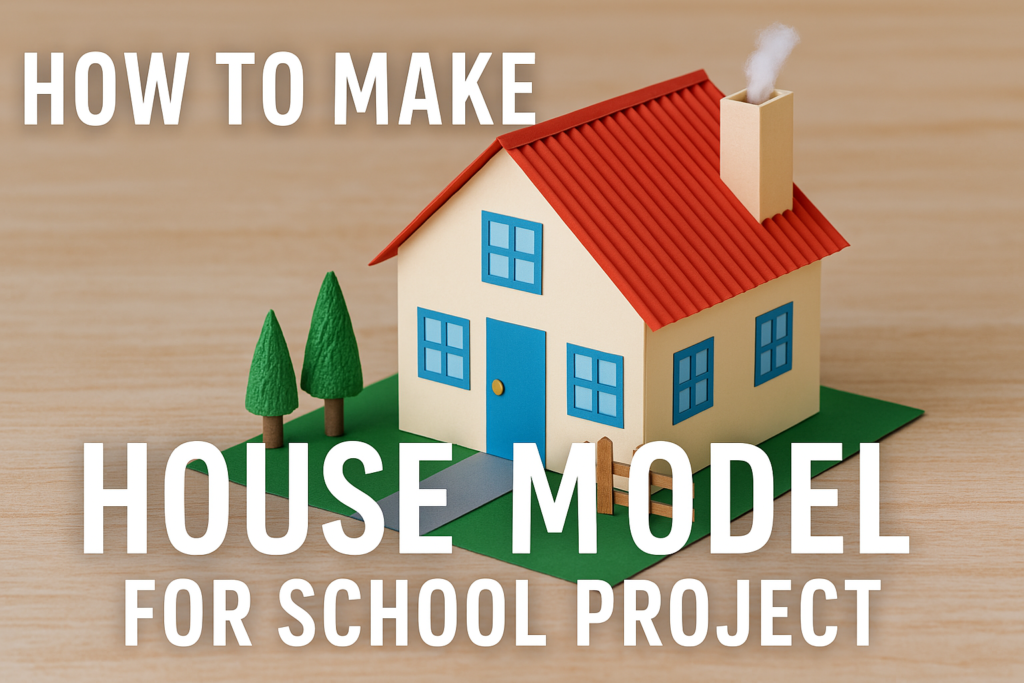
- Add cotton for smoke from a chimney or green paper for grass/trees.
Add Extra Details (Optional)
- Interior: You can divide the inside into rooms with more cardboard and add furniture using matchboxes, clay, or paper.
- Lights: Small LED lights or fairy lights can make it pop!
- Garage, garden, pathway, etc.
Great for Younger Students:
If you’re doing this for primary or middle school, you can also use a shoebox as the main structure and build around it.
Thank you very much visiting my website get more contenthttp://Click Here