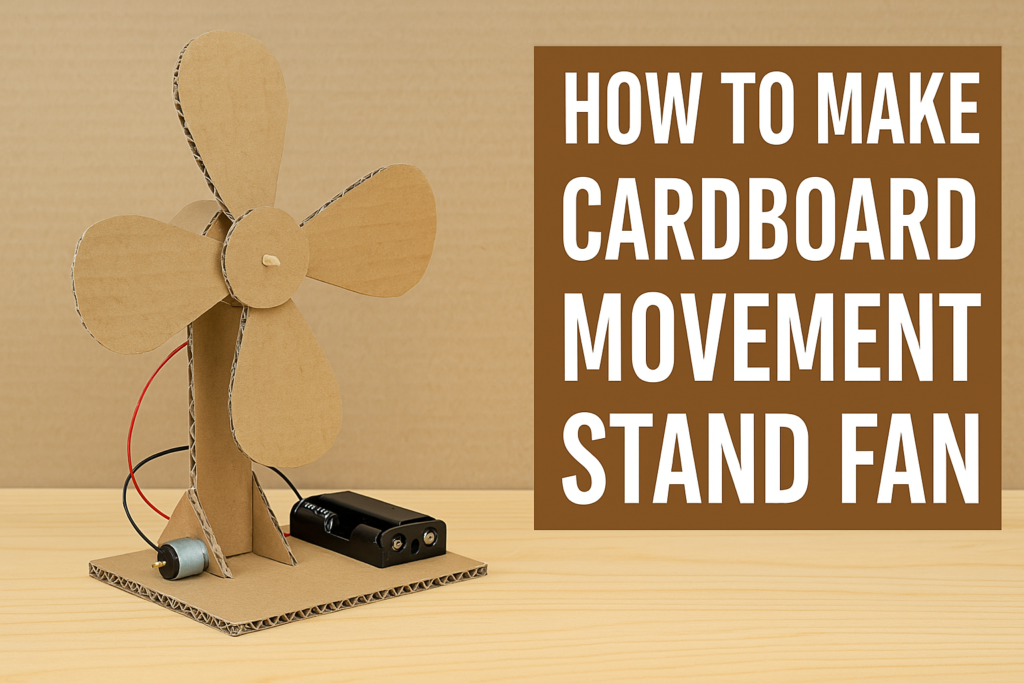
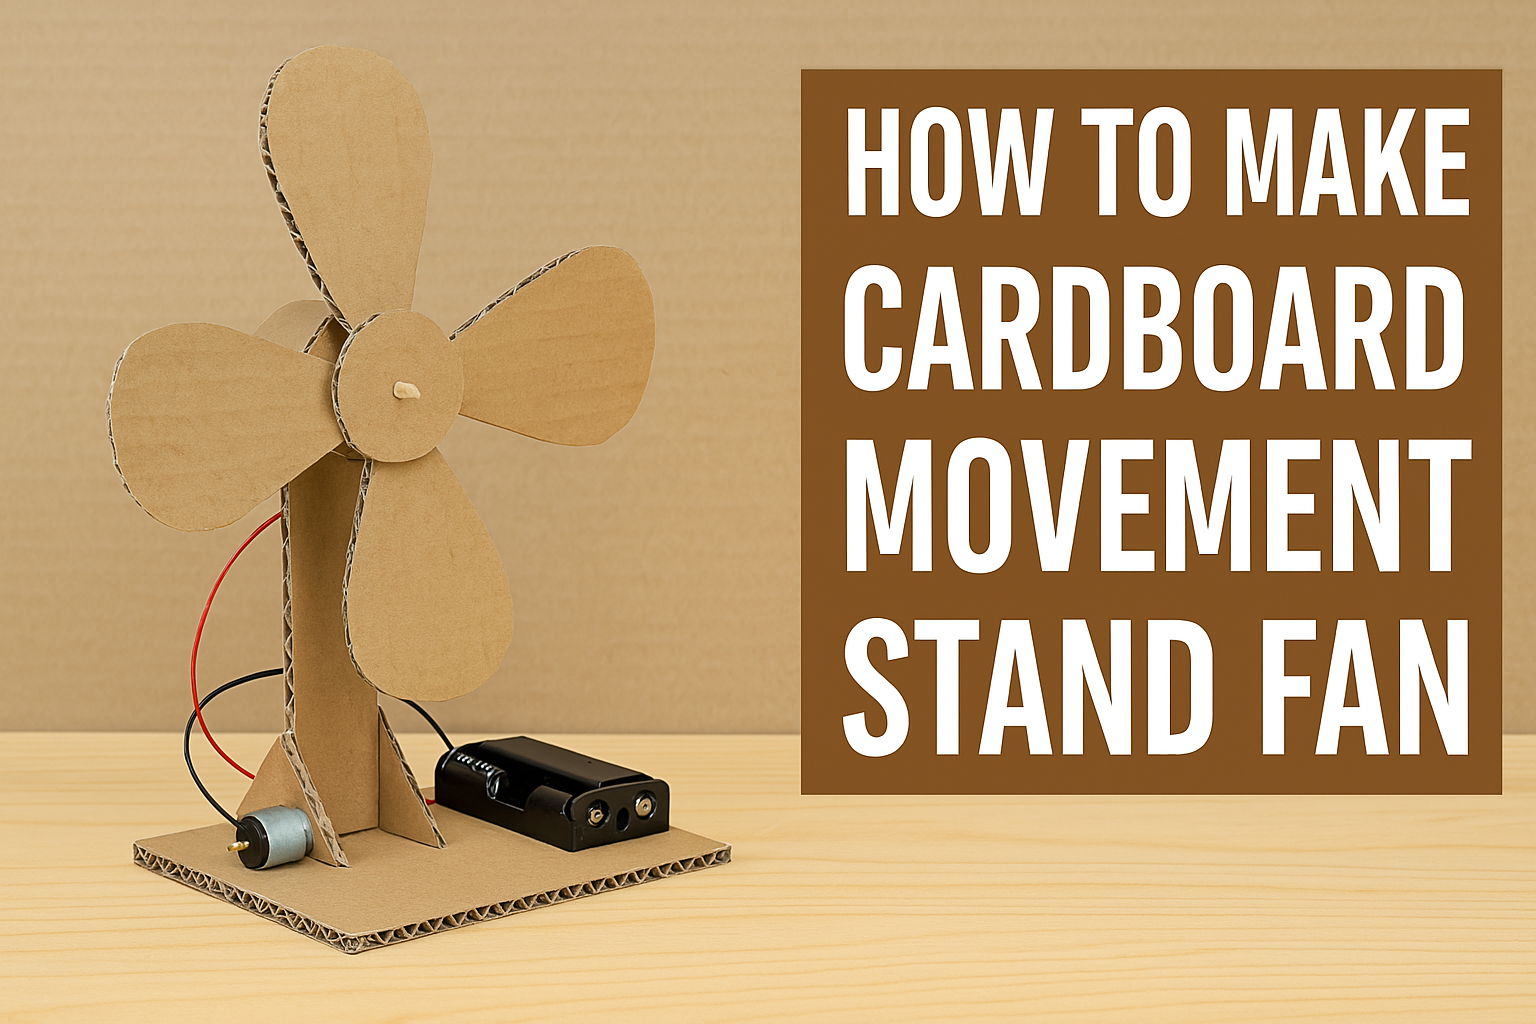
How To Make Cardboard Movement Stand Fan for School Project
Introduction
Ever wanted to wow your classmates with a cool DIY project? A cardboard movement stand fan is the perfect school project—it’s creative, educational, and super fun to make! Not only does it demonstrate how simple machines and circuits work, but it also gives you a chance to showcase your crafting skills. Let’s dive into how you can make one all by yourself!

Materials Needed for Stand Fan project
Basic Materials
- Cardboard sheets (thick and sturdy)
- Scissors or craft knife
- Glue (hot glue or craft glue)
- A small motor (DC motor or toy motor)
- Skewers or wooden sticks (for the rotating shaft)
- Paper fasteners (brads)
- Tape (duct or masking)
- Small battery holder with batteries
Optional Tools for Enhancements
- Paints or markers (for design)
- Ruler and compass
- Safety goggles (for cutting safely)
Planning the Project
Before you start cutting and gluing, it’s important to sketch out your design. Think about how your fan will stand, where the blades will rotate, and how the motor or crank will be placed.
Understanding how the fan moves is key. The blades need to be balanced around a center point so they can spin smoothly, and the motor or hand crank must turn the blades steadily
Cutting the Cardboard Fan Blades
Use a compass to draw a circle on cardboard. Then, divide it into 3–4 equal blade shapes (like pizza slices). Cut each blade out, making sure they’re the same size for balance.
Cutting the Base and Support Structure
Cut a rectangular base and a vertical strip for the stand. The vertical part should be tall enough to hold the spinning blades off the ground.
Creating the Fan Blades
Ideal Shape and Size
Make each blade slightly curved or angled so they can catch the air. About 6–7 inches long works great.
How to Balance Them
Try attaching each blade to a central circle or disk. Make sure they’re evenly spaced. You can use a paper fastener to pin them to the shaft or motor.
Building the Stand
Making the Vertical Support
Glue a vertical cardboard piece onto the base. Reinforce it with triangular side supports to prevent wobbling.
Stabilizing the Base
Add extra strips or weight to the base (like coins or extra cardboard) to keep it from tipping over when the fan spins.
Adding Movement Mechanism
Using a Motor or Hand Crank
If you’re going electric, attach a small DC motor to the back of the blades. A skewer or stick can act as a shaft between the blades and motor.
If you’re going manual, attach a hand crank mechanism using cardboard gears or a rotating handle.
Safe Placement of the Mechanism
Make sure the motor wires are tucked safely and the moving parts aren’t blocked. Use hot glue to secure the motor in place.
Assembling All Parts
Attaching Blades to Motor or Axis
Glue or tape the fan blades to the motor shaft or skewer. Ensure it’s tight so it doesn’t fly off when spinning.
Fixing the Motor to the Stand
Carefully position the motor near the top of the vertical stand, aligning it with the center of the blade hub.
Power Source Options
Battery-Powered Option
Connect your motor to a battery holder. Use AA batteries for a smooth rotation. Don’t forget to test polarity—if it spins the wrong way, just reverse the wires.
Manual Hand-Rotation Option
Attach a crank on one side using skewers and gears cut from cardboard. Kids love this because it’s interactive and doesn’t require electricity!
Decorating the Fan
Painting Ideas
Use bright colors to make your fan stand out. You could paint flames on the blades or create a rainbow fan.
Adding Labels for Parts
Label the base, blades, motor, and shaft to show you understand each component. This looks great in presentations.
Troubleshooting Tips
Common Issues and Solutions
- Fan not spinning? Check motor connections or blade alignment.
- Fan wobbly? Rebalance the blades or reinforce the stand.
Ensuring Smooth Rotation
Make sure there’s enough space around the blades. Avoid gluing anything too close to the spinning area.
Safety Precautions
Sharp Edges
Always be careful when cutting cardboard. Ask an adult for help if needed.
Battery or Motor Safety
Don’t leave batteries connected too long, and never touch exposed wires. Keep things tidy and safe.
Presenting Your Project
How to Explain It in Class
Talk about how fans work—rotating blades push air, and motors turn electrical energy into movement.
Demonstrating Functionality
Flip the switch or spin the crank to show your working fan. Bonus points for creativity and clean construction!
Benefits of This Project
Creativity and Engineering Skills
You get to design, build, and think like an engineer.
Learning Through Hands-On Making
It’s a perfect way to learn about circuits, motion, and simple machines while having fun.
Conclusion
Building a cardboard movement stand fan is more than just a school project—it’s a chance to explore how things move and work. With just a few materials and a bit of imagination, you can create a working fan that not only looks cool but actually functions. So grab your cardboard and get crafting—your classmates won’t believe you made this from scratch.
Thank you very much visiting my website get more Contenthttp://Click Here
