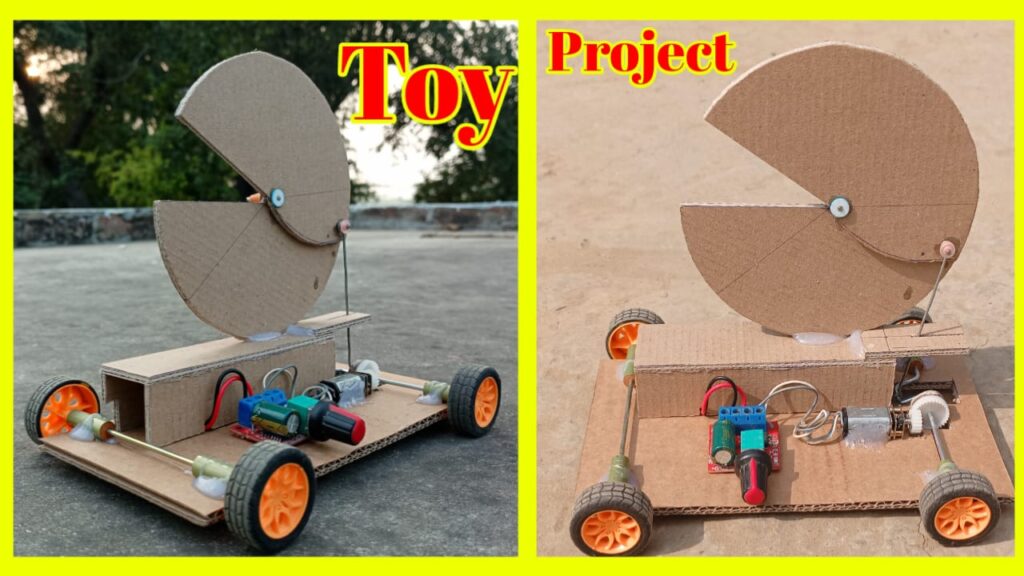
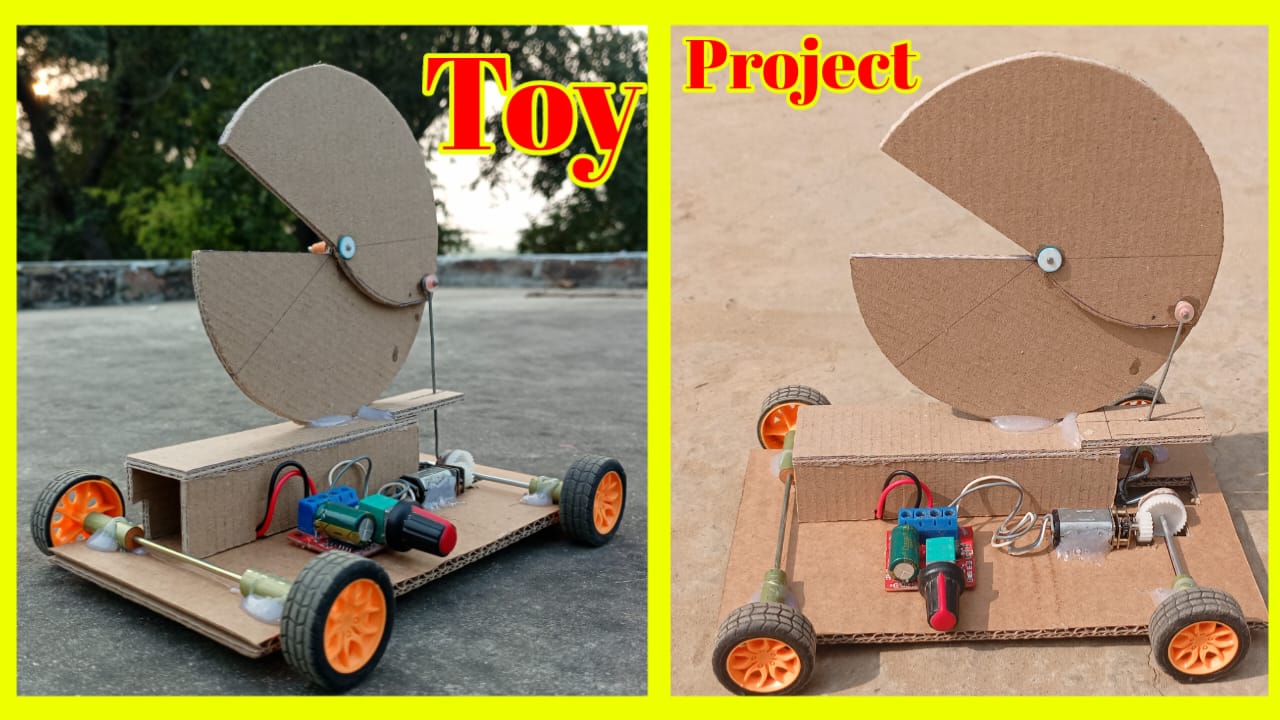
Crafting a toy car out of cardboard is not just a fun activity; it’s an educational adventure that sparks creativity and ingenuity in young minds. In this guide, we’ll walk you through the process of creating an amazing school project—a toy car made entirely from cardboard.
Introduction
School projects are not just assignments; they’re opportunities for students to unleash their creativity and learn through hands-on experiences. One exciting project that combines fun and education is creating a toy car using cardboard. This engaging activity not only entertains but also educates, making it a perfect choice for school projects.

Materials Needed
Before diving into the crafting process, gather the following materials:
- Cardboard sheets
- Utility knife or scissors
- Paints and brushes
- Wooden dowels or straws
- Glue and tape
- Wheels
Each item plays a crucial role in bringing your toy car to life, so make sure you have everything on hand before you start.
Planning Your Project
Planning is the key to a successful school project. Begin by deciding on the design, size, and features of your toy car. Consider factors like the car’s shape, the number of wheels, and any additional features you want to incorporate. Sketching your ideas on paper can be a helpful visual aid.
Step-by-Step Instructions
Creating the Chassis
Start by cutting out the cardboard pieces for the car’s body. Assemble them to form the chassis, ensuring it’s sturdy and well-structured. Reinforce weak points with extra cardboard for durability.
Adding Wheels and Axles
Attach the wheels securely to the chassis. Insert wooden dowels or straws as axles, ensuring they rotate freely. This step is crucial for the smooth movement of your toy car.
Decorating Your Toy Car
Let your creativity shine by painting and decorating your toy car. Use vibrant colors and imaginative designs to make it visually appealing. Personalize it according to your preferences.
Making the Car Move
Implement a basic propulsion system to make your car move. This could involve a simple rubber band-powered mechanism or exploring other creative ideas. Experiment until you find a method that suits your vision.
Testing and Troubleshooting
Before presenting your project, conduct tests to ensure everything works smoothly. Troubleshoot any issues you encounter, such as wheel alignment or propulsion problems.
Showcasing the Project
Consider presenting your finished toy car with pride. Whether it’s a school presentation or a display at home, showcasing your creation adds a sense of accomplishment. Share your experience with classmates, friends, and family.
Encouraging Creativity
School projects are an excellent platform for encouraging creativity. By thinking outside the box with your toy car project, you inspire others to do the same. Encourage classmates to explore unique designs and features, fostering a culture of innovation.
Environmental Impact
Choosing cardboard for your project not only makes crafting easier but also contributes to environmental sustainability. Emphasize responsible disposal of materials, promoting eco-friendly habits among students.
Conclusion
Embarking on the journey of creating a cardboard toy car for a school project is an enriching experience. Beyond the joy of crafting, it instills valuable skills and nurtures a creative mindset. As you delve into the world of hands-on learning, remember that the process is just as important as the final result.
Most Popular School Project :-
Thank you very much visiting for Websitehttps://creativitytopper.com
- How To Make DIY Mini bus Project From Cardboard at home. - May 8, 2024
- How To Make Humidifier Spray Module / Mist Maker Project . - April 27, 2024
- How To Make a New Model Subwoofer Box Project by Cardboard - April 15, 2024
