
Creating a mini sound box out of cardboard isn’t just a fun school project—it’s a creative way to explore how sound works using everyday materials. Whether you’re aiming to impress at the science fair or just want a cool DIY project, this guide has you covered.
What Is A Mini Sound Box?
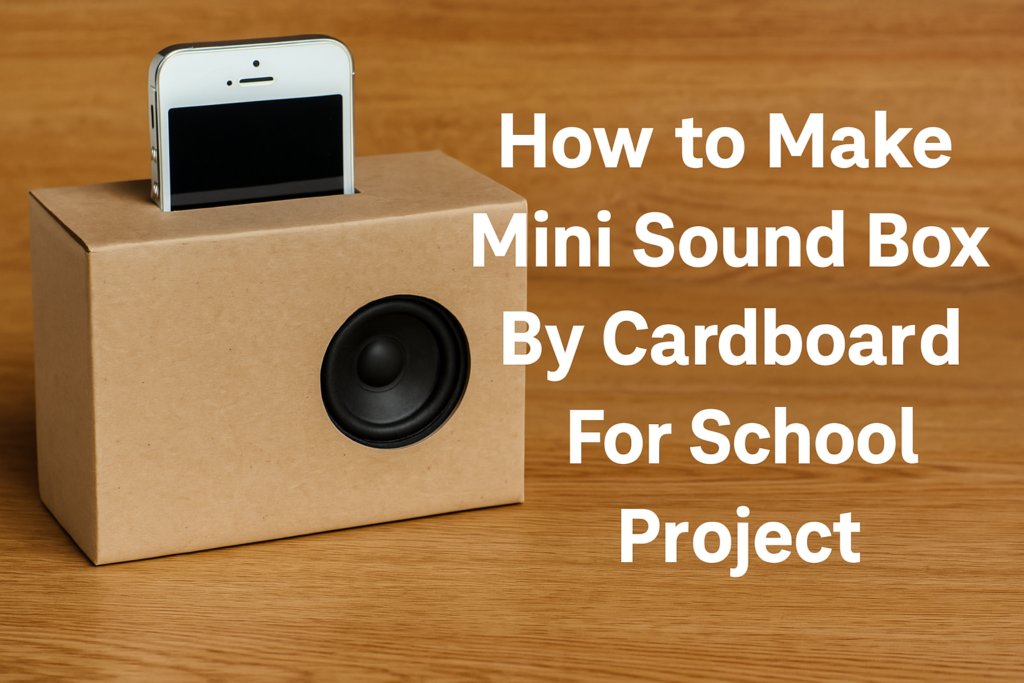
A mini sound box is a small, often handmade, structure that amplifies sound. It works similarly to a speaker box but uses simple materials like cardboard. Think of it like a DIY amplifier for your phone or small speaker.
Why Use Cardboard?
Cardboard is cheap, easy to find, and incredibly easy to cut, fold, and shape. Plus, it carries sound surprisingly well when used right. It’s perfect for school projects because it’s both safe and effective.
Materials Needed
- Thick cardboard sheets
- Scissors or box cutter
- Glue (hot glue works best)
- Tape
- A small speaker or phone
- Paper cone or plastic cup
- Pencil and ruler
Optional:
- Colored markers
- Stickers
- Paint
- Aluminum foil (for sound reflection)
Tools Required
- Craft knife (with supervision)
- Ruler or measuring tape
- Hot glue gun (be careful!)
- Pen or marker for tracing
The Science Behind The Sound
Sound travels in waves. When you place a speaker or phone into a chamber (like your cardboard box), the vibrations bounce off the inner walls and get louder as they exit the opening. That’s amplification in action—just like how a guitar’s body makes its strings louder.
Step-by-Step Instructions
Prepare Your Cardboard
Cut out six rectangles to form the box. Two sides, a top and bottom, and front and back. Make sure the dimensions suit the size of your speaker or phone.
Build The Box
Glue or tape the sides together to make a cube or rectangular box. Leave one side open for inserting your device.
Create The Sound Chamber
Cut a circular hole in one of the larger sides. This is where your sound will come out. Line the inside of the box with foil if you want to enhance sound reflection.
Add The Speaker Input
If you’re using a phone, cut a slot just big enough to slide it in so the speaker aligns with the inner part of the box. For paper cone speakers, glue them inside the box facing the hole.
Amplify The Sound
Add a tunnel or cone leading out from the hole to focus the sound. A paper tube or a plastic funnel works well.
Decoration And Customization
Paint And Stickers
Let your creativity shine! Paint it your favorite color or match your school’s theme. Stickers, glitter, and even googly eyes are great additions.
Safe Wiring (If You’re Using A DIY Speaker)
If you’re adding a basic electronic speaker, use safe battery packs and simple wires. Make sure everything is taped down and supervised.
Testing The Sound Box
Play a song on your device without the box, then insert it into your cardboard speaker and play it again. Notice the difference? If not, adjust the size of the hole or the angle of the sound chamber.
Common Mistakes And Fixes
- Too much glue? Might be blocking sound.
- Hole too small? Try widening it for better output.
- Flimsy cardboard? Double-layer it for better sound.
Educational Value
This project teaches:
- Sound wave science
- Basic engineering
- Creativity in design
- Hands-on learning
It’s an ideal way to introduce STEM in a fun, tangible way.
Tips For Presenting Your Project
Bring your sound box to life with a live demo. Explain how sound enters, bounces, and exits louder. Use diagrams if needed, and show before-and-after sound tests.
Conclusion
Making a mini sound box from cardboard is more than a school project—it’s a cool mix of science and creativity. Plus, it’s fun and easy to do with materials you already have at home. Whether you’re in elementary or middle school, this is one project that’s sure to make some noise—literally.
Thank you very much visiting my website get more Contenthttp://Click Here