Introduction
The joy of school projects is unparalleled, and what better way to spread festive cheer than by creating a Christmas tree from the most humble material – cardboard. In this guide, we’ll explore the step-by-step process of crafting a simple yet delightful Christmas tree that will not only add a festive touch to your surroundings but also serve as a creative and educational project for students.

Materials Needed
To embark on this fun project, gather the following materials:
- Cardboard sheets
- Scissors or box cutter
- Paints and brushes
- Glue
- Decorative items (glitter, beads, etc.)
- Imagination and enthusiasm
Step 1: Gather Cardboard
Begin by collecting enough cardboard to shape your tree. You can repurpose old boxes or ask local stores for spare cardboard pieces. Opt for sturdy cardboard to ensure the stability of your tree.
Step 2: Cutting the Cardboard
Carefully cut the cardboard into tree-shaped pieces. Precision is key here, as a well-defined shape enhances the overall appearance of the tree. Feel free to experiment with different sizes and designs.
Step 3: Decorating the Tree
Let your creativity shine by decorating the cardboard tree. Use paints, markers, or any other decorative materials you have on hand. This is the stage where you can truly personalize your Christmas tree.
Step 4: Adding Ornaments
Craft homemade ornaments from additional pieces of cardboard or use small household items creatively. This DIY approach adds a unique touch to your project and encourages resourcefulness.
Step 5: Making a Stand
Ensure your tree stands tall and proud by fashioning a stable base from cardboard. This provides the necessary support for your creation.
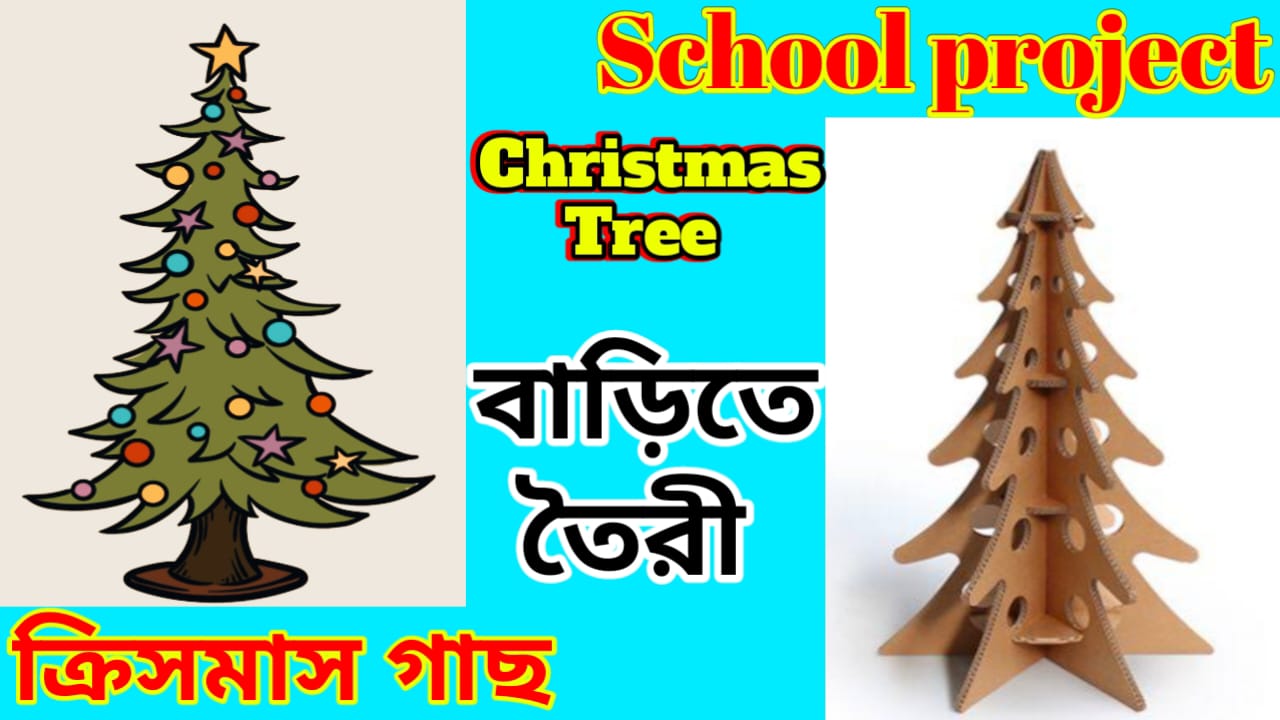
Make Very Easy School Project Christmas Tree at home
Step 6: Painting and Coloring
Select environmentally friendly paints to add color to your tree. This step allows for experimentation with different hues, making your cardboard Christmas tree visually appealing.
Step 7: Assembling the Tree
Follow a systematic approach to assemble all the components of your tree. Take your time to ensure each piece fits snugly, creating a cohesive and well-structured final product.
Benefits of the Project
Apart from the joy of crafting, this project offers educational benefits for students. It also promotes an eco-friendly mindset by repurposing cardboard, contributing to a sustainable environment.
Showcasing the Finished Product
Display your cardboard Christmas tree proudly in your home or classroom. Consider sharing pictures of your creation with classmates to inspire others to embark on similar creative projects.
Tips for Customization
Feel free to think outside the box and customize your tree further. Add lights, use unconventional colors, or incorporate themes that resonate with your personal style.
Safety Precautions
While crafting, prioritize safety. If younger students are involved, ensure adult supervision to prevent accidents and mishaps.
Conclusion
Creating a Christmas tree from cardboard is a delightful and accessible project that combines creativity with eco-friendliness. Whether you’re a student or a teacher, this endeavor promises joy and a sense of accomplishment. Embrace the festive spirit and start crafting your cardboard masterpiece today
Thank you very much visiting for websitehttps://creativitytopper.com