
Creating a DIY DJ Sharpy light project at home can be a fun and rewarding project if you’re into lighting effects and electronics. A Sharpy is a type of moving head beam light used in stage lighting, known for its intense, narrow beam. While replicating a professional Sharpy exactly at home is challenging due to its complex mechanics and optics, you can create a simplified version using basic components. Here’s a step-by-step guide:
Materials Needed for Mini Sharpy Light Project
- High-Power LED (e.g., 10W or 20W LED with a narrow beam angle).
- LED Driver (to power the LED safely).
- Lens or Reflector (to focus the light into a sharp beam).
- Stepper Motors (for pan and tilt movement).
- Arduino or Raspberry Pi (for controlling the motors and light).
- Motor Drivers (e.g., L298N or A4988 for controlling stepper motors).
- Aluminum or Plastic Enclosure (to house the components).
- Cooling Fan (to prevent the LED from overheating).
- Power Supply (12V or 24V, depending on your components).
- Mirror or Prism (optional, for added effects).
- Wires, Screws, and Tools (for assembly).
Steps to Build the DIY DJ Sharpy Light:
1. Design the Housing
- Create or repurpose a sturdy enclosure to hold the LED, lens, and motors.
- Ensure the enclosure has space for the LED heatsink and cooling fan.
2. Install the LED and Lens
- Mount the high-power LED on a heatsink to dissipate heat.
- Attach a lens or reflector in front of the LED to focus the light into a narrow beam.
- Connect the LED to the driver and power supply.
3. Add Pan and Tilt Mechanism
- Use two stepper motors to control the pan (horizontal movement) and tilt (vertical movement).
- Mount the motors securely to the enclosure and attach the light assembly to the motor shafts.
- Connect the motors to the motor drivers and Arduino/Raspberry Pi.
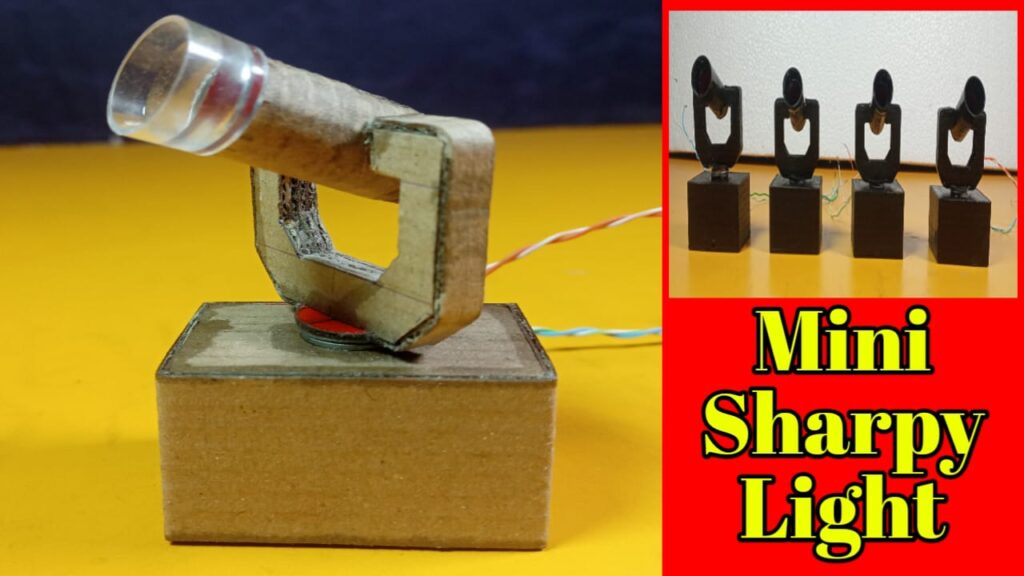
Make a DJ Mini Sharpy Light Project at home
4. Program the Controller
- Write a program for the Arduino or Raspberry Pi to control the stepper motors and LED.
- Include basic movements like panning, tilting, and strobing effects.
- You can also add DMX control if you want to integrate it with professional lighting software.
5. Assemble and Test
- Connect all components and secure them inside the enclosure.
- Test the light and motor movements to ensure everything works smoothly.
- Adjust the lens and motor settings to achieve the desired beam effect.
6. Add Effects (Optional)
- Incorporate a mirror or prism to create gobo-like patterns or split beams.
- Experiment with color filters or RGB LEDs for colored lighting effects.
7. Finalize and Use
- Once everything is working, seal the enclosure and ensure all wires are secure.
- Use your DIY Sharpy light for home parties, DJ setups, or stage performances.
Tips:
- Be cautious when working with high-power LEDs and electronics to avoid burns or electrical hazards.
- Use proper heat management to prevent overheating of the LED and other components.
- If you’re new to electronics, start with simpler projects before attempting this one.
This DIY project won’t match the precision and brightness of a professional Sharpy, but it can still create impressive lighting effects for home use. Have fun experimenting
Thank you very much visiting my website Get more Content Click Here