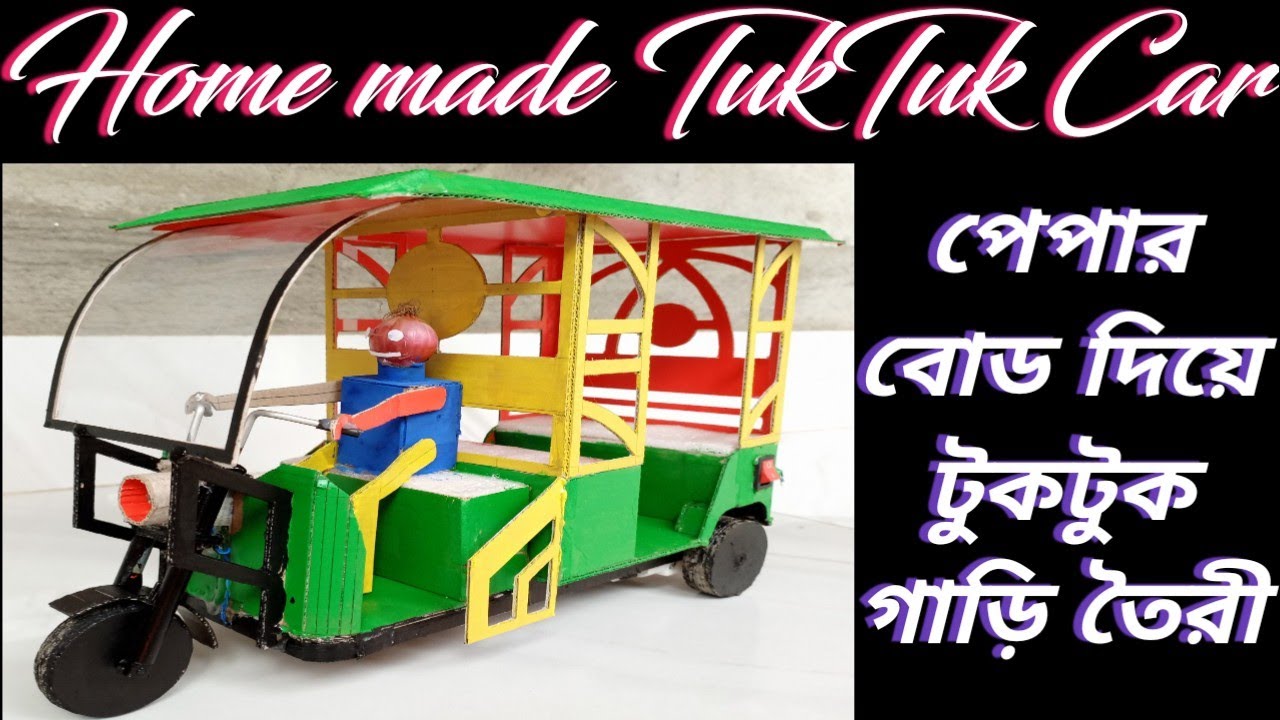
Making an amazing TukTuk car by cardboard can be a fun and creative project for anyone. In this article, we will provide you with step-by-step instructions to create your own TukTuk car using cardboard.
Making an amazing TukTuk car by cardboard is a fun and engaging DIY project that anyone can try. With a little creativity and effort, you can create a unique and impressive cardboard TukTuk car that you can display or play with. Here are some steps to help you make your own cardboard TukTuk car.
Materials Required For TukTuk Car
- Cardboard
- Scissors
- Ruler
- Pencil
- Glue
- Paint
- Brush
Make Amazing TukTuk Car By Cardboard
Step 1: Draw the TukTuk Car Design The first step is to draw the design of your TukTuk car on a piece of cardboard. You can use a ruler and pencil to draw the outline of the car. Make sure to add details such as the doors, wheels, and windows. You can use online images of TukTuks as a reference to help you create a more realistic design.
Step 2: Cut Out the Car Design Using scissors, carefully cut out the TukTuk car design from the cardboard. Make sure to cut out all the details such as the doors, windows, and wheels. Take your time with this step to ensure that the car is cut out properly.
Step 3: Fold the Car Body After you have cut out the TukTuk car design, it’s time to fold the car body. Use the ruler to create straight lines along the fold lines. This will help you to create straight folds. Fold the cardboard along the lines you drew, making sure that the folds are clean and precise.
Step 4: Glue the Car Body Once you have folded the car body, it’s time to glue the cardboard together. Apply glue to the tabs on the car body and attach them to the corresponding sides. Use a small brush to apply the glue, and hold the pieces together until the glue dries.
Make Amazing TukTuk Car By Cardboard
Step 5: Add the Wheels Cut out four circular shapes from cardboard to create the wheels of the TukTuk car. You can use a cup or circular object to trace the circles. Cut out the circles using scissors, and attach them to the car body using glue.
Step 6: Paint the Car Now it’s time to paint the TukTuk car. You can use any colors you like to make your car look unique and creative. Use a brush to paint the car, and let it dry completely before moving on to the next step.
Step 7: Add Finishing Touches Once the paint is dry, you can add any finishing touches to the TukTuk car. You can add details such as headlights, taillights, and side mirrors using additional pieces of cardboard. You can also add a driver or passengers using small cardboard cutouts.
In conclusion
making an amazing TukTuk car by cardboard can be a fun and creative project that anyone can enjoy. By following these step-by-step instructions, you can create your own TukTuk car that is sure to impress your friends and family. So, grab some cardboard, scissors, and glue, and start building your very own TukTuk car today.
Thank You Very Much Visiting For Websitehttps://creativitytopper.com