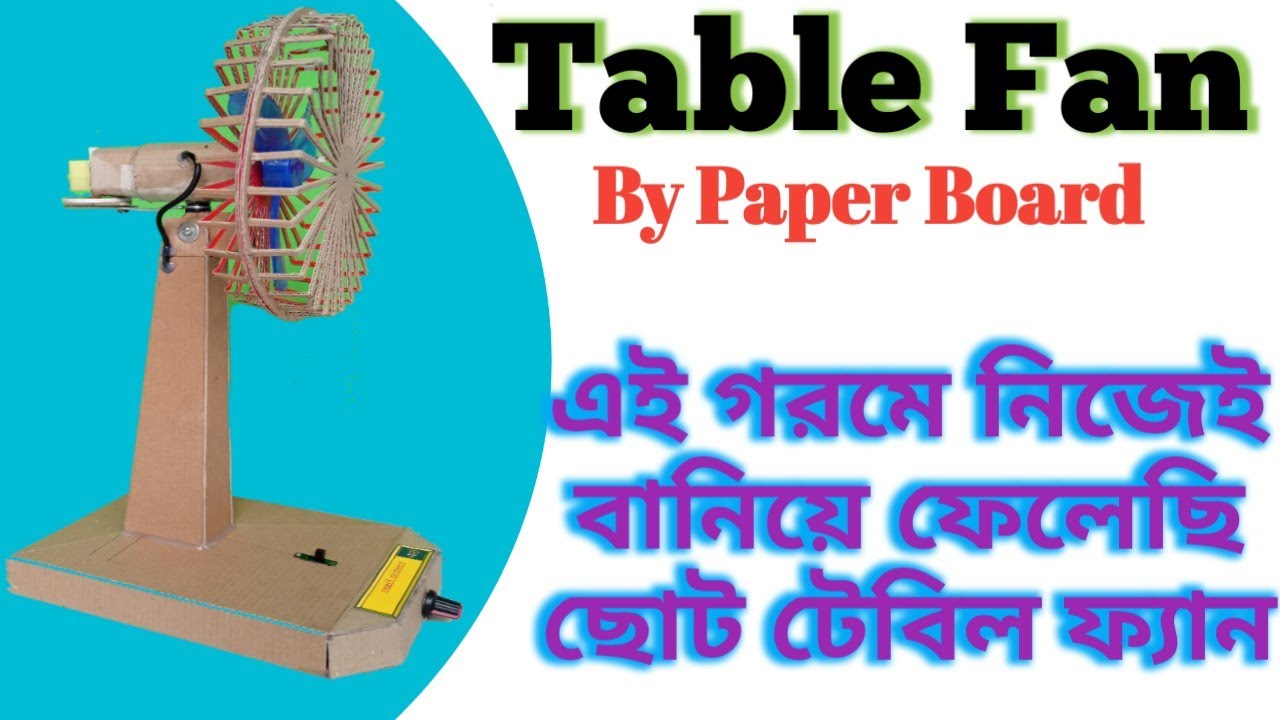
Making a mini school project table fan with cardboard is a fun and easy project that you can complete in a few simple steps. Here’s how to do it
Materials:
- Cardboard
- Scissors
- Glue
- DC motor (with wires)
- Battery holder (with wires)
- 9V battery
- Small switch (optional)
Make School project Mini Table Fan By Cardboard
Instructions:
- Cut out two identical fan blades from the cardboard. Each blade should be about 6-7 inches in length and 2 inches in width.
- Cut out a rectangular piece of cardboard that will serve as the base of the fan. The size of the base should be slightly larger than the fan blades.
- Cut out a circular hole in the center of the base that is just big enough to accommodate the DC motor.
- Glue the two fan blades together, back to back, with the curved side facing outwards.
- Glue the fan blades onto the motor shaft, making sure that they are centered and secure.
- Attach the battery holder to the base of the fan using glue or tape. The wires should be long enough to reach the motor and the switch (if using).
Make School project Mini Table Fan By Cardboard
- Connect the wires from the motor and battery holder to the switch (if using) and the battery. You may need to strip the ends of the wires and use electrical tape to connect them.
- Turn on the switch to test the fan. Adjust the position of the fan blades if necessary to make sure they are not hitting the base or any other parts.
Your mini school project table fan is now complete! You can decorate the base and blades with paint or markers to make it look more colorful and attractive.
Thank You Very much Visiting For website http://creativitytopper.com
Welcome to CreativityTopper.com, I am Dilip from kolkata, India. I will share articles about science project, inventions DIYs & crafts teaching by cardboard & how to reuse or recycle materials. Thank you for Visiting. I will also video to my Youtube Channel - Creativity Topper
Latest posts by CreativityTopper (see all)
- How To Make DIY Mini bus Project From Cardboard at home. - May 8, 2024
- How To Make Humidifier Spray Module / Mist Maker Project . - April 27, 2024
- How To Make a New Model Subwoofer Box Project by Cardboard - April 15, 2024