Are you fascinated by electronics and looking for an exciting project to delve into? Building your own DC motor is a rewarding venture that not only enhances your understanding of electrical components but also offers a hands-on learning experience. In this guide, we’ll walk you through the process step by step, ensuring you grasp the intricacies of each component and the overall functioning of a DC motor.

Introduction to DC Motors
DC motors, or direct current motors, are essential components in various electronic devices and machinery. They convert electrical energy into mechanical motion, making them indispensable in projects ranging from small-scale automation to educational demonstrations.
Importance of DC Motors in Projects
Before diving into the DIY aspect, it’s crucial to understand why DC motors are widely used in projects. Their simplicity, efficiency, and versatility make them a preferred choice for hobbyists, educators, and engineers alike.
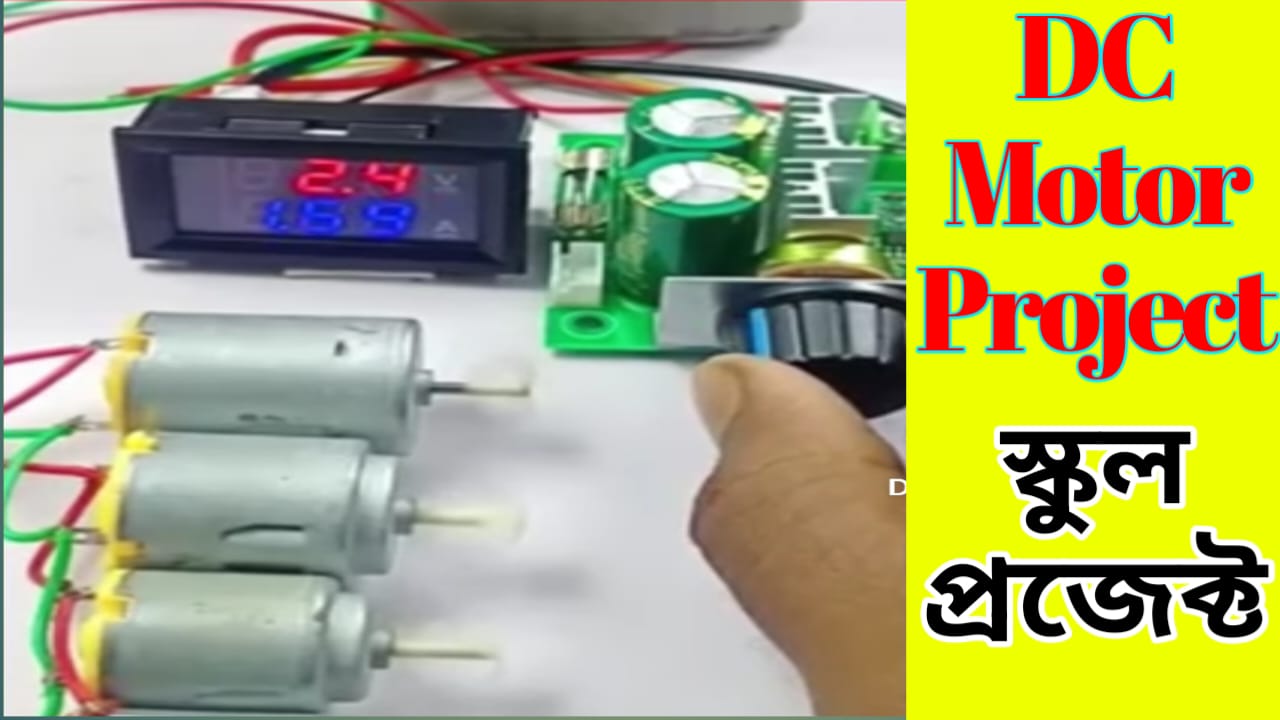
Basic Components Required for DIY DC Motor Project
Armature
The armature is a central component that rotates within the magnetic field, generating the motor’s mechanical power.
Commutator
The commutator ensures a continuous flow of current to the armature, enabling a smooth rotation.
Brushes
Brushes maintain electrical contact with the commutator, facilitating the flow of current.
Stator
The stator provides a stable magnetic field, interacting with the rotating armature to produce motion.
Power Source
A power source, typically a battery, supplies the necessary electrical energy to drive the motor.
Understanding the Working Principle
To successfully create a DC motor, it’s essential to grasp the working principle behind its operation.
Role of Armature and Commutator
The armature and commutator work in tandem to convert electrical energy into rotational motion. Understanding their roles is fundamental to the DIY process.
Brush-Commutator Interaction
Proper interaction between the brushes and commutator is critical for maintaining a consistent current flow, ensuring the motor’s efficiency.
Flow of Current in Stator
The stator’s magnetic field plays a crucial role in guiding the current through the armature, leading to the desired motion.
Step-by-Step Guide to Building a DC Motor
Gathering Materials
Before you embark on your DIY adventure, gather all the necessary materials, ensuring you have everything needed for a seamless build.
Assembling the Armature
Start by assembling the armature, the central rotating component of your DC motor. Pay attention to the winding and ensure proper balance.
Attaching the Commutator
Attach the commutator to the armature, ensuring a secure connection. This step is vital for the continuous flow of current.
Installing Brushes
Properly install the brushes, making sure they maintain constant contact with the commutator. This ensures a stable electrical connection.
Assembling the Stator
The stator provides the stationary magnetic field. Assemble it carefully, considering the alignment with the rotating armature.
Connecting to Power Source
Connect your DIY DC motor to a power source, usually a battery. Witness the mechanical motion as electrical energy transforms into a rotating force.
Conclusion
In conclusion, building a DC motor through a DIY project is a fulfilling endeavor that enhances your understanding of electronics. From the basic components to troubleshooting common issues, this guide has covered essential aspects. Embark on your DIY journey, and witness the transformation of electrical energy into mechanical motion.