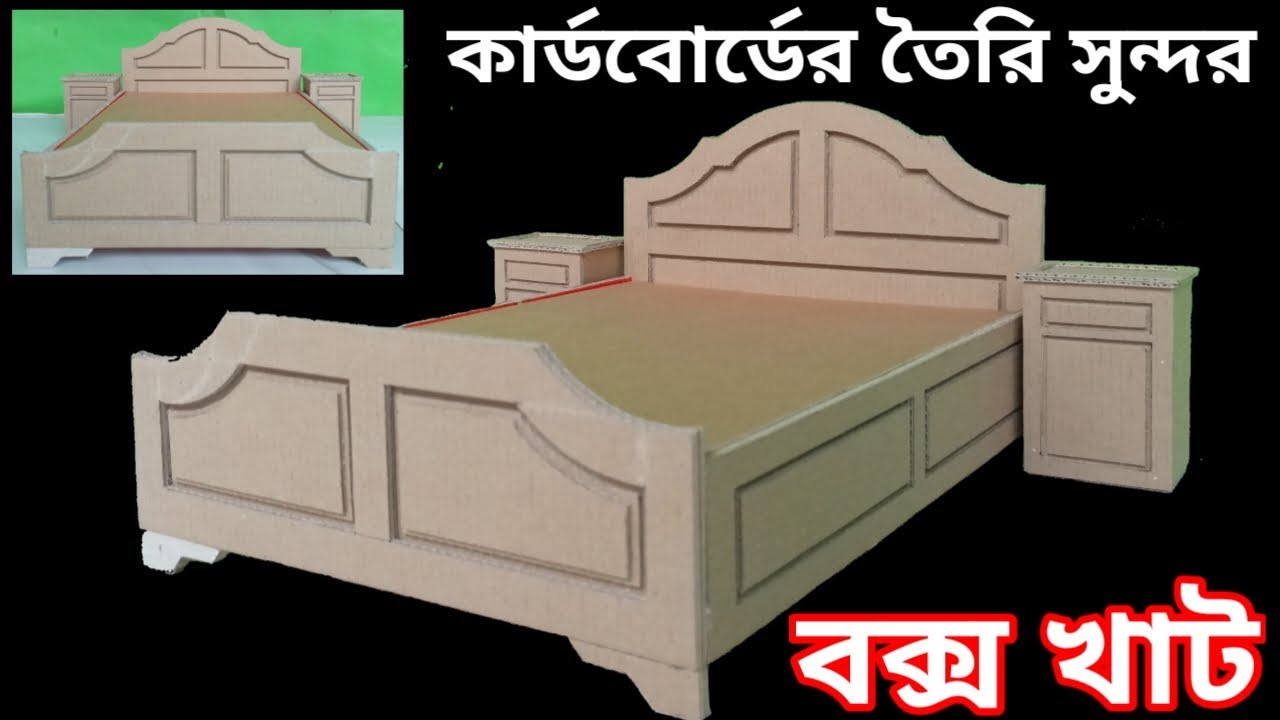
Creating an amazing box cat using cardboard is a fun and creative project that can be easily done at home. By following these steps, you’ll be able to craft a unique and eye-catching cardboard cat sculpture. Let’s get started!
Materials you’ll need:
- Cardboard sheets
- Utility knife or scissors
- Pencil
- Ruler
- Craft glue or hot glue gun
- Acrylic paints and brushes (optional)
- Marker pens or colored pencils (optional)
- Decorative materials (e.g., ribbons, fabric scraps, buttons) (optional)
Step 1:
Designing the Cat Start by sketching out the shape of the cat on a piece of cardboard. You can use a pencil and ruler to ensure clean lines. Decide on the size and proportion of your cat sculpture, keeping in mind the available cardboard sheets. Once you’re satisfied with your design, use the utility knife or scissors to carefully cut out the cat shape.
Step 2:
Creating the Box Structure To give your cat sculpture a three-dimensional effect, you’ll need to create a box-like structure. Cut out rectangular strips of cardboard that will act as the sides of the box. These strips should be long enough to wrap around the cat’s body. Attach the strips to the cat shape using craft glue or a hot glue gun, forming a box structure around the cat.
Step 3:
Adding Details Next, add details to bring your cat sculpture to life. Cut out smaller cardboard pieces to create the cat’s face, ears, tail, and any other desired features. Attach these pieces to the main body using glue. You can also use the utility knife to add small slits for inserting ears or tail, allowing them to stand upright.
Step 4:
Finishing Touches Once the basic structure and details are in place, it’s time to add some personality to your cat sculpture. You can paint the cardboard with acrylic paints, using various colors to create a realistic or imaginative design. Alternatively, you can use marker pens or colored pencils to add patterns or doodles. Let your creativity guide you!
Make Amazing Box Khat By Cardboard at home.
Step 5:
Optional Decorations To make your box cat even more amazing, consider adding some decorative elements. You can use ribbons, fabric scraps, buttons, or any other materials you have on hand to enhance your sculpture. Experiment with different textures and colors to make your cat sculpture truly unique.
Step 6:
Display and Enjoy Once you’re satisfied with the appearance of your box cat, find a suitable spot to display it in your home. You can place it on a shelf, a windowsill, or even mount it on a wall. Admire your creation and enjoy the compliments from friends and family.
Remember, creating art with cardboard allows for endless possibilities. Feel free to modify these instructions and add your personal touch to make your box cat even more amazing. Have fun exploring your creativity while making this fantastic cardboard sculpture.
Thank you very much Visiting for Website https://creativitytopper.com
