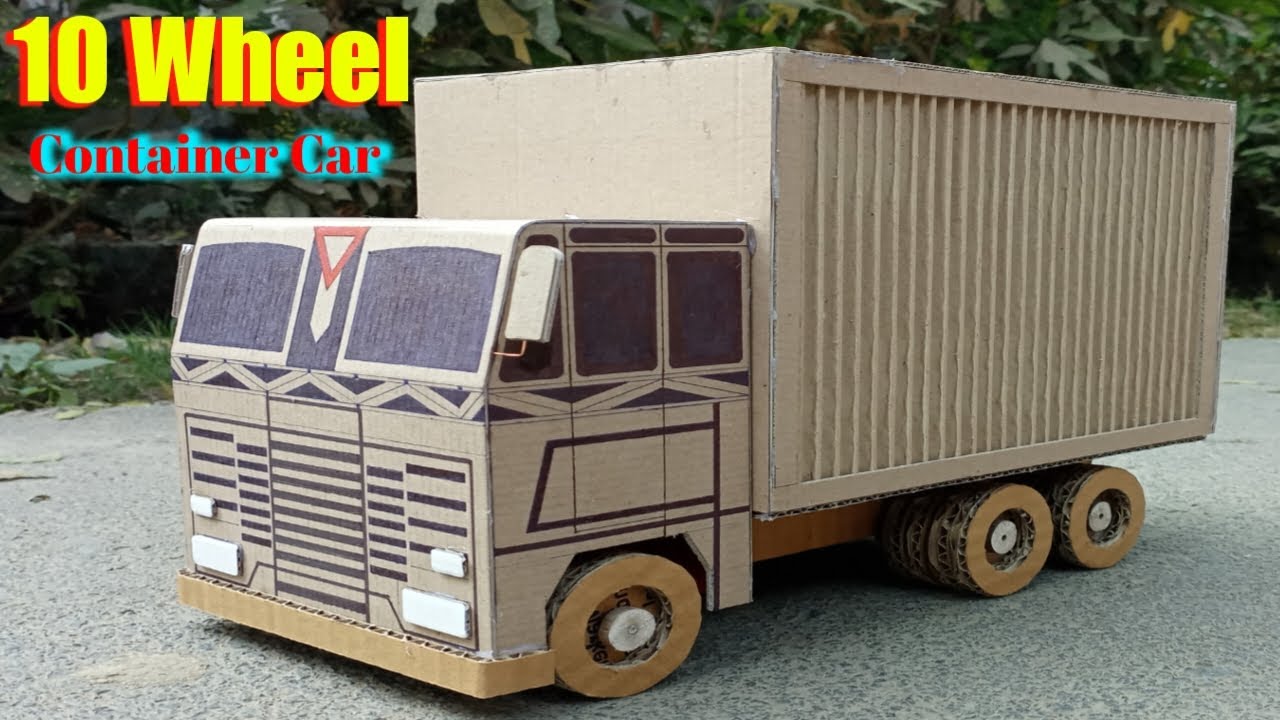
Making a 10 wheel Remote control TATA container car by cardboard can be a fun and rewarding project. With a little creativity and patience, you can create a realistic-looking car that you can control with a remote. Here are some steps you can follow to make your own 10-wheel remote control TATA container car.
Make Remote Control TATA Container Car By Cardboard
TATA Container Car By Cardboard
Materials you will need:
- Cardboard
- Scissors
- Ruler
- Pencil
- Glue
- Remote control car kit
- Paints and brushes
Step 1: Create the Base The first step is to create the base of the car. Take a large piece of cardboard and cut out a rectangle that will be the base of the car. Use a ruler to make sure that the rectangle is straight and even. Then, cut out two smaller rectangles for the sides of the car and glue them to the base. Cut out four small squares for the wheels and attach them to the bottom of the car using glue.
Step 2: Build the Chassis Next, you will need to build the chassis of the car. Cut out two long rectangles for the sides of the chassis and glue them to the base of the car. Then, cut out several smaller rectangles and glue them together to create a box-like structure for the chassis. Attach the chassis to the base of the car using glue.
Step 3: Add the Wheels To create the 10-wheel design, you will need to add two sets of five wheels. Cut out ten small squares for the wheels and attach them to the bottom of the car using glue. Then, attach two sets of five wheels to the sides of the chassis using glue.
Step 4: Add the Container To make the car look like a TATA container car, you will need to add a container to the back of the car. Cut out a large rectangle for the container and fold it into a box shape. Then, glue the container to the back of the car.
Make10 Wheel Remote Control TATA Container Car By Cardboard
Step 5: Add the Remote Control Kit Finally, you will need to add the remote control kit to the car. Follow the instructions provided with the kit to install the motor and other components. Once the kit is installed, you should be able to control the car using a remote control.
Step 6: Paint the Car Once you have completed the construction of the car, you can paint it to make it look more realistic. Use paints and brushes to add details such as headlights, logos, and other features to the car.
In conclusion
Making a 10-wheel remote control TATA container car by cardboard can be a fun and challenging project. With some creativity and patience, you can create a realistic-looking car that you can control with a remote. By following these steps, you can create a unique and impressive project that you can be proud of.
Thank you Very much Visiting My Websitehttps://creativitytopper.com