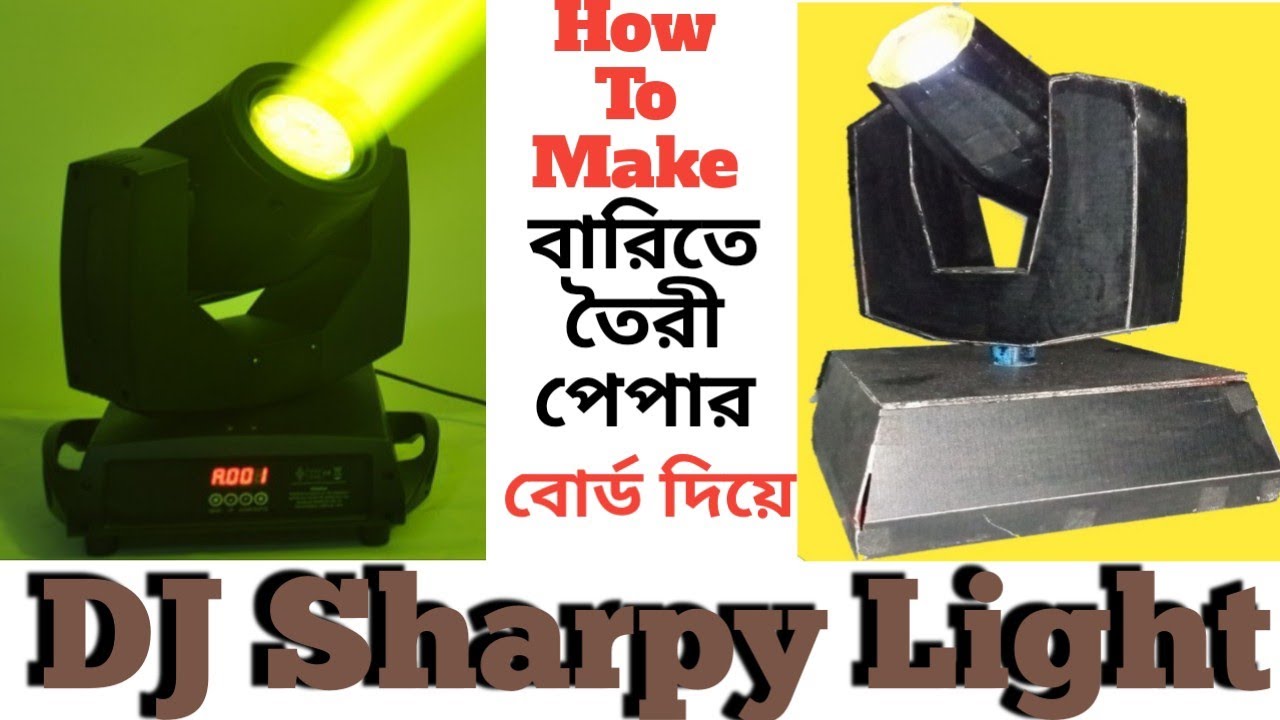
Project DJ Sharpy Light is a fun and creative project that can be made using cardboard and a few other materials. This project will require some basic knowledge of electronics and some crafting skills, but it is a great way to create a unique and eye-catching light that can be used to add some personality to any room or event.
Here is a step-by-step guide on how to make Project DJ Sharpy Light by cardboard:
Materials Required:
- Cardboard
- LED lights
- Resistors
- Wires
- Soldering iron and solder
- Power supply
- Switch
- Cutter, scissors, and ruler
- Glue
Make project DJ Sharpy Light By cardboard
Step 1: Design the DJ Sharpy Light
The first step in making the DJ Sharpy Light is to design the structure of the light using cardboard. This can be done by sketching the design on paper, and then cutting the cardboard into the required shapes using a cutter and ruler. You will need to make the main body of the light, which will house the LED lights, and the front panel that will hold the LED lights in place.
Step 2: Prepare the LED Lights
Once the cardboard structure is ready, you can start preparing the LED lights. The LED lights will need to be connected in series, with a resistor in between each LED to control the current flow. You can use different colors of LED lights to create a unique and colorful effect. To connect the LED lights in series, solder the positive (anode) leg of the first LED to the negative (cathode) leg of the next LED, and so on. Connect a resistor to the negative leg of each LED.
Step 3: Attach the LED Lights to the Front Panel
Once the LED lights are ready, you can attach them to the front panel of the DJ Sharpy Light. You can create small holes in the cardboard front panel using a cutter or scissors, and then insert the LED lights through these holes. Make sure that each LED light is secured in place using glue or tape.
Step 4: Connect the LED Lights to the Power Supply
Now that the LED lights are attached to the front panel, you can start connecting them to the power supply. Connect the positive leg of the first LED light to the positive terminal of the power supply, and connect the negative leg of the last LED light to the negative terminal of the power supply. Make sure to connect the switch in between the positive terminal of the power supply and the first LED light, so that you can turn the light on and off as needed.
Make project DJ Sharpy Light By cardboard.
Step 5: Put the Structure Together
Once all the components are connected, you can start putting the DJ Sharpy Light structure together. Use glue to attach the front panel with the LED lights to the main body of the light. Make sure to leave an opening in the back of the structure so that you can access the wiring and components if needed.
Step 6: Test the Light
Once the DJ Sharpy Light is fully assembled, you can test it by turning it on and off using the switch. If everything is working properly, you should see a colorful and eye-catching light effect that will make any room or event more exciting.
In conclusion
making the Project DJ Sharpy Light by cardboard is a fun and creative project that can be done with a few basic materials and some crafting skills. This light can be customized to suit any occasion, and it will add a unique and personal touch to any space.
Thank Yoy Very Much Visiting for Website http://creativitytopper.com
- How To Make DIY Mini bus Project From Cardboard at home. - May 8, 2024
- How To Make Humidifier Spray Module / Mist Maker Project . - April 27, 2024
- How To Make a New Model Subwoofer Box Project by Cardboard - April 15, 2024
