Introduction
Are you looking for a creative and budget-friendly way to make school project mini furniture? Look no further! In this article, we will guide you through the step-by-step process of creating miniature furniture using cardboard. This fun do-it-yourself (DIY) art project will not only unleash your creativity but also enhance your problem-solving skills. Let’s dive into the world of miniature furniture making!
Materials Needed
To embark on this exciting journey of creating mini furniture, you will need the following materials:
- Cardboard sheets
- Ruler
- Pencil
- Craft knife or scissors
- Adhesive (glue or tape)
- Acrylic paints
- Paintbrushes
- Decorative items (optional)
- Upholstery materials (fabric, foam, etc.)
Planning and Designing
Before diving into the construction process, it’s essential to plan and design your mini furniture. Consider the scale and dimensions you want for each piece, keeping in mind the available space for your school project. Sketch out your ideas and create a blueprint for reference during the construction phase.
Gathering Cardboard
Collect cardboard sheets from various sources like packaging boxes or old cardboard materials. Ensure that the cardboard is sturdy enough to support the weight of the furniture pieces. Flatten the cardboard and remove any existing adhesives or tapes.
Cutting and Shaping
Using a ruler and pencil, mark the measurements on the cardboard according to your design. Carefully cut out the different components of the furniture, such as chairs, tables, beds, or shelves. Take your time to achieve precise cuts and smooth edges.
Assembling the Furniture
Begin assembling the furniture pieces using adhesive (glue or tape). Follow your blueprint and join the components together securely. Take note of the structural integrity and ensure the furniture can withstand handling.
Reinforcing and Decorating
To enhance the durability of the cardboard furniture, reinforce the joints and corners using additional layers of cardboard or reinforcing elements like popsicle sticks. This step will prevent your furniture from collapsing or getting damaged easily. Once reinforced, you can start decorating the furniture with patterns, stickers, or any decorative elements you desire.
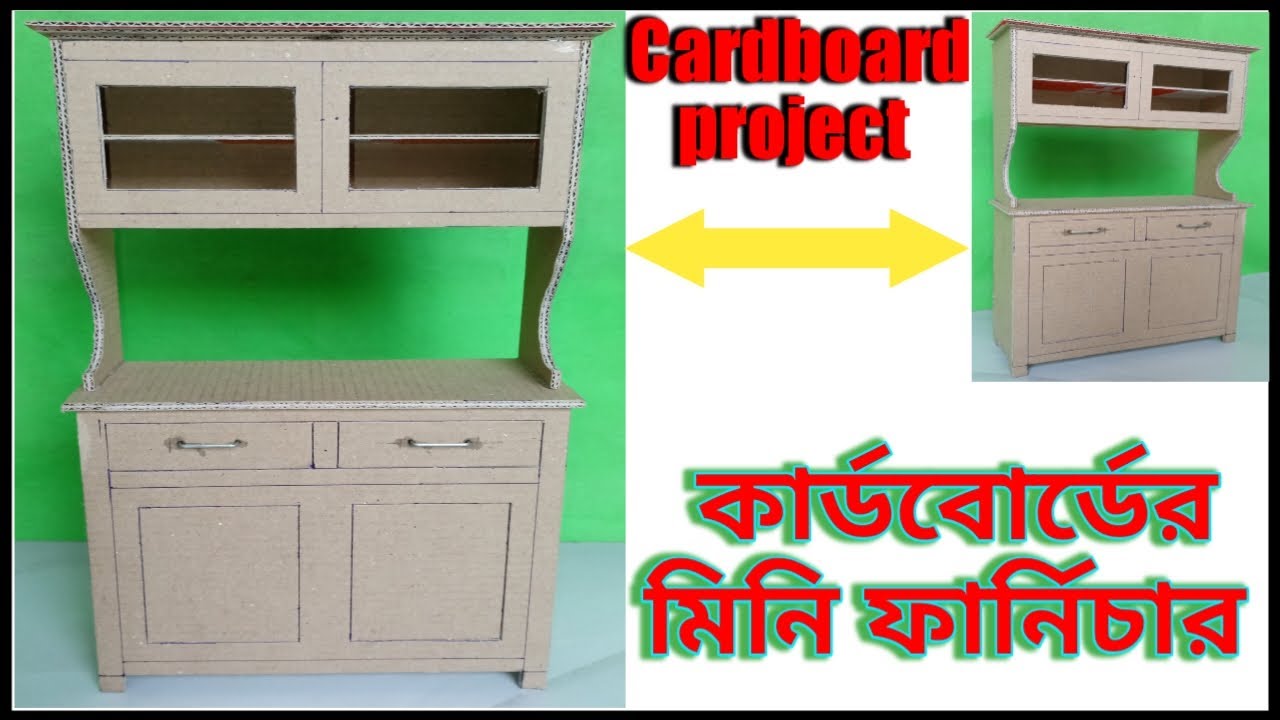
Make School Project Mini Furniture by Cardboard A Fun DIY Art Project.
Painting and Finishing Touches
Give your mini furniture a vibrant and appealing look by painting it with acrylic paints. Choose colors that complement the overall aesthetic of your school project. Apply multiple coats for a smooth and professional finish. Allow sufficient drying time between coats.
Adding Details
To add more realism and charm to your mini furniture, consider incorporating details such as knobs, handles, or textures. Use small objects like buttons or beads to create these intricate details. Let your imagination run wild and experiment with different techniques.
Creating Upholstery
For furniture pieces like sofas or chairs, you can create upholstery using fabric and foam. Measure and cut the fabric according to the dimensions of the seating area. Attach the foam to the cardboard frame and wrap it with the fabric, securing it in place with adhesive or stitching. This step adds comfort and a touch of elegance to your mini furniture.
Conclusion
Congratulations on completing your school project mini furniture! This DIY art project not only enhances your creativity but also develops your problem-solving skills. Through planning, designing, cutting, shaping, and assembling, you have created unique and personalized miniature furniture. Remember to have fun and enjoy the process of creating something beautiful with your own hands.
Thank you very much Visiting for Websitehttp://creativitytopper.com
- How To Make DIY Mini bus Project From Cardboard at home. - May 8, 2024
- How To Make Humidifier Spray Module / Mist Maker Project . - April 27, 2024
- How To Make a New Model Subwoofer Box Project by Cardboard - April 15, 2024