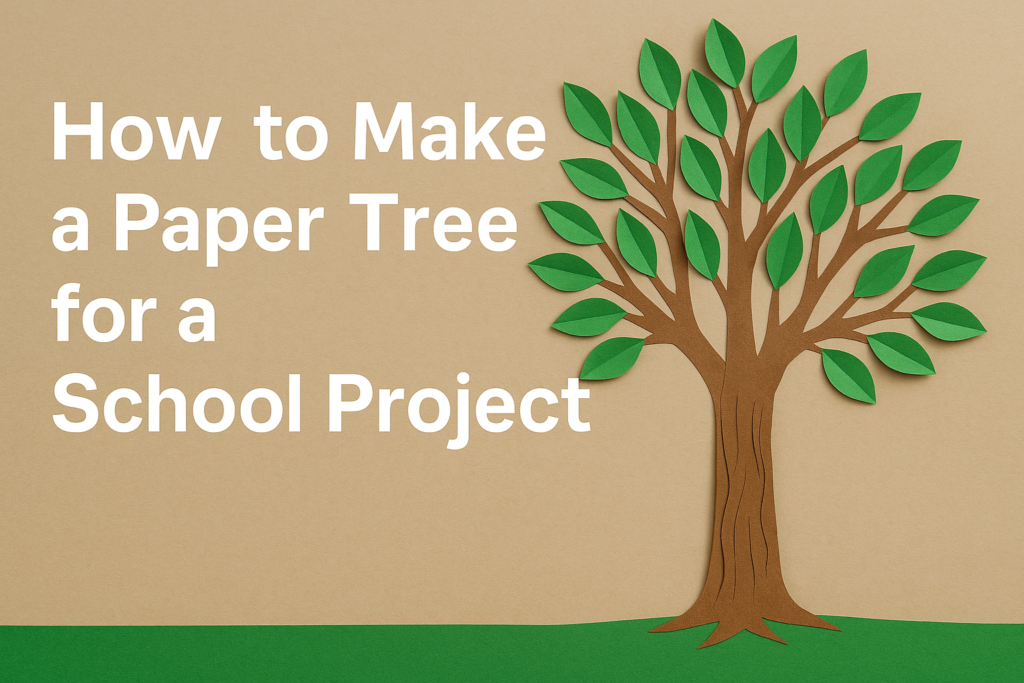
How to Make a Paper Tree for a School Project
Creating a paper tree for a school project is a fun and creative way to bring nature into the classroom using simple craft supplies. Whether you’re working on an art assignment, a science display, or a themed bulletin board, a paper tree adds a unique and eye-catching element. This guide will walk you through the steps, materials, and tips to make your paper tree stand out. Let’s get crafting!

Materials Needed for Paper Tree
Before starting, gather the following materials:
- Brown craft paper or construction paper (for the trunk and branches)
- Green construction paper (for the leaves)
- Scissors
- Glue stick or liquid glue
- Tape (optional)
- Cardboard or a large piece of paper for the base
- Markers or crayons (optional, for details)
- Decorative materials like glitter, cotton, or stickers (optional)
Step-by-Step Instructions
Prepare the Base
Decide where your tree will go. If you want it to be free-standing, use a piece of cardboard as the base. If it’s a wall display, you can attach the tree to a poster board or directly onto the wall using tape.
Make the Tree Trunk
Take the brown craft paper and cut out a long rectangular piece to form the tree trunk. You can crumple the paper a little to give it a textured, bark-like effect. Glue it vertically on your base.
If you want a 3D effect, roll the brown paper into a cylinder and tape or glue the edges together. Then, tape the base of the trunk to the cardboard so it can stand up.
Add Branches
Cut several thinner strips of brown paper to act as branches. You can make them straight or curved depending on your design. Attach these to the top of the trunk using glue. Arrange them to spread out like real tree branches. For a fuller look, add smaller branch pieces coming off the main ones.
Create Leaves
Now, it’s time to make the tree come alive! Take the green paper and cut out leaf shapes. You can make simple oval shapes or try more detailed leaf designs with veins drawn on using a marker.
Make around 20–50 leaves depending on the size of your tree. Once you have your leaves ready, glue them onto the branches. You can overlap them to make the tree look lush and full. Don’t forget to add a few leaves near the bottom of the trunk or on the ground to make it realistic.
Customize Your Tree
You can decorate the tree according to the season. For example:
- Spring: Add flowers using colored paper or draw blossoms.
- Summer: Keep it green and full.
- Autumn: Use red, orange, and yellow paper for the leaves and scatter some at the base.
- Winter: Use white cotton balls to represent snow on the branches.
You can also hang small paper fruits, birds, or even your name to make it personal and creative.
Tips for a Great Project
- Use recycled paper if possible—it’s good for the environment.
- Layer your materials for a 3D effect. Crumpled paper, folded leaves, or twisted branches can add depth.
- Keep it neat—too much glue or uneven edges can make your tree messy.
- Add labels or facts if this is part of a science or environmental studies project. You can add signs like “roots,” “trunk,” or “photosynthesis.”
Conclusion
Making a paper tree is more than just an art activity—it’s a great way to learn about trees, express your creativity, and create something visually appealing for your school project. With just a few materials and a bit of imagination, you can build your very own paper tree masterpiece. Whether big or small, simple or detailed, your tree will surely impress your classmates and teachers.
Thank you very much visiting for website get more content http://Click Here
