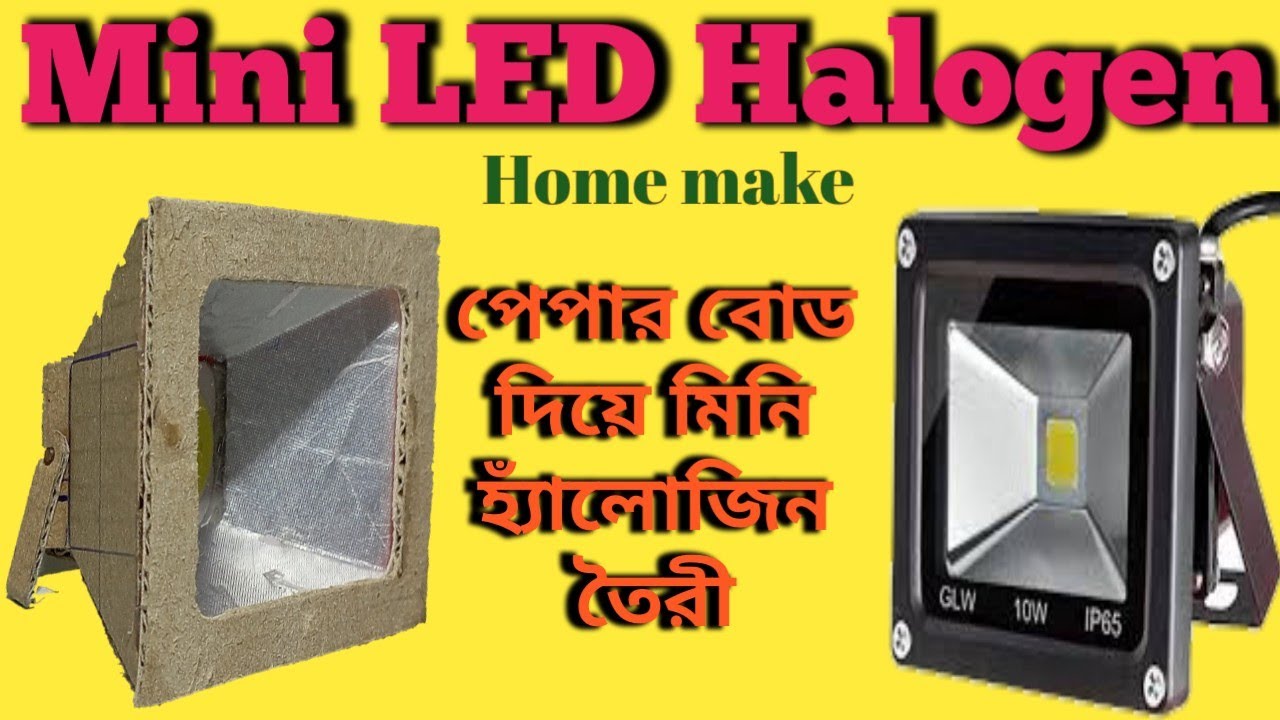
Making a mini LED halogen by cardboard can be a fun and creative project to work on. Not only is it an eco-friendly way to recycle cardboard, but it also helps you to learn about circuits and electricity. In this article, we will take you through the steps to make your own mini LED halogen by cardboard.
Make MiNi LED Halogen By Cardboard
Materials Needed:
- Cardboard
- LED lights
- 9-volt battery
- Aluminum foil
- Copper wire
- Hot glue gun
- Scissors
- Electrical tape
Step 1: Cut the Cardboard Firstly, you need to cut the cardboard into small pieces. Cut the cardboard into rectangles that are roughly 2 inches in length and 1 inch in width. You will need 4 of these pieces.
Step 2: Make the Base To make the base of the LED halogen, take two pieces of cardboard and glue them together. Cut a small square out of the center of the glued cardboard pieces. This will act as a holder for the battery.
Step 3: Prepare the LED Lights Take the LED lights and bend the legs at a right angle. The LED lights should have two legs, one longer than the other. The longer leg is the positive leg, and the shorter leg is the negative leg.
Step 4: Attach the LED Lights to the Base Place the LED lights on the base and make sure that the longer leg is on the left side and the shorter leg is on the right side. Use the hot glue gun to attach the LED lights to the cardboard base.
Step 5: Add the Battery Wrap a piece of aluminum foil around the battery to create a tight fit inside the cardboard holder. Place the battery inside the cardboard holder with the positive end facing towards the LED lights.
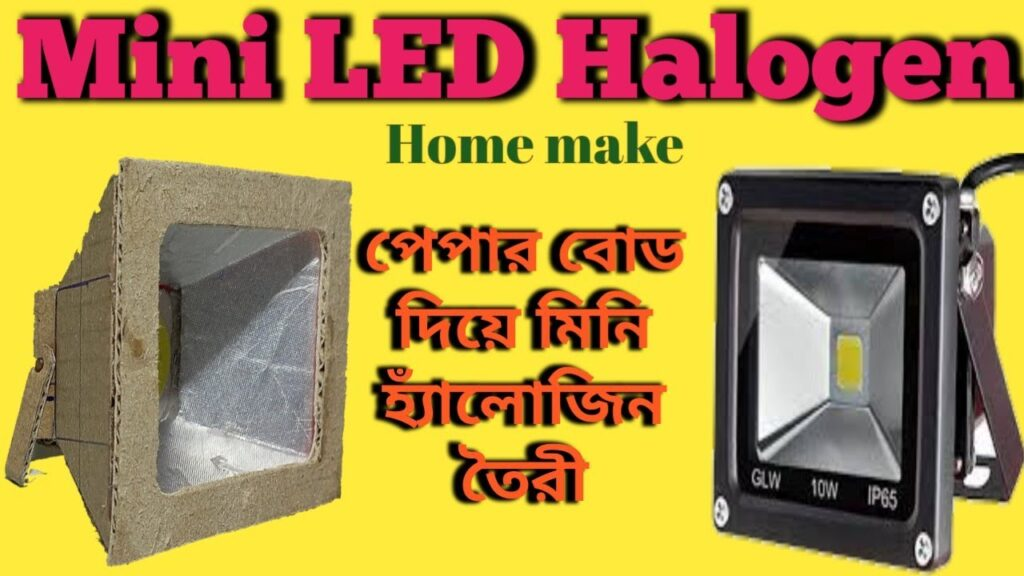
Make MiNi LED Halogen By Cardboard
Step 6: Connect the LED Lights Using a small piece of copper wire, connect the positive leg of the LED light on the left side to the positive end of the battery. Similarly, connect the negative leg of the LED light on the right side to the negative end of the battery.
Step 7: Cover the Base Cover the base with a piece of cardboard to give it a finished look. Use the hot glue gun to attach the cardboard to the base.
Step 8: Secure the Circuit To prevent the circuit from shorting out, cover the exposed copper wire and aluminum foil with electrical tape.
Step 9: Test the LED Halogen Switch on the LED halogen and make sure that the lights are working properly.
In conclusion
making a mini LED halogen by cardboard can be a fun and educational project. It is also an excellent way to recycle cardboard and reduce waste. By following these simple steps, you can create your own mini LED halogen and impress your friends and family with your DIY skills.
Thank you very much Visiting for websitehttp://creativitytopper.com
- How To Make DIY Mini bus Project From Cardboard at home. - May 8, 2024
- How To Make Humidifier Spray Module / Mist Maker Project . - April 27, 2024
- How To Make a New Model Subwoofer Box Project by Cardboard - April 15, 2024