How to Make a 14-Wheeled Truck for a School Project Using Cardboard
Creating a 14-wheeled truck out of cardboard is a fun and educational school project that can teach you about vehicle structure, design, and creative crafting. This project combines engineering basics with art and design, making it perfect for students of all ages. Here’s a step-by-step guide to help you build your own cardboard truck, complete with 14 wheels!
Materials You Will Need
- Cardboard sheets (recycled boxes work great)
- 14 small plastic bottle caps or toy wheels
- Wooden skewers or straws (for axles)
- Glue (hot glue or white glue)
- Scissors or a craft knife (with adult supervision)
- Ruler and pencil
- Paint, markers, or colored paper for decoration
- Tape (masking or clear tape)
- Paper fasteners or pins (optional for rotating wheels)
Plan Your Design
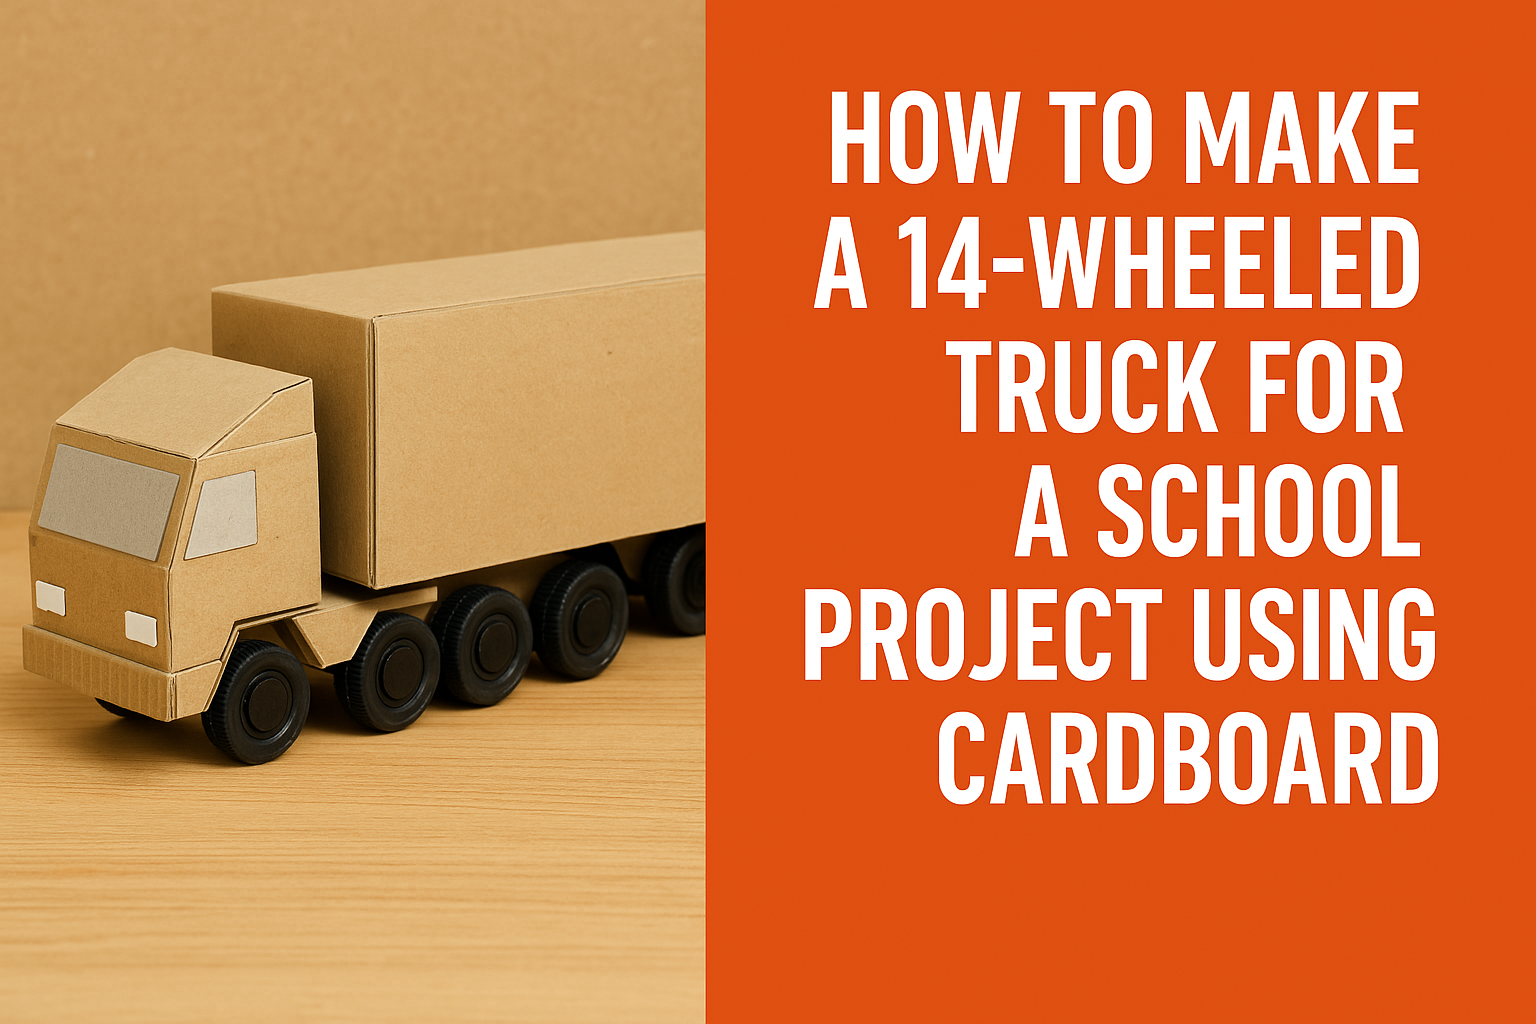
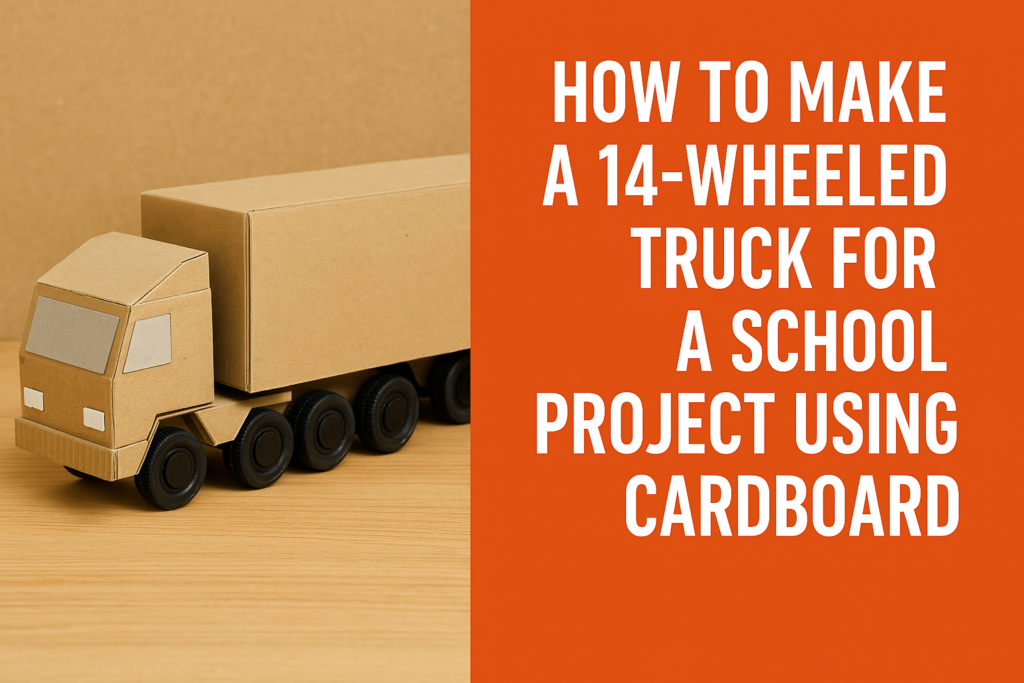
Start by sketching your truck design on paper. A typical 14-wheeled truck has one set of wheels in front (2 wheels) and three sets of double wheels (4 wheels each) at the back. Think of a semi-trailer truck with extra rear wheels for heavy loads. Measure out the scale—how long and wide you want your model to be—and plan how much cardboard you’ll need.
Cut Out the Truck Body
Using your measurements, cut out the basic shapes for the truck cab and trailer from the cardboard. The cab is the front part where the driver sits, and the trailer is the long part behind it. You can build the body in a boxy shape using folded and glued cardboard panels.
- For the cab, cut and fold a rectangular piece to form a box with an open bottom.
- For the trailer, cut a longer rectangular box. You can use extra strips of cardboard to reinforce the inside so it doesn’t collapse.
Glue the cab and trailer together once the basic shapes are done.
Make and Attach the Wheels
Use 14 bottle caps or toy wheels. Divide them as follows:
- 2 wheels for the front axle (under the cab)
- 12 wheels for the rear (3 axles, 4 wheels per axle)
Use wooden skewers or straws as axles. Cut small holes in the bottom sides of the truck where you want the axles to go. Insert the skewers and glue the caps to each end.
If you want the wheels to spin, attach them using paper fasteners or pins, allowing them to rotate freely. Otherwise, just glue them in place for a fixed display model.
Add Details
Now it’s time to bring your truck to life! You can add:
- Windows using silver or blue paper
- Headlights with aluminum foil or small bottle caps
- Grill and bumper from layered cardboard pieces
- Exhaust pipes using straws or rolled paper
- Truck logo or number using markers or stickers
Decorate the truck using paints, markers, or paper. Choose colors to match a real truck or make your own custom design.
Final Assembly
Once all parts are dry and detailed, do a final check:
- Make sure the wheels are secure
- The body is stable and doesn’t bend
- All glue has dried properly
If you’re displaying it in a classroom, you can even create a base with a cardboard road or background scenery.
Conclusion
Making a 14-wheeled truck from cardboard is an excellent way to combine creativity, recycling, and engineering concepts into a school project. It encourages planning, measuring, and hands-on crafting, all while learning how real trucks are designed to carry heavy loads. With patience and imagination, you’ll end up with a cool truck model that’s sure to impress teachers and classmates alike.
Thank you very much visiting my website get more Contenthttp://Click Here