Introduction
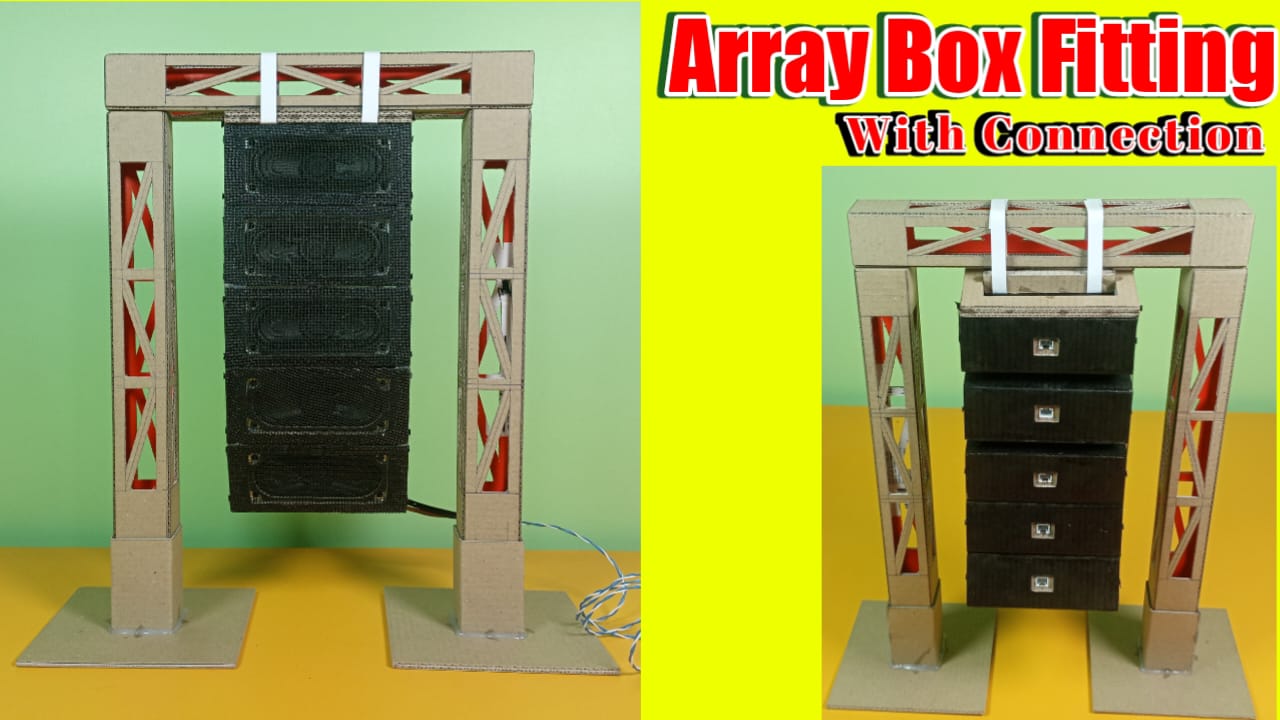
Cardboard can be a surprisingly versatile material for creating stage props, especially for DJ setups. In this guide, we will show you how to make cardboard pillar fittings that can house an array system sound box, adding both functionality and aesthetics to your stage setup.

Materials Needed
Before you begin, gather the following materials:
- Cardboard sheets
- Utility knife
- Ruler
- Glue or adhesive tape
- Array system sound box
- LED light strips (optional)
- Paints or markers for decoration (optional)
Preparing the Cardboard
- Measure and Cut the Cardboard: Using a ruler and utility knife, measure and cut the cardboard sheets into the desired sizes for the pillars. Ensure that the dimensions are suitable for your array system sound box.
- Fold the Cardboard: Fold the cardboard sheets to form rectangular tubes, which will serve as the pillars. Use glue or adhesive tape to secure the edges.
Constructing the Pillars
- Joining the Tubes: If you need taller pillars, join multiple tubes together using glue or tape. Ensure they are aligned properly for stability.
- Creating a Base: Cut out cardboard circles for the base of each pillar. Attach them securely to the bottom of the tubes to provide stability.
Assembling the Array System Sound Box
- Positioning the Sound Box: Place the array system sound box on top of the pillars. Ensure it is centered and secure.
- Securing the Sound Box: Use additional cardboard or adhesive to secure the sound box to the pillars. This will prevent it from shifting or falling.
Connecting the Sound Box to the Pillars
- Wiring the System: Connect the array system sound box to your audio source using the appropriate cables. Ensure the cables are hidden for a clean look.
- Testing and Fine-Tuning: Test the sound system to ensure everything is working correctly. Fine-tune the settings for optimal sound quality.
Adding Lighting Effects
- Installing LED Light Strips: For added visual appeal, consider attaching LED light strips to the edges of the pillars. This can create a stunning lighting effect that complements your sound system.
- Customizing the Lighting: Use paints or markers to customize the appearance of the pillars and integrate the lighting strips seamlessly.
Tips for a Professional Finish
- Use high-quality cardboard for durability.
- Paint or decorate the pillars to match your stage theme.
- Consider adding wheels to the base for easy transportation.
Conclusion
Creating cardboard pillar fittings for your array system sound box can be a fun and cost-effective way to enhance your DJ stage setup. With the right materials and a bit of creativity, you can build professional-looking pillars that add both functionality and style to your performances.
Thank you very much visiting for websitehttps://creativitytopper.com