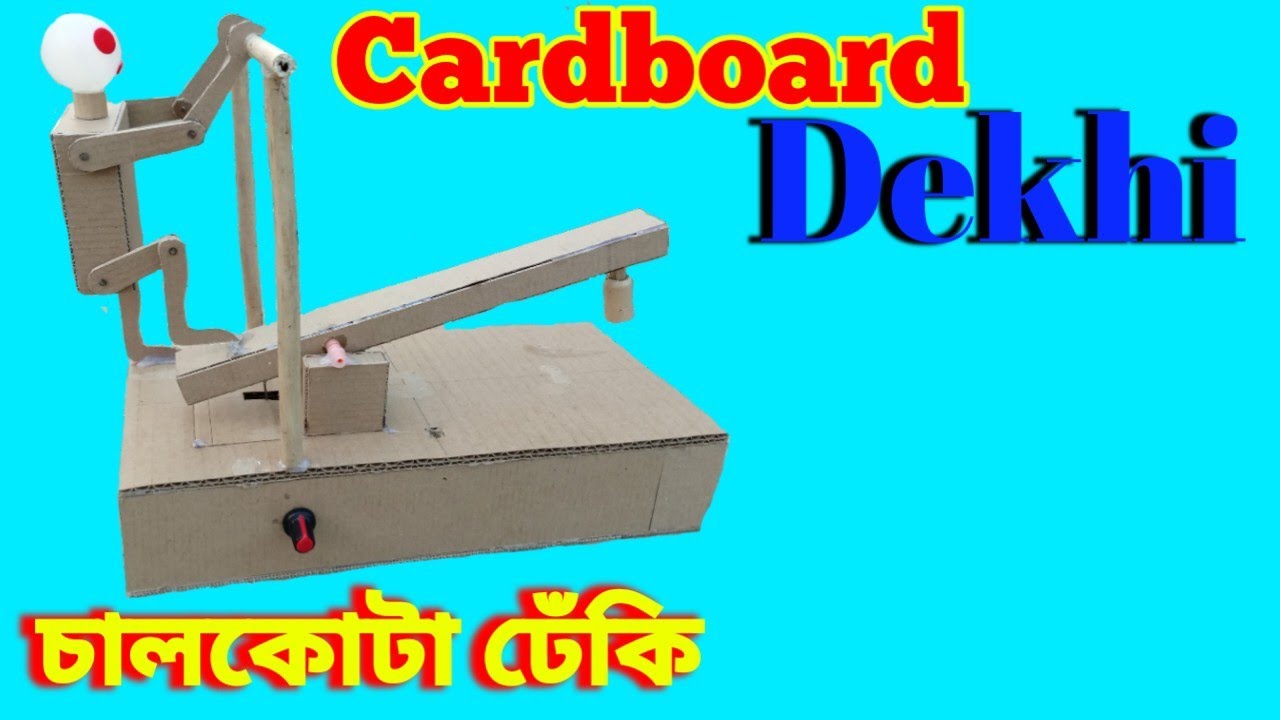
How to Make an Amazing School Project Dekhi Using Cardboard
Are you tired of making boring school projects with paper and glue? Why not try something new and exciting by using cardboard for your next project? With a little bit of creativity and effort, you can make an amazing school project Dekhi that will impress your teacher and classmates. In this article, we will guide you step by step on how to make an amazing school project Dekhi using cardboard.
Table of Contents
- Introduction
- Materials Needed
- Choosing the Right Type of Cardboard
- Designing Your Project
- Cutting the Cardboard
- Assembling the Pieces
- Adding the Final Touches
- Tips for a Successful Project
- Common Mistakes to Avoid
- Conclusion
- FAQs

1. Introduction
School projects are an important part of the learning process, but they can often be boring and uninspiring. By using cardboard, you can create a unique and impressive project that will stand out from the rest. Cardboard is an affordable and versatile material that can be used to make a wide range of projects, from models of buildings to working machines.
2. Materials Needed
To make an amazing school project Dekhi using cardboard, you will need the following materials:
- Cardboard sheets
- Pencil and ruler
- Scissors or box cutter
- Glue or tape
- Paints or markers (optional)
- Decorative materials (optional)
3. Choosing the Right Type of Cardboard
Not all cardboard is created equal. When selecting cardboard for your project, consider the thickness and quality of the material. Thicker cardboard will be more durable and hold its shape better, while lower quality cardboard may tear or crumble easily. Look for cardboard that is smooth and free of bumps or creases.
4. Designing Your Project
Before you start cutting cardboard, it is important to have a clear idea of what you want to create. You can draw a rough sketch of your design on paper or use a computer program to create a 3D model. This will help you to visualize your project and ensure that all the pieces fit together properly.
5. Cutting the Cardboard
Using a ruler and pencil, mark out the shapes of your project on the cardboard. Carefully cut along the lines using a pair of scissors or a box cutter. Be sure to cut each piece precisely, as even small errors can affect the overall look of your project.
6. Assembling the Pieces
Once you have cut out all the pieces, it is time to assemble them. Use glue or tape to connect the pieces together. Hold each piece in place until the glue dries, and ensure that the pieces are aligned correctly.
7. Adding the Final Touches
To give your project a polished look, you can paint or decorate it using markers or other materials. Be creative and have fun with this step! You can add details like windows, doors, or other features to make your project stand out.
8. Tips for a Successful Project
- Take your time and be patient. Rushing the process can lead to mistakes and a less polished final product.
- Use a sharp pair of scissors or a box cutter to make clean cuts.
- Make sure all the pieces fit together properly before gluing or taping them together.
- Be creative with your design and decoration.
9. Common Mistakes to Avoid
- Cutting the cardboard pieces too small or too large.
- Rushing the assembly process.
- Using low-quality cardboard that tears or crumbles easily.
- Neglecting to ensure that all pieces fit together properly before gluing or taping.
10. Conclusion
Making an amazing school project Dekhi using cardboard is a fun and creative way to enhance your learning experience. With a little bit of effort and patience, you can create a project that is unique, impressive, and stands out from the rest. By following the steps outlined in this article, you can ensure that your project is a success.
Thank you very much Visiting for Websitehttps://creativitytopper.com