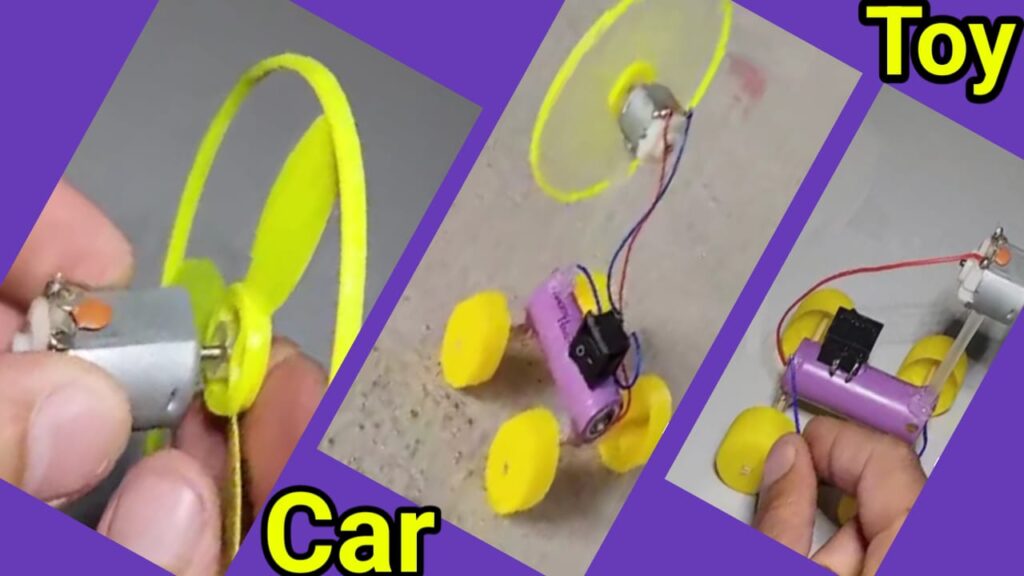
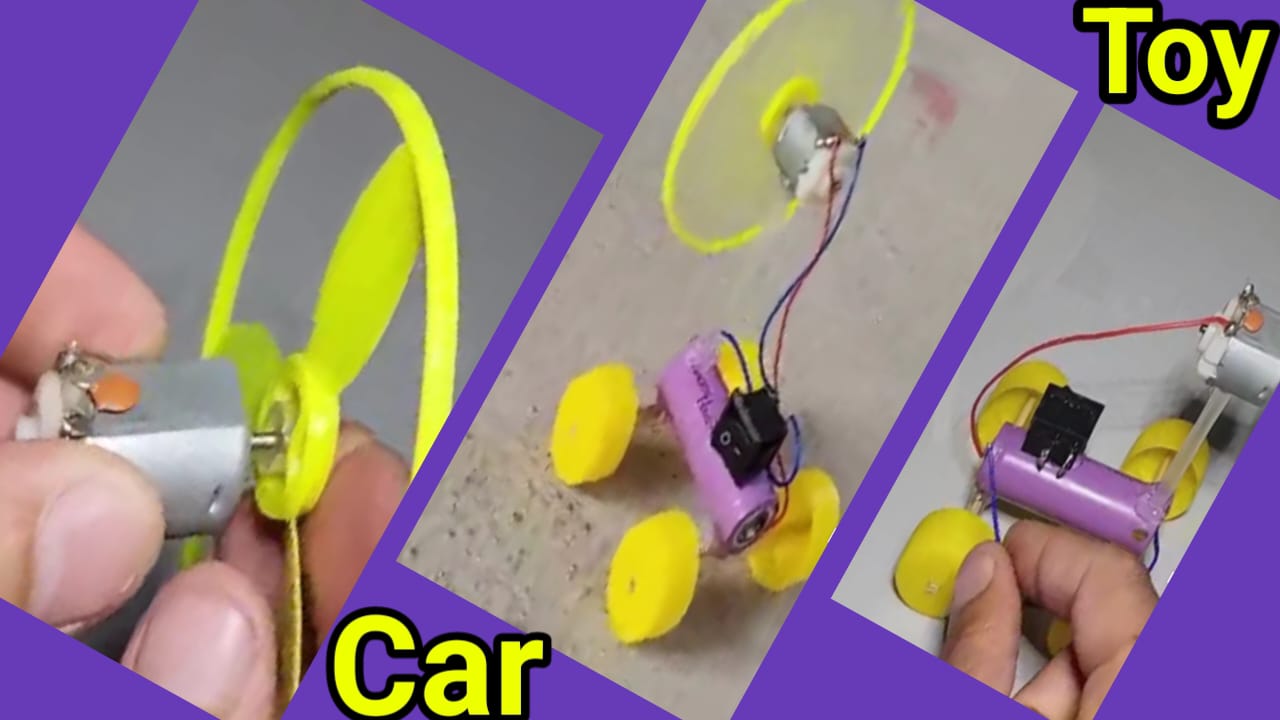
Creating a toy car from scratch is not only a delightful pastime but also an excellent way to blend fun with education. This DIY project allows enthusiasts of all ages to explore basic engineering principles and ignite their creativity. In this step-by-step guide, we’ll walk you through the process of making a simple yet functional toy car using readily available materials. Get ready to embark on a journey of hands-on learning and excitement!
Materials Needed
Gather the following materials to kick-start your toy car project
- Small, sturdy cardboard box
- Four bottle caps (for wheels)
- Wooden dowels or skewers
- Acrylic paint and brushes
- Glue (hot glue or strong adhesive)
- Scissors and a craft knife
- Ruler and pencil
- Optional: Decorative items such as stickers or markers for personalization.

Building the Chassis
Begin by selecting a small cardboard box to serve as the car’s chassis. Carefully cut off the top flaps and any unnecessary parts to create a streamlined shape. Using a ruler and pencil, mark the spots where the wheels will be attached. Make sure they are evenly spaced for stability. With a craft knife, carefully cut out the wheel slots, ensuring they are large enough to accommodate the bottle caps.
Attaching the Wheels
For the wheels, repurpose four bottle caps. Attach them securely to the marked spots using hot glue or a strong adhesive. Ensure that the wheels are aligned properly for smooth movement. Once attached, let the glue dry completely before proceeding to the next step.
Creating the Axles
Cut wooden dowels or skewers to the desired length for the axles. Insert them through the bottle caps on each side of the cardboard box. Make sure the axles are straight and properly secured to allow free rotation of the wheels. Trim any excess length and test the rotation to ensure the wheels move smoothly.
Decorating Your Toy Car
Now comes the fun part – decorating your toy car! Use acrylic paint, stickers, markers, or any other decorative items to give your creation a unique and personalized touch. Encourage creativity and imagination as you design the car’s exterior. Let the paint dry thoroughly before engaging in play.
Conclusion
Building a toy car from scratch is a fantastic hands-on project that promotes creativity, problem-solving skills, and basic engineering concepts. This DIY endeavor not only results in a fun plaything but also instills a sense of accomplishment. Whether you’re undertaking this project solo or with friends and family, the journey of constructing your own toy car is bound to be filled with excitement and learning. So, gather your materials, unleash your creativity, and enjoy the rewarding experience of crafting a personalized toy car that showcases your unique style and ingenuity.
Thank you very much visiting my websitehttps://creativitytopper.com
- How To Make DIY Mini bus Project From Cardboard at home. - May 8, 2024
- How To Make Humidifier Spray Module / Mist Maker Project . - April 27, 2024
- How To Make a New Model Subwoofer Box Project by Cardboard - April 15, 2024
