Introduction
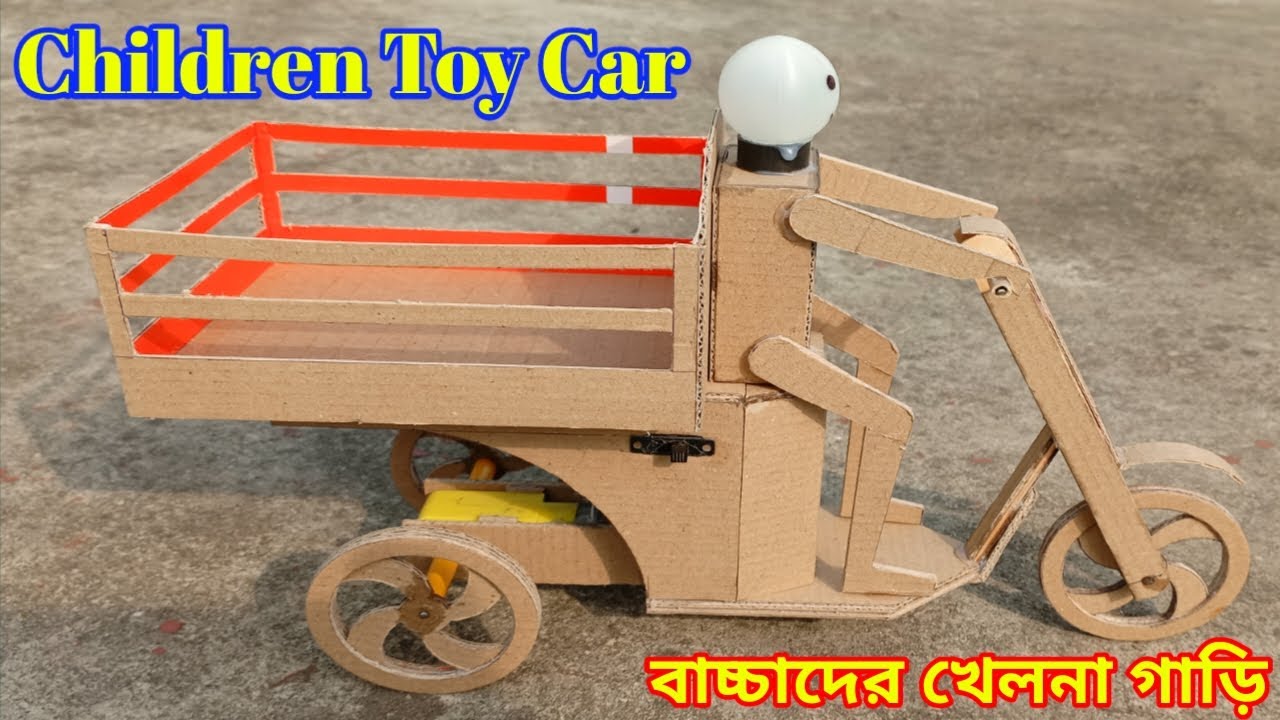
Children have a natural fascination with cars and love to engage in imaginative play. One way to spark their creativity and provide them with endless hours of fun is by making amazing toy cars. In this article, we will guide you through the process of creating a unique and captivating toy car that will bring joy to your child. Let’s dive in!
Gathering Materials
Before you embark on this exciting journey, you will need to gather the necessary materials. Here’s a list of items you will require:
- Wooden plank
- Saw
- Sandpaper
- Nails
- Hammer
- Wheels
- Axle
- Paint
- Brushes
- Decorative items (stickers, glitter, etc.)
Designing the Toy Car
To make an amazing toy car, you need to start with a solid design. Sketch out the shape and dimensions of the car on a piece of paper. Consider the overall size, the number of wheels, and any unique features you want to incorporate. Let your creativity flow and imagine the car your child would love to play with.
Constructing the Body
Using a wooden plank, carefully cut out the outline of the car body using a saw. Sand down any rough edges with sandpaper to ensure a smooth finish. Next, attach the different sections of the car body using nails and a hammer. Make sure everything is secure and sturdy.
Assembling the Wheels
Attach the wheels to the car body using an axle. Ensure that the wheels are aligned properly and can rotate smoothly. This will allow the toy car to move effortlessly during playtime. Double-check the stability of the wheels and make any necessary adjustments.
Painting and Decorating
Now comes the fun part – painting and decorating the toy car! Let your child choose their favorite colors and get creative with the design. Use child-safe paint and brushes to bring the car to life. You can also add stickers, glitter, or other decorative items to make it more visually appealing.
Make an Amazing Toy Car for Children
Adding Personal Touches
To make the toy car even more special, consider adding personal touches. You can customize the car by painting your child’s name on the side or attaching a personalized license plate. These little details will make the toy car unique and cherished by your child.
Testing and Playing
Once the paint is dry and all the decorations are in place, it’s time to test the toy car. Find a safe and open area where your child can play with their new creation. Watch as their eyes light up with excitement and witness their imagination soar as they embark on thrilling adventures with their amazing toy car.
Conclusion
Creating an amazing toy car for children is a rewarding and enjoyable experience. By following the steps outlined in this article, you can make a unique toy car that will provide endless entertainment for your child. Remember to involve them in the process and let their creativity shine through. Start crafting and watch as your child.
Thank You very much Visiting for Websitehttps://creativitytopper.com
