Introduction
Welcome to the world of DIY subwoofer projects! In this guide, we’ll walk you through the step-by-step process of creating a new model subwoofer box using cardboard. Whether you’re a seasoned DIY enthusiast or a newcomer to the craft, this project is perfect for anyone looking to enhance their audio experience without breaking the bank.

Why Choose Cardboard?
Cardboard might not be your first choice when it comes to building audio equipment, but don’t underestimate its potential. Not only is cardboard readily available and inexpensive, but it’s also surprisingly durable when used correctly. By following our instructions, you’ll be amazed at the quality of sound your cardboard subwoofer box can produce.
Materials Needed
Before we dive into the construction process, let’s gather all the necessary materials:
- Cardboard: Opt for sturdy, double-walled cardboard for optimal strength.
- Utility Knife: Essential for cutting precise shapes and sizes.
- Ruler: Ensures accuracy during the measuring and cutting process.
- Marker Pen: Used for marking measurements and guidelines on the cardboard.
- Glue: Choose a strong adhesive suitable for bonding cardboard.
- Subwoofer Driver: Select a high-quality subwoofer driver that fits your specifications.
- Speaker Wire: For connecting the subwoofer to your audio system.
- Amplifier: Provides power to the subwoofer for enhanced sound output.
Step-by-Step Guide
Now that we have all our materials ready, let’s get started on building our cardboard subwoofer box:
1. Design the Box
Begin by sketching out the design of your subwoofer box on the cardboard. Take precise measurements to ensure a snug fit for the subwoofer driver.
2. Cut Out the Panels
Using a utility knife, carefully cut out the panels for the subwoofer box according to your design. Remember to cut holes for the subwoofer driver and any ports or vents you plan to include.
3. Assemble the Box
Once all the panels are cut, assemble them together using glue. Make sure to reinforce the seams for added durability.
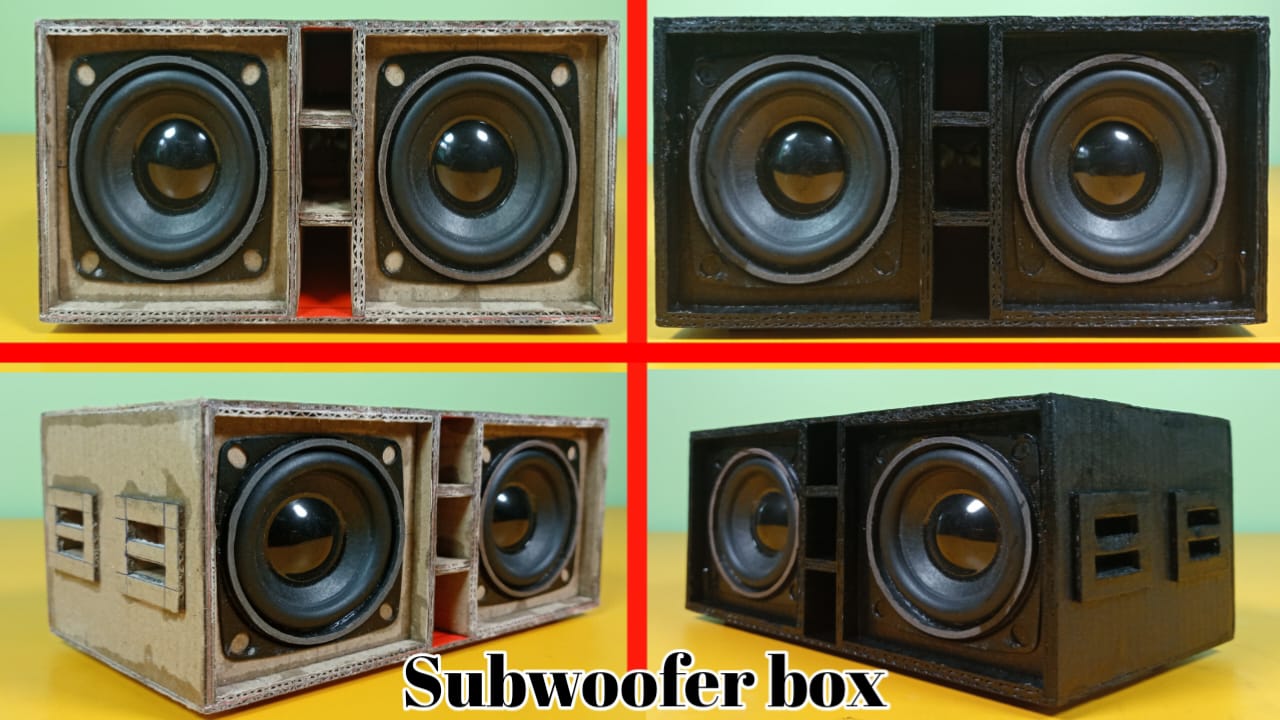
Make a New Model Subwoofer Box Project by Cardboard
4. Install the Subwoofer Driver
Place the subwoofer driver into the designated hole in the box and secure it in place using screws or adhesive.
5. Connect the Wiring
Attach the speaker wire to the terminals on the subwoofer driver, ensuring a secure connection. Then, connect the other end of the wire to your amplifier.
6. Test the Sound
Before sealing the box completely, test the sound output to ensure everything is functioning correctly. Make any necessary adjustments to the positioning or wiring as needed.
Conclusion
Congratulations! You’ve successfully created a new model subwoofer box using cardboard. With a little creativity and ingenuity, you can achieve impressive results without breaking the bank. Now sit back, relax, and enjoy the immersive audio experience from your DIY masterpiece.
Thank you very much visiting for websitehttps://creativitytopper.com
- How To Make DIY Mini bus Project From Cardboard at home. - May 8, 2024
- How To Make Humidifier Spray Module / Mist Maker Project . - April 27, 2024
- How To Make a New Model Subwoofer Box Project by Cardboard - April 15, 2024