Introduction
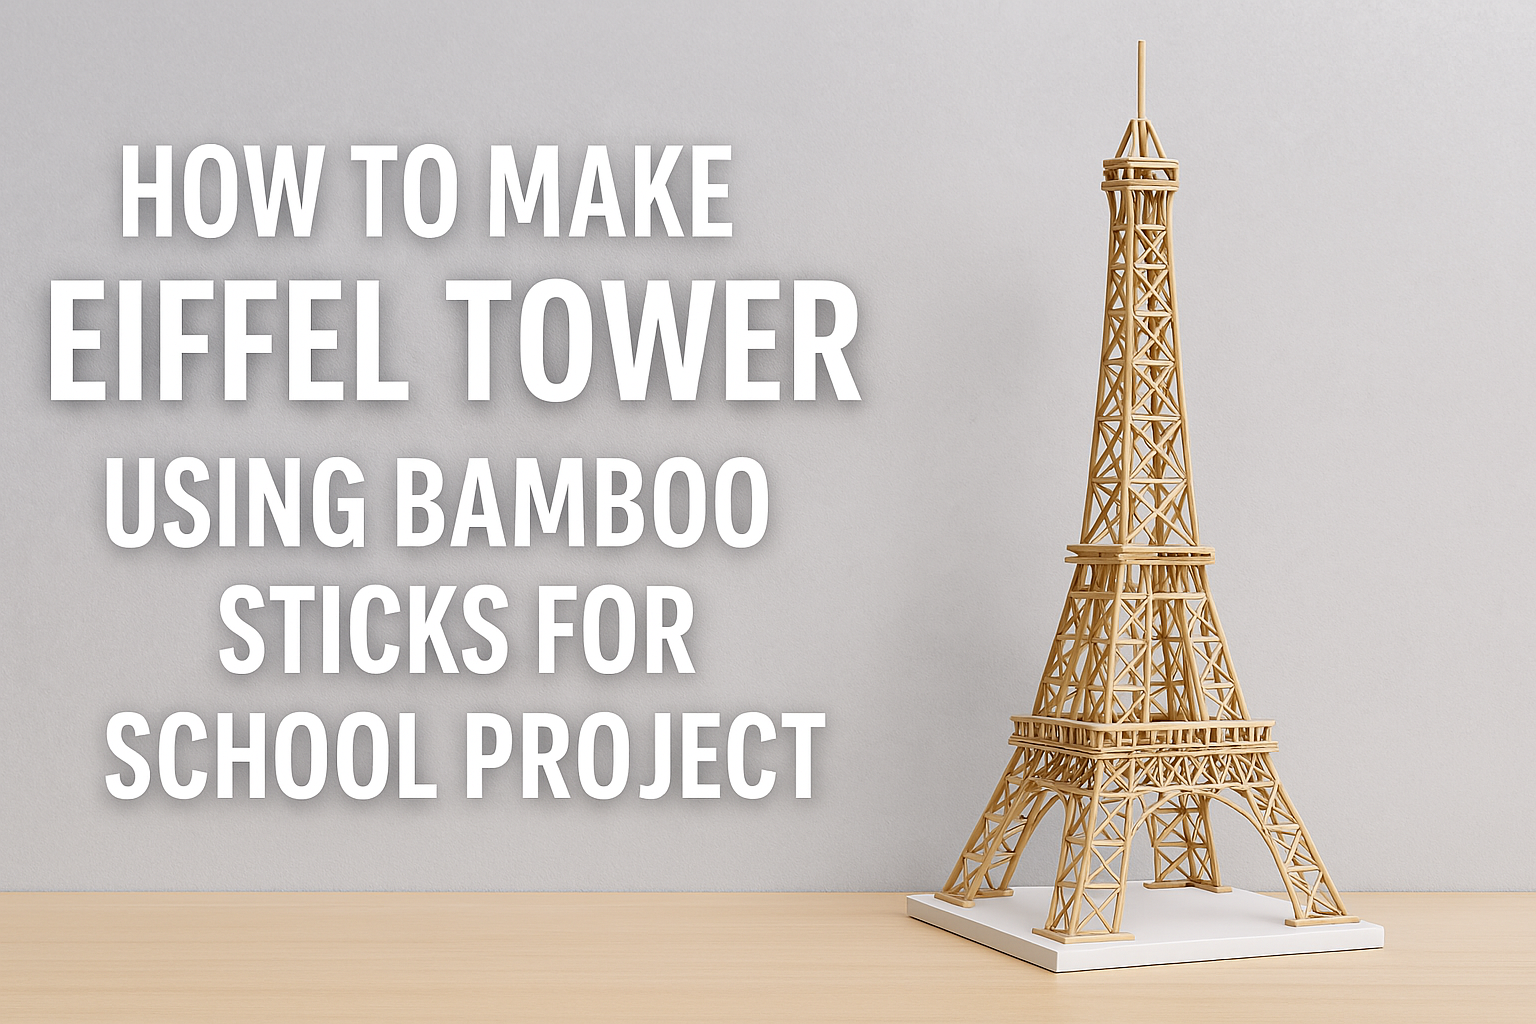
Have a school project and want to stand out? Building the Eiffel Tower out of bamboo sticks is not only fun but also a unique way to impress your teachers and classmates. It’s like bringing a piece of Paris into your classroom—without the passport.

Purpose of the Project
This project helps students learn about architecture, engineering, creativity, and patience—all rolled into one hands-on experience.
Why Use Bamboo Sticks?
Bamboo sticks are lightweight, eco-friendly, easy to cut, and super affordable. Plus, they give a natural, cool texture that looks amazing when assembled.
Materials Needed for Eiffel Tower
List of Essential Materials
- Bamboo sticks (around 100–150 pieces)
- Strong adhesive glue (preferably hot glue)
- Cutter or scissors
- Ruler and pencil
- Chart paper or cardboard (for base)
- Scale model image of the Eiffel Tower
Tools for Cutting and Shaping
Use small pliers or a craft cutter for precise cuts. A glue gun is highly recommended for stronger bonding.
Optional Decorative Items
- Paint or spray paint (black, bronze, or silver)
- Glitter
- Small LED lights (for wow effect)
Preparing for the Project
Planning and Research
Before touching the sticks, take time to look at a few pictures of the Eiffel Tower. Understand its basic shape—wide base, narrow top, with crisscrossing beams.
Drawing the Eiffel Tower Structure
Sketch the Eiffel Tower on a sheet of paper. This will act as your guide. Divide it into four levels for easier construction.
Building the Base of the Eiffel Tower
Creating a Strong Foundation
Start by forming a square base using four long bamboo sticks. Glue them together at right angles. Add diagonal pieces for support.
Measurements and Symmetry Tips
Use a ruler to keep all sides equal and symmetrical. The base needs to be strong since it supports the entire tower.
Constructing the Tower’s Levels
First Level: The Broad Base
Form four triangular legs from the base up and connect them with horizontal and diagonal bamboo sticks. This gives it that lattice design.
Second Level: Mid-section Framework
Repeat the process, but smaller. Use shorter sticks and create another square above the first, connected by four legs.
Third Level: Tapered Upper Part
This is the narrowest section. Continue building upward with thinner sticks and tighter angles to get that iconic taper.
Assembling the Sections Together
Using Glue for Sturdiness
Each level should be glued tightly. Let each layer dry before moving on to the next one.
Aligning Each Level Properly
Make sure the tower stands straight by aligning each level precisely. Use a ruler or triangle scale to check angles.
Adding Final Touches
Decorative Elements
Now’s the time to get creative! Add mini flags, LED lights, or even tiny figures if you want to make it pop.
Painting and Finishing
Spray paint your Eiffel Tower in metallic silver or classic black for that authentic look. Allow it to dry fully.
Labeling the Structure
Don’t forget to add a neat label with your name, class, and project title. This adds a professional touch.
Displaying the Project
Setting it on a Stand
Mount the tower on a chart-paper-covered board or cardboard for easy handling and extra support.
Presenting it in School
Practice explaining how you made it. Share what you learned and maybe a fun fact about the real Eiffel Tower.
Conclusion
Making an Eiffel Tower from bamboo sticks is more than just a school project—it’s a hands-on journey through design, patience, and creativity. You get to learn, create, and show off a beautiful replica of one of the world’s most iconic monuments. So grab your bamboo sticks and start building. You’re about to make something seriously cool.
Thank you very much visiting my website get more contenthttp://Click Here