
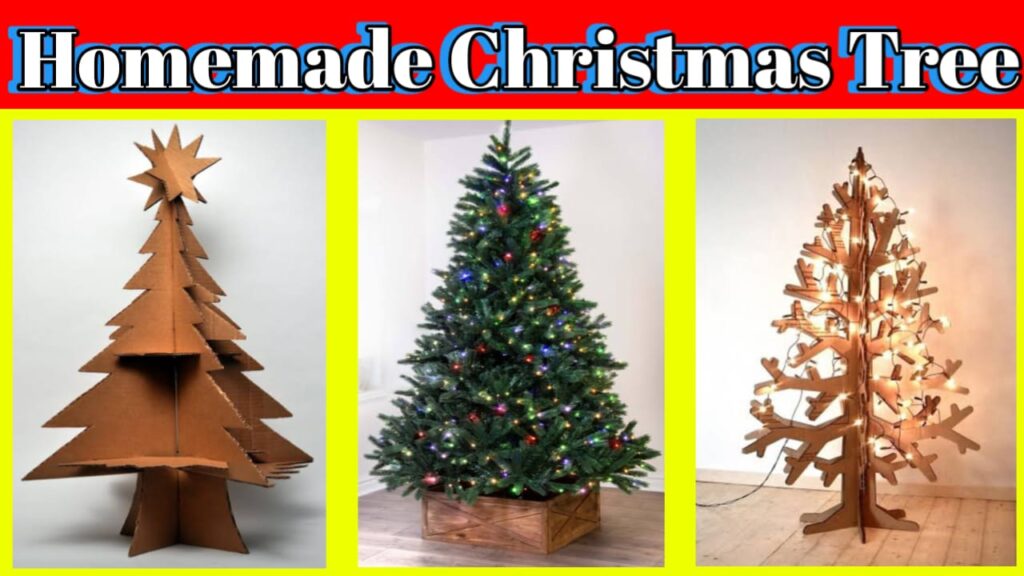
The holiday season is a magical time filled with warmth, joy, and the spirit of giving. One delightful way to embrace the festive atmosphere is by engaging in do-it-yourself (DIY) projects, and what better project than creating your own Christmas tree from cardboard right in the comfort of your home?
I. Introduction
A. Brief Overview of the Holiday Season
The holiday season is synonymous with gatherings, decorations, and the joy of giving. Creating a DIY Christmas tree adds a personal touch to your celebrations, making them even more special.
B. Importance of DIY Projects for Christmas
DIY projects not only bring out your creative side but also offer a unique opportunity to bond with family and friends. In this article, we’ll guide you through the process of crafting a school project Christmas tree using cardboard.
II. Materials Needed
A. List of Materials for the Cardboard Christmas Tree Project
- Cardboard sheets
- Scissors
- Craft knife
- Paints and brushes
- Glue
- Decorative items (ribbons, beads, etc.)
B. Accessibility of Materials at Home
The beauty of this project lies in its simplicity. Most of the required materials can be found around the house or easily purchased at a local store.
III. Step-by-Step Guide
A. Creating the Base Structure
Start by designing the base of your cardboard Christmas tree. This will provide stability and support for the layers above.
B. Cutting and Shaping the Cardboard Pieces
Carefully cut and shape the cardboard into layers of decreasing size. This will give your tree a classic triangular shape.
C. Assembling the Layers
Layer the cut cardboard pieces, ensuring they are securely glued together. This forms the three-dimensional structure of your tree.
D. Adding Color and Decorations
Let your creativity shine by painting your cardboard Christmas tree in festive colors. Add decorations like ribbons and beads for a personalized touch.
IV. Benefits of DIY Christmas Trees
A. Personalized Touch
Homemade Christmas trees reflect your unique style and personality, making them stand out from store-bought alternatives.
B. Cost-Effective
Crafting your own tree is not only fun but also budget-friendly. Save money while creating a stunning centerpiece for your celebrations.
C. Environmental Sustainability
By using cardboard and other readily available materials, you contribute to reducing waste and embracing an eco-friendly approach.
V. Tips for a Successful Project
A. Precision in Measurements
Accurate measurements ensure a well-proportioned tree. Take your time to measure and cut each piece with precision.
B. Creative Decorating Ideas
Experiment with various decorating ideas. Incorporate glitter, sequins, or even small ornaments to add a festive flair.
C. Involving Family and Friends
Turn the project into a group activity by involving your loved ones. It’s a great way to create lasting memories.
VI. Showcasing the Final Product
A. Photographing the Finished Cardboard Christmas Tree
Capture the beauty of your creation with photographs. Share your masterpiece on social media platforms to inspire others.
B. Sharing on Social Media Platforms
Join DIY communities online and showcase your cardboard Christmas tree. Connect with fellow enthusiasts and exchange ideas.
VII. DIY Christmas Tree vs. Store-Bought
A. Cost Comparison
Compare the cost of crafting your own tree with the prices of store-bought options. You’ll be pleasantly surprised at the savings.
B. Unique Features of Homemade Trees
Homemade trees stand out with their unique character and charm. Showcase your creativity by opting for a DIY Christmas tree.
VIII. Creating Memories with DIY Projects
A. Bonding with Family and Friends
The process of creating a cardboard Christmas tree becomes a memorable experience when shared with loved ones. Strengthen your bonds while having fun.
B. Cherished Moments During the Process
From laughter-filled painting sessions to shared excitement over the final result, cherish every moment spent on this creative venture.
IX. Troubleshooting Common Issues
A. Dealing with Uneven Layers
If you encounter uneven layers, adjust the placement and secure them properly with additional glue.
B. Fixing Decorations Securely
Ensure your decorations are securely attached to prevent any mishaps. Use extra glue or reinforcements as needed.
X. Maintenance and Storage
A. Storing the Cardboard Christmas Tree for Future Use
Consider disassembling the tree for easy storage. Store it in a cool, dry place to ensure its longevity.
B. Tips for Maintenance and Preserving Its Quality
To preserve the quality of your cardboard Christmas tree, avoid exposing it to moisture and store it in a dust-free environment.
XI. Environmental Impact
A. Reducing Waste with DIY Projects
DIY projects promote environmental sustainability by reducing the need for disposable decorations. Play your part in minimizing waste.
B. Eco-Friendly Choices in Materials
Opt for recycled cardboard and eco-friendly paints to further minimize the environmental impact of your project.
In conclusio
creating a school project Christmas tree from cardboard at home is not just a creative endeavor but a delightful experience that brings joy and togetherness. The personalized touch, cost-effectiveness, and environmental sustainability make it a meaningful addition to your festive traditions. So, gather your materials, involve your loved ones, and embark on the journey of crafting your own unique Christmas tree. The memories created during the process are sure to become cherished moments for years to come.
Thank you very much visiting forwebsitehttps://creativitytopper.com
- How To Make DIY Mini bus Project From Cardboard at home. - May 8, 2024
- How To Make Humidifier Spray Module / Mist Maker Project . - April 27, 2024
- How To Make a New Model Subwoofer Box Project by Cardboard - April 15, 2024