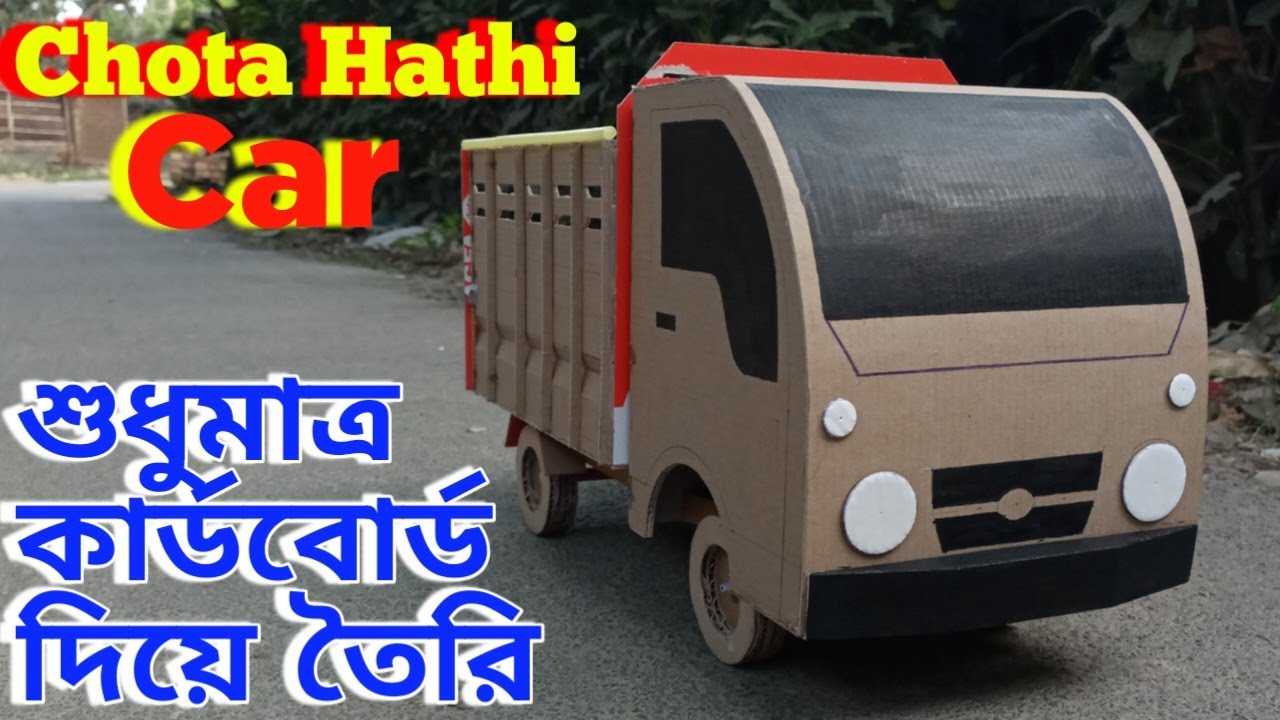
Making a TATA ACE Chota Hathi car out of cardboard is a fun and creative project that can be completed by both kids and adults. Here are the steps to create your own TATA ACE Chota Hathi car using cardboard.
Make TATA ACE Chota Hathi Car by Cardboard.
Materials needed:
- Cardboard sheets
- Scissors
- Ruler
- Pencil
- Glue
- Paints (optional)
- list
Step 1: Draw the Design The first step is to draw the design of the TATA ACE Chota Hathi car on a piece of paper. Use a ruler to create the outlines of the car’s body, wheels, and other features. The design should include the shape of the car’s body, the wheels, the front and back lights, the mirrors, and the driver’s cabin.
Step 2: Cut Out the Pieces Once the design is complete, transfer it onto the cardboard sheets. Cut out the pieces using scissors. It is important to cut the pieces carefully and accurately to ensure that the car is symmetrical and looks realistic.
Step 3: Assemble the Body Take the pieces that make up the body of the car and glue them together. Start with the main body and attach the front and back pieces. Then add the side panels and the roof. Make sure to use enough glue to hold the pieces together securely.
Step 4: Add the Wheels Cut out the wheels and glue them to the bottom of the car. Make sure the wheels are evenly spaced and level. Use a ruler to measure the distance between the wheels and ensure they are aligned.
Make TATA ACE Chota Hathi Car by Cardboard.
Step 5: Add the Details Add the front and back lights, mirrors, and any other details that you want to include. You can use paints to add color to the car or leave it plain if you prefer a natural cardboard look.
Step 6: Add the Driver’s Cabin Cut out the driver’s cabin and glue it to the top of the car’s body. You can create a simple cabin or add more details to make it look realistic.
Step 7: Finishing Touches Once the car is complete, take a step back and admire your work. You can add any finishing touches such as additional details, paint, or decorations to make it stand out.
Step 8: Make the headlights and taillights using cardboard. Draw the shapes, cut them out, and fold them along the lines. Glue the headlights and taillights to the front and back of the car.
Make TATA ACE Chota Hathi Car by Cardboard
Step 9: Make the steering wheel and dashboard using cardboard. Draw the shapes, cut them out, and glue them to the inside of the car’s body.
Step 10: Decorate the car as per your choice. You can paint it, add stickers or other decorations to make it look more realistic.
In conclusion, making a TATA ACE Chota Hathi car out of cardboard is a fun and creative project that can be completed by anyone. It is a great way to develop your artistic skills and create a unique and impressive piece of art. By following the steps above, you can create your own TATA ACE Chota Hathi car that looks realistic and is sure to impress your friends and family.
Conclusion
Making a TATA ACE Chota Hathi car out of cardboard is an enjoyable and creative activity. It requires some patience and attention to detail, but the end result is worth the effort. By following the steps above, you can create your own miniature TATA ACE Chota Hathi car out of cardboard, which can be used for display or as a toy.
Thank you very much for visitinghttp://creativitytopper.com
- How To Make DIY Mini bus Project From Cardboard at home. - May 8, 2024
- How To Make Humidifier Spray Module / Mist Maker Project . - April 27, 2024
- How To Make a New Model Subwoofer Box Project by Cardboard - April 15, 2024