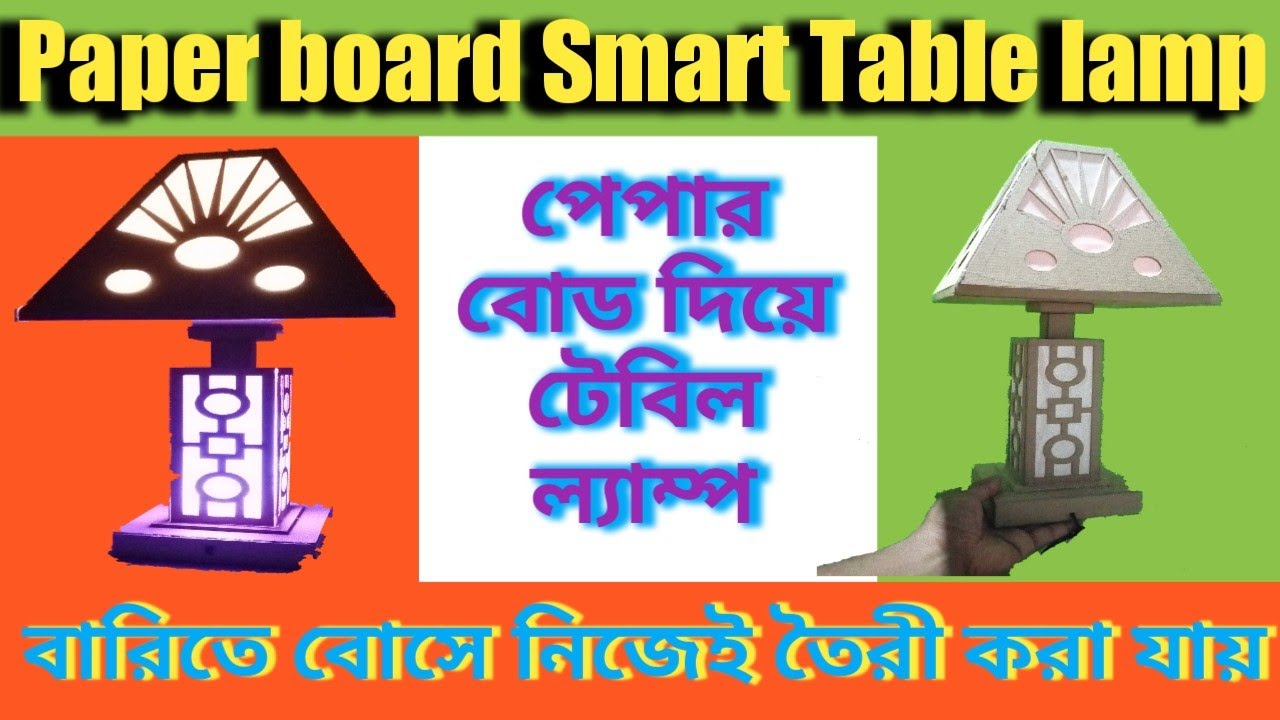
Making a table lamp for a school project can be an exciting and creative experience. It is a fun way to showcase your artistic abilities while also learning about electricity and lighting. In this article, we will show you how to make a table lamp using cardboard, step by step.
Materials you’ll need:
- Cardboard sheets
- Glue
- Scissors
- Ruler
- Pencil
- LED bulb
- Lamp holder
- Electrical wire
- Electrical tape
Make School Project Table Lamp By Cardboard
Step 1: Cut the Cardboard Sheets
Cut the cardboard sheets into the desired shapes for your lamp. You will need to cut out four identical rectangular pieces for the sides of the lamp, a square piece for the base, and a smaller square for the top.
Step 2: Make the Lamp Base
To make the lamp base, take the square piece of cardboard and fold it in half diagonally. Then, fold it in half again so that you have a smaller square. Cut along one of the folds to the center of the square. Open up the square and fold the sides up to create a box-like structure. Apply glue to the corners to hold them in place.
Step 3: Assemble the Lamp Sides
Take the rectangular pieces and fold them in half lengthwise. Then, fold them in half again so that you have a smaller rectangle. Apply glue to the long edge of one of the rectangles and attach it to the edge of another rectangle. Continue this process until you have a rectangular shape that will fit around the lamp base. Apply glue to the corners to hold the sides together.
Step 4: Create the Lamp Top
To create the lamp top, take the smaller square piece of cardboard and fold it in half diagonally. Cut along the fold to the center of the square. Open up the square and fold the sides up to create a box-like structure. Apply glue to the corners to hold them in place.
Make School Project Table Lamp By Cardboard
Step 5: Attach the Lamp Top
Apply glue to the top edges of the lamp sides and attach the lamp top to the top of the lamp. Hold it in place until the glue dries.
Step 6: Add the Lamp Holder and Bulb
Attach the lamp holder to the center of the lamp base using glue. Then, connect the electrical wire to the lamp holder and thread it through the lamp sides. Connect the wire to the LED bulb and insert it into the lamp holder. Secure the bulb in place with electrical tape.
Step 7: Finish the Lamp
Finally, finish the lamp by covering the exposed wire with electrical tape and decorating the lamp with paint, markers, or other materials. You can get creative with the design to make your lamp unique and personalized.
In conclusion
making a table lamp using cardboard is a fun and educational school project. With just a few materials and some creativity, you can create a functional and unique piece of art that also teaches you about electricity and lighting. Follow these steps to create your own cardboard table lamp and let your creativity shine!
Thank You Very much Visiting For Websitehttp://creativitytopper.com
- How To Make DIY Mini bus Project From Cardboard at home. - May 8, 2024
- How To Make Humidifier Spray Module / Mist Maker Project . - April 27, 2024
- How To Make a New Model Subwoofer Box Project by Cardboard - April 15, 2024