Making a DIY mini tractor by cardboard can be a fun and exciting project for anyone who loves creating things from scratch. This project can also be a great way to learn about mechanics, engineering, and basic design principles. In this article, we will guide you through the steps to make a mini tractor using cardboard.
Cardboard tractor making Viveo Tutorial
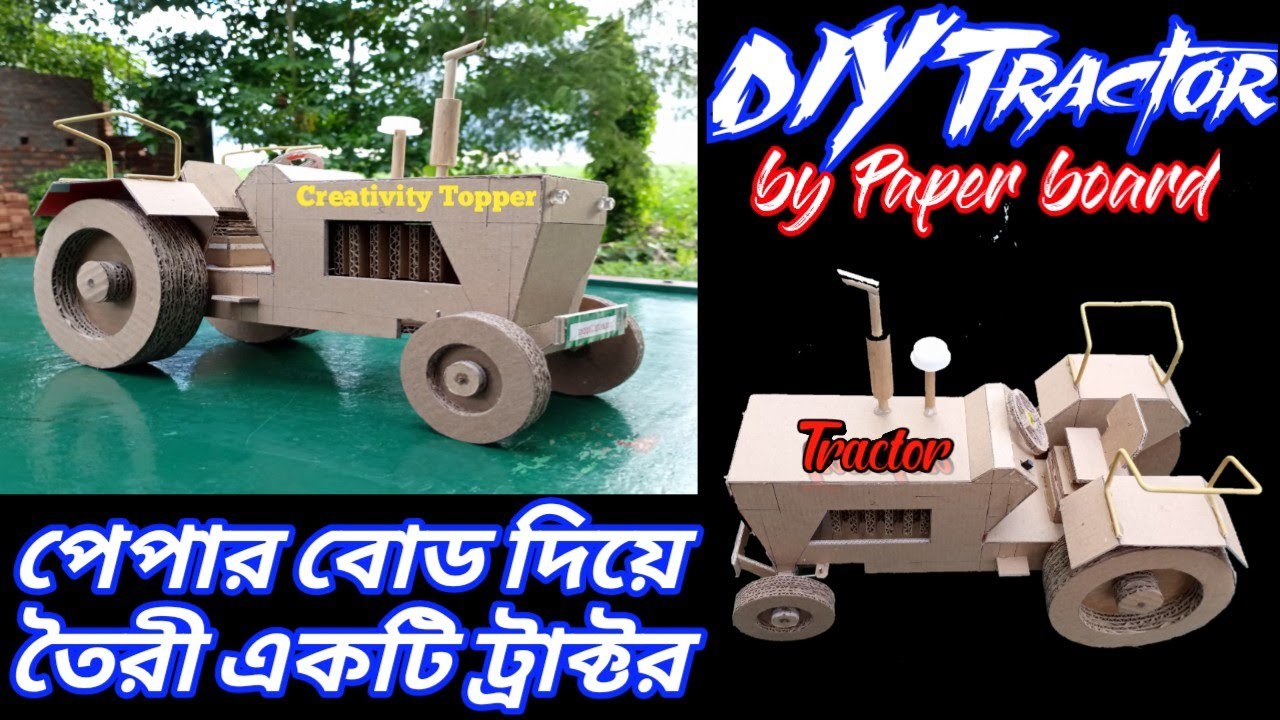
Here are the steps to make an amazing mini Toy Tractor by Cardboard
Materials needed
- Corrugated cardboard sheets
- Box cutter or scissors
- Ruler
- Pencil
- Glue
- Paints (optional)
- Four small toy wheels
- Small toy motor
- Batteries
Step 1: Planning and Designing The first step is to plan and design your mini tractor. You can search for some reference images online to get an idea of what a mini tractor looks like. Then, use a pencil and a ruler to sketch out your design on the cardboard. Make sure to include the wheels, the body of the tractor, and a space for the motor.
Step 2: Cutting the Cardboard Using a box cutter or scissors, carefully cut out the pieces of the tractor from the cardboard. Cut out two pieces for the body of the tractor, one for the front of the tractor, and two for the wheels.
Step 3: Folding the Cardboard Using the ruler, fold the cardboard pieces along the lines you have sketched out. Fold the sides of the body of the tractor and the front of the tractor to make them stand upright. Then, fold the wheels so that they have a flat surface to attach to the body of the tractor.
Step 4: Gluing the Cardboard Using glue, attach the body of the tractor to the front of the tractor. Then, attach the wheels to the bottom of the tractor. Make sure the wheels are aligned and level with the body of the tractor. Finally, attach the motor to the body of the tractor.
Make DIY Mini Toy Tractor by Cardboard
Step 5: Adding the Motor and Batteries Connect the motor to the batteries using wires. Then, attach the motor to the body of the tractor using glue. Make sure that the motor is securely attached and the wires are not tangled.
Step 6: Painting (optional) If you want to add some color to your mini tractor, you can use paints to decorate it. You can paint it in the colors of your choice or add some designs to make it look more attractive.
Step 7: Testing Once the glue is dried, test your mini tractor by turning on the motor. If everything is working properly, your mini tractor should move forward. If it does not move, check the wiring or the alignment of the wheels.
Step 8: Add Additional Features
Once the wheels are attached, you can add any additional features to the tractor such as a steering wheel, exhaust pipe, or headlights. Cut out the required shapes from cardboard and attach them to the tractor body using glue.
Step 9: Paint (Optional)
If desired, you can paint the tractor using acrylic or tempera paint. This step is optional but can add a nice finishing touch to the project.
After This Processes compleate Then-
In conclusion, making a DIY mini tractor out of cardboard can be a fun and creative project that can be completed with minimal tools and materials. Follow these step-by-step instructions to make your own mini tractor and enjoy the satisfaction of creating something unique and handmade.
In conclusion, making a DIY mini tractor by cardboard can be a fun and exciting project that anyone can do. With the right materials, planning, and patience, you can create a mini tractor that will amaze your friends and family. So, go ahead and give it a try, and enjoy the process of creating something from scratch.
Thank you very much for visiting my websitehttp://creativitytopper.com
- How To Make DIY Mini bus Project From Cardboard at home. - May 8, 2024
- How To Make Humidifier Spray Module / Mist Maker Project . - April 27, 2024
- How To Make a New Model Subwoofer Box Project by Cardboard - April 15, 2024