Introduction
Engaging in hands-on projects is a fantastic way for students to learn and apply scientific principles in a practical setting. In this article, we will guide you through the process of making a simple DC motor using a pencil cutter machine. This exciting project not only enhances your understanding of electrical circuits and motors but also encourages creativity and problem-solving skills.

Materials Required:
- Pencil Cutter Machine
- Copper Wire
- Neodymium Magnet
- AA Battery
- Insulated Wire
- Cardboard
- Tape
- Paper Clips
- Sandpaper
- Glue
Step 1: Building the Motor Frame
Start by creating a sturdy base for your motor using a piece of cardboard. Cut the cardboard into a rectangular shape, and fold it into a U-shape. This will serve as the frame for your DC motor. Secure the ends with tape to ensure stability.
Step 2: Attaching the Magnet
Take a neodymium magnet and secure it to one end of the cardboard frame using tape or glue. Ensure that the magnet is positioned horizontally so that it can freely rotate.
Step 3: Preparing the Armature
Take a piece of copper wire and wrap it around a cylindrical object, like a marker, to form a coil. Leave two loose ends of wire extending from each side of the coil. This coil will act as the armature of your motor.
Step 4: Sanding the Armature
Gently sand the ends of the copper wire to remove any insulation. This step is crucial for ensuring a good electrical connection.
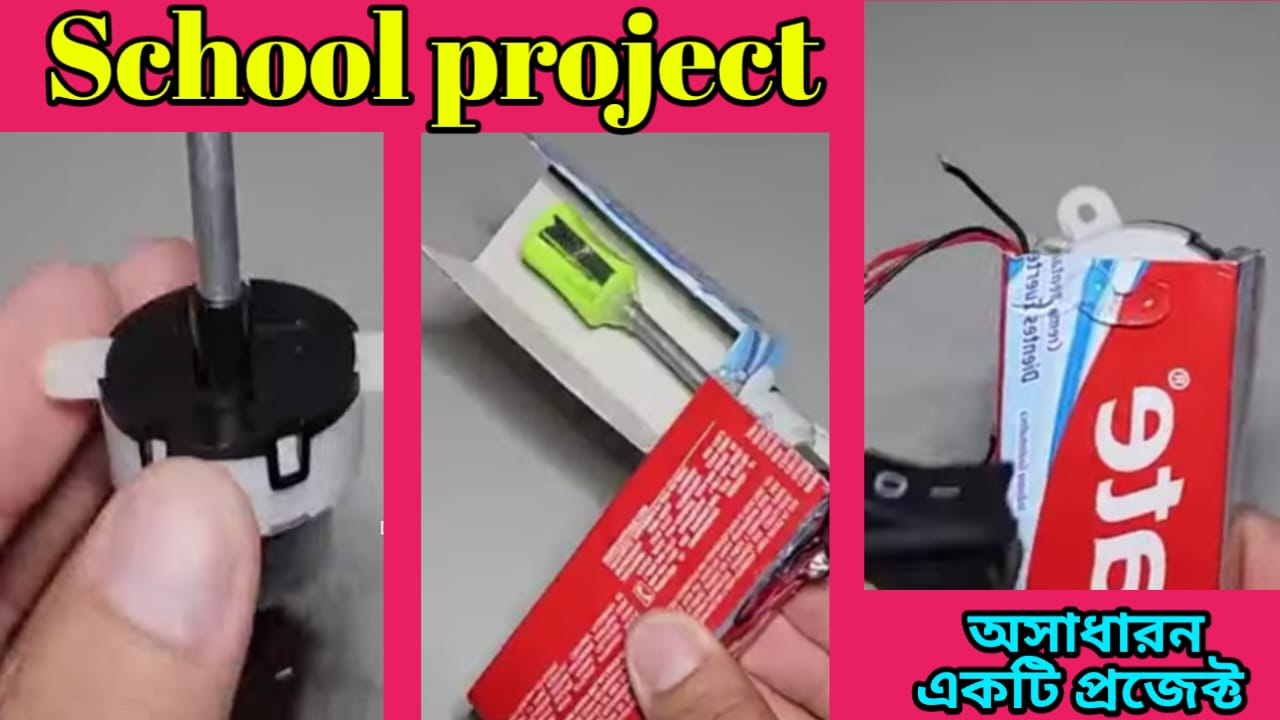
Make For school Project of Pencil Cutter Machine By Dc Motor
Step 5: Attaching the Armature
Place the armature coil between the two ends of the cardboard frame so that it can rotate freely. Use tape or glue to secure the loose ends of the wire to the cardboard frame, making sure they do not touch each other.
Step 6: Connecting the Motor Wires
Attach insulated wires to the loose ends of the armature wire. These wires will connect to the electrical source, completing the circuit.
Step 7: Creating the Brushes
Fashion brushes using paper clips and tape. Position these brushes so that they make contact with the rotating armature but do not impede its movement. These brushes will enable the flow of electrical current through the coil.
Step 8: Connecting to the Battery
Connect the wires from the motor to a AA battery. Ensure the polarities are correct – the positive terminal of the battery should connect to one end of the armature, and the negative terminal to the other.
Step 9: Testing and Troubleshooting
Switch on the battery to observe the motor in action. If it doesn’t start, check for loose connections, ensure the brushes are making good contact, and confirm the polarity of the battery.
Conclusion:
Congratulations! You have successfully created a simple DC motor using a pencil cutter machine. This project not only teaches you about the fundamentals of electrical circuits and magnetism but also enhances your problem-solving and creative skills. Experiment with different materials and configurations to optimize your motor’s performance and gain a deeper understanding of the principles at play. Enjoy the learning process and have fun with your homemade DC motor
Thank you verymuch for my website https://creativitytopper.com
- How To Make DIY Mini bus Project From Cardboard at home. - May 8, 2024
- How To Make Humidifier Spray Module / Mist Maker Project . - April 27, 2024
- How To Make a New Model Subwoofer Box Project by Cardboard - April 15, 2024